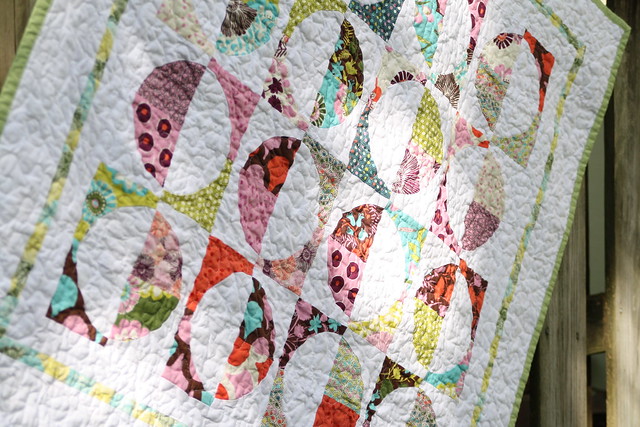
I hand quilted for years. I used to think you needed a big fancy machine to do free motion quilting. Then about 5 years ago I discovered with an inexpensive sewing machine foot I could do it on my home machine. I have been machine quilting ever since. I still love the look of hand quilting, but free motion quilting is so much faster.
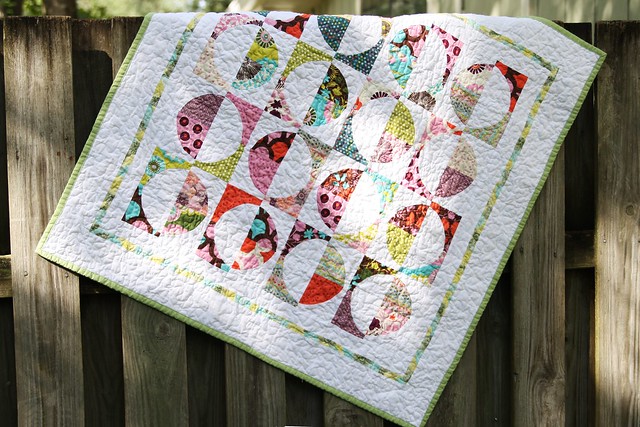
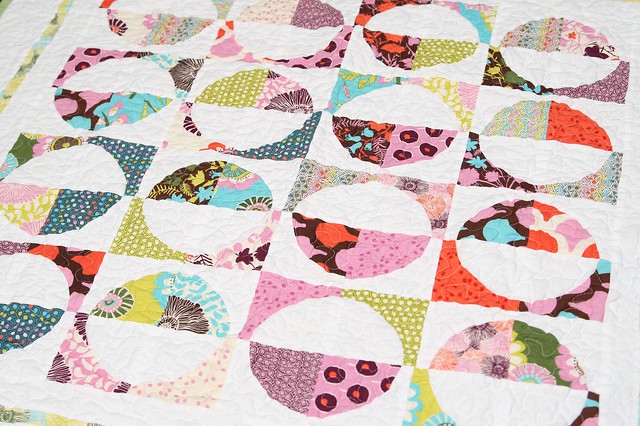
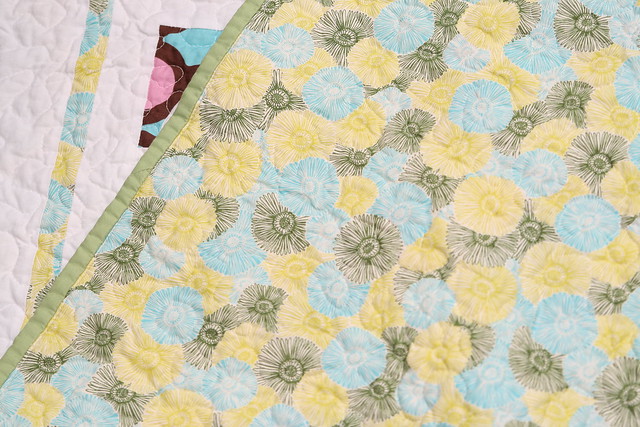
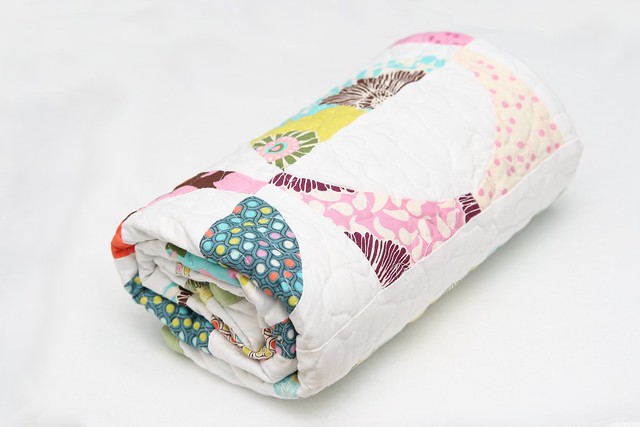
I did free motion quilting on the baby quilt I just finished.
Here is another quilt I made with free motion quilting, this was my first free motion quilting project.
All you need to get started free motion quilting is your sewing machine and a free motion quilting foot (also called a darning foot or stippling foot).
Check your sewing machine manual before buying your free motion quilting foot. They are easy to find online but you will need to know if your machine has a low shank, high shank, slant shank, or superhigh shank.
You will also need to check the manual to find out how to lower or cover the feed dogs. Those are the little teeth that move the fabric along while you sew. Since you will be doing "free motion" you want to be the one moving the fabric, not having the machine do it for you. Every machine is different, some have a little lever to lower the teeth down so they are out of the way, mine came with a little plate that goes over them.
To set up your machine for free motion quilting, you need to lower or cover the feed dogs and put the free motion foot on.
Since your feed dogs are lowered, the stitch length doesn't really matter, but you might as well give them a little break by setting your stitch length to 0, that way they won't be moving while you are sewing.
This takes a lot of thread, so you probably also want a few bobbins ready and waiting for when one runs out. It is such a pain to stop quilting when you are really on a roll to re-thread a bobbin!
Free motion quilting is really simple but it takes some practice. I recommend you start with a small project, like a pot holder or a doll size quilt, until you get the hang of things. Then you can work your way up to bigger projects like a baby quilt or a throw quilt. Don't try a king size quilt as your first project, you will pull your hair out!
Another tip is to use the same color thread for the top and the bottom. if your tension is off even a tiny bit, the other color thread will show on the top of the quilt.
To get started, first we need to make a quilt sandwich by layering our project top, batting, and backing. Your really want to make sure your fabric is stretched taught on both sides with no wrinkles. You don't want your fabric slipping on you while you are sewing or you will end up with little folds all over the back of your project, like this...not good!
There are different ways to baste your fabrics together so they don't slip while you sew, I like a basting spray. It is a spray on adhesive that is water soluble, just make sure the one you get says "temporary" on it.
Find a flat space big enough to lay out your whole project, this is really easy if you are making a pot holder, not so easy if you are making that king sized quilt. Lay your backing right side down and spray the backside with your basting spray. I use masking tape on the corners to make sure it is stretched nice and tight.
Cover the backing with a layer of batting and press down so it sticks to your spray.
Then spray your batting with the basting spray and put your top piece right side up on top of your batting.
Now you are ready to quilt!
I usually do a simple meandering pattern, but you can really do anything, some people even make really beautiful flower patterns. You might want to try drawing on paper first to get the hang of it. It is just like doodling on paper only you are moving the paper, not the pen.
Make sure there is lots of empty table space behind and to the left of your machine. I move my machine from my small sewing table to my dining room table so I have lots of space. You can roll up one side of your fabric so it fits under your sewing machine arm.
Pick a place on your quilt to start, I usually start on the bottom in the middle. I work my way back and forth up the right side of the quilt until I get to the middle of the top. Then, with my needle down through my quilt, I spin the whole quilt 180 degrees on my machine so my needle is back at the bottom middle again. Then I work back and forth along the unquilted side (which is on the right side again since I flipped it). That way I never have more than half of the quilt rolled up under my sewing machine arm.
You want to start by stitching up and down in the same place a few times to make a knot so your threads don't unravel.
As you quilt, you want to try to move the fabric at the same speed so your stitches are about the same length. It takes some practice to find a comfortable pace for yourself. If you are sewing too fast or moving the fabric too slow, your stitches will end up really close together. On the other hand, if you sew too slow or move to fast, your stitches will be really big.
I quilt with both my hands on top of the quilt to move it around. I know some people like to put there left hand underneath and grab the quilt that way to help move it and keep their right hand on top to guide it. If you feel like your hands are slipping a lot and you have trouble holding the quilt, try some gloves. Some people like just regular latex type gloves for quilting, I prefer my bare hands.
I like to try to keep one continuous squiggle all over my quilt. But, if you sew yourself into a corner, don't panic, and don't start ripping out stitches! Simply stitch in the same place a few times so your stitches don't unravel, cut your threads and start quilting somewhere else.
When you run out of thread in your bobbin, simply cut your thread from the top, remove your quilt and put in one of those bobbins you already had ready and waiting. Then put your quilt back on your machine in the same place it was, stitch up and down a few times in the spot your bobbin ran out, then keep quilting.
You want to get about 1/4" from the edges of your project.
When you have finished quilting, cut any loose threads from changing your bobbin, trim the edges and it is ready to be bound.