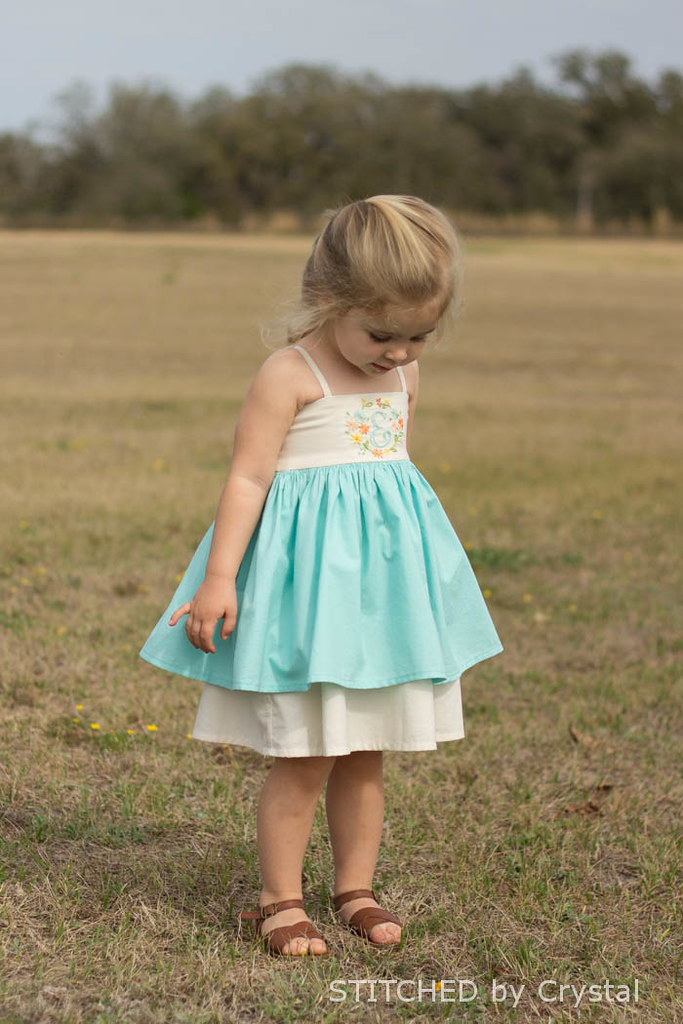
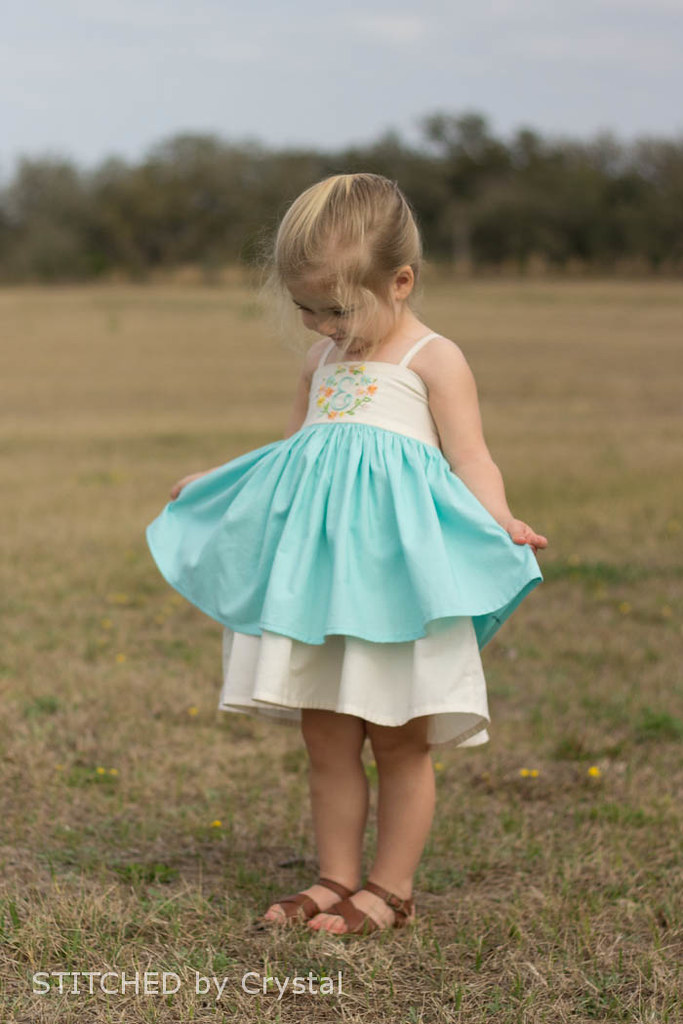
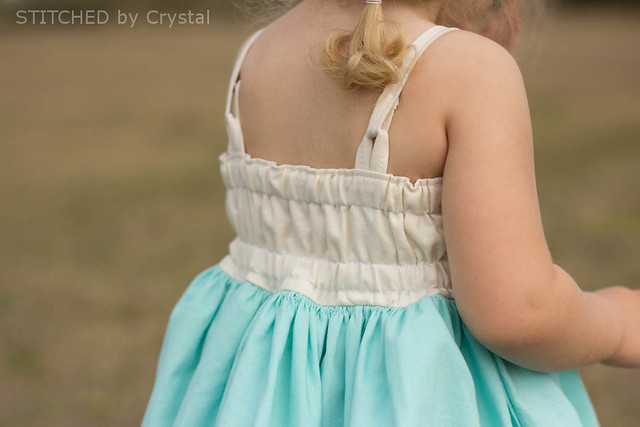
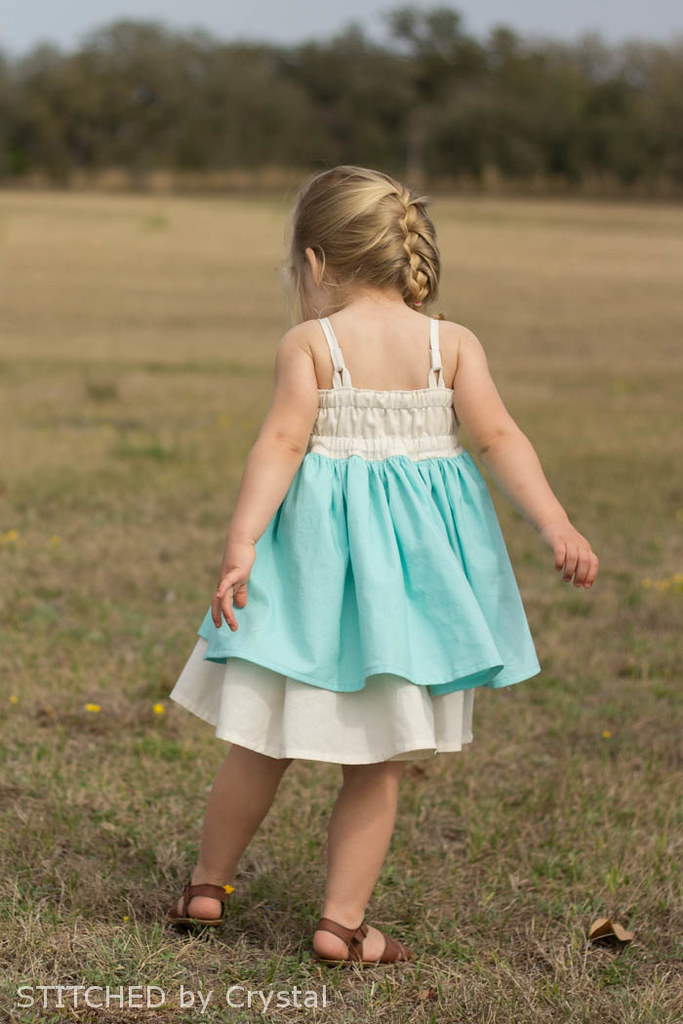
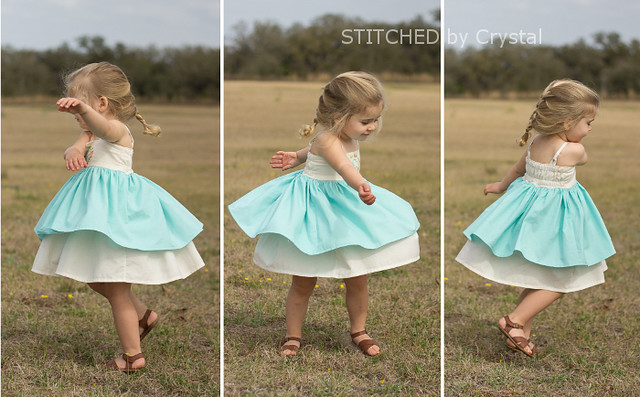
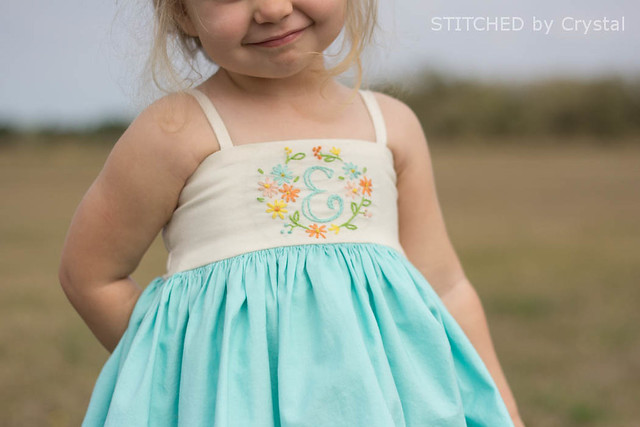
My kids have larger than average heads (I am chalking that up to the giant brains they have in there!) Trying to squeeze a dress over my wiggly toddler's oversized head can be real challenge. Because I don't like wrestling with her every morning, I have started adding continuous bound plackets to a lot of the dresses I make her.
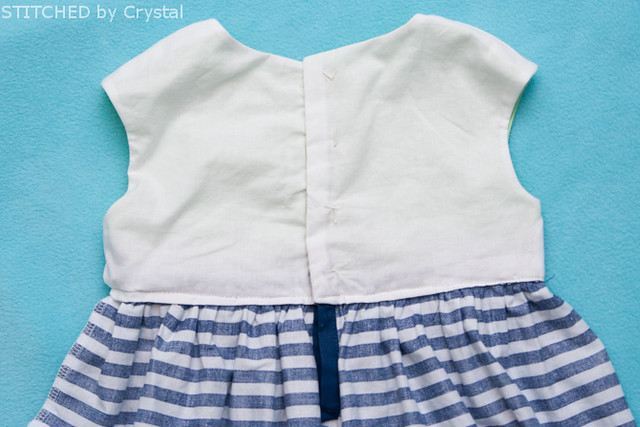
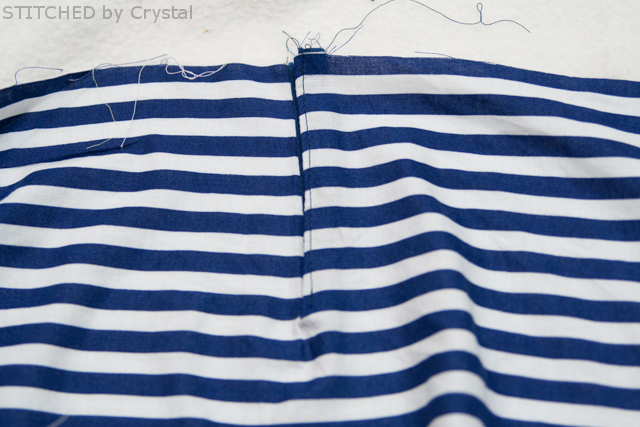
A continuous bound placket is basically just a slit in your fabric that is finished with bias tape, but it is not visible from the outside. It can be used at the back of dresses to extend the opening of the bodice down into the skirt a little making dressing and undressing those wiggly toddlers about 100x's easier! It is especially helpful on dresses with a short bodice and gathered skirt.
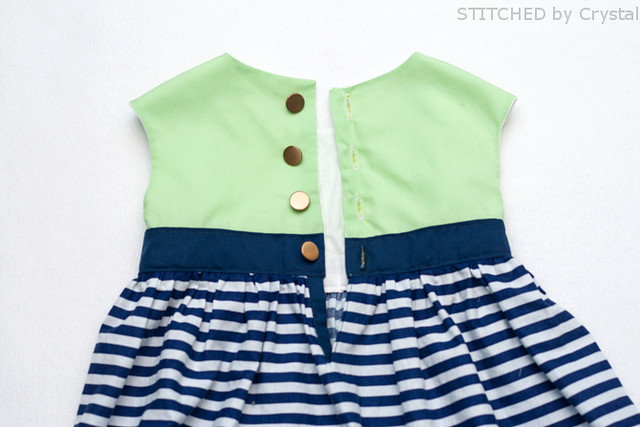
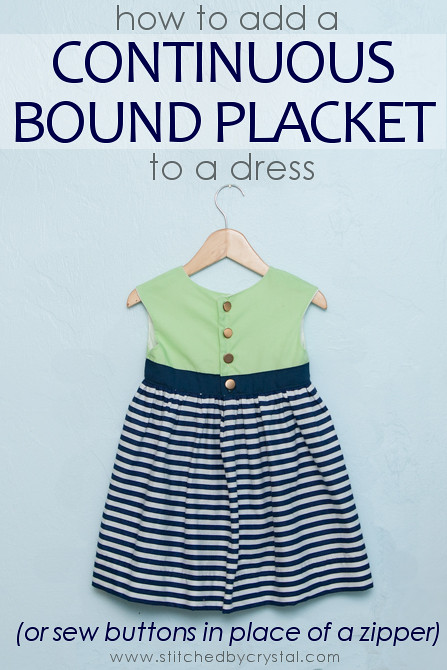
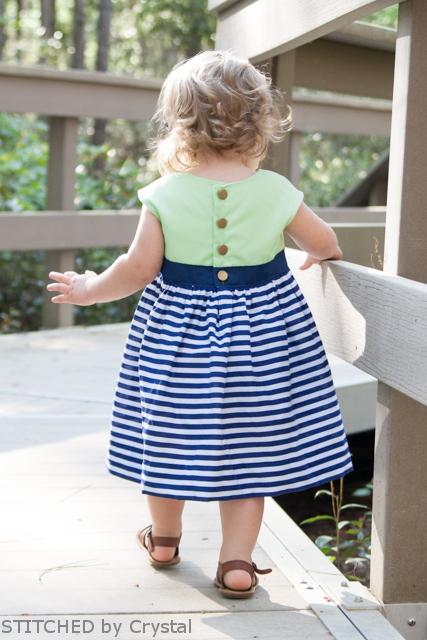
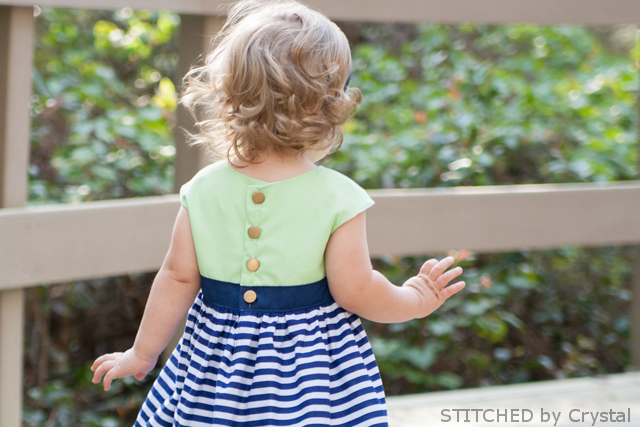
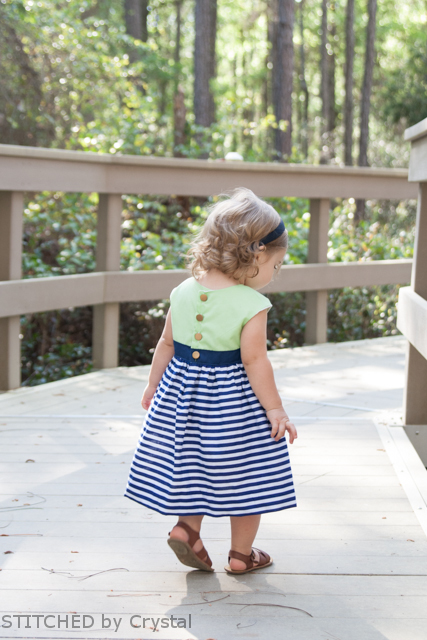
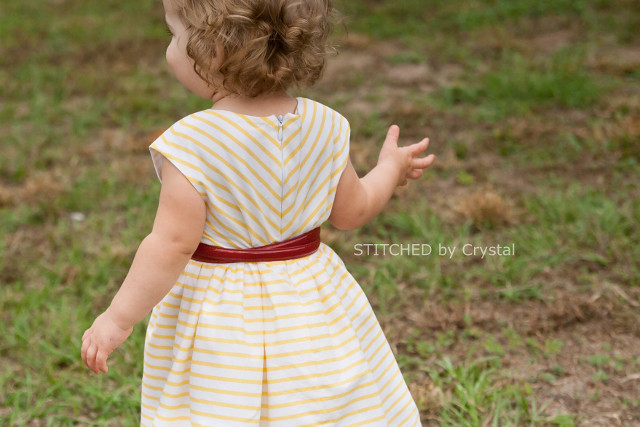
A continuous bound placket can also be used if you want to switch a zipper in a dress pattern out for buttons. Zippers usually extend down into the skirt a bit so you can’t always slap some buttons on the back instead. I used a continuous bound placket on the Nautical dress I made Em last month. I subbed buttons for the zipper on the Caroline Party dress by Mouse House Craetions, worked great! I am going to use it as an example to show you my method for adding the placket to a dress, but this method can be used to add a continuous bound placket to any dress with a bodice and gathered skirt that closes in the back.
Another great thing about this method is your seam between the bodice and skirt gets enclosed inside the bodice. So you end up with a nice clean finish without having to use a serger!
How to sew a continuous bound placket:
You will need...only about 10" of double fold bias tape!
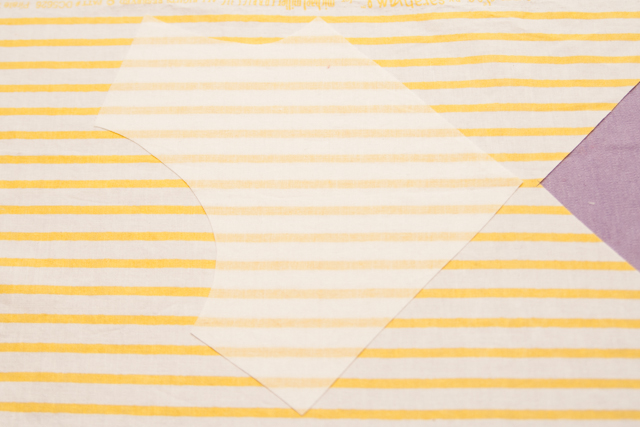
If the dress pattern you are using already has buttons to close at the back and you just want to extend your opening a bit, cut your pattern pieces according to the pattern.
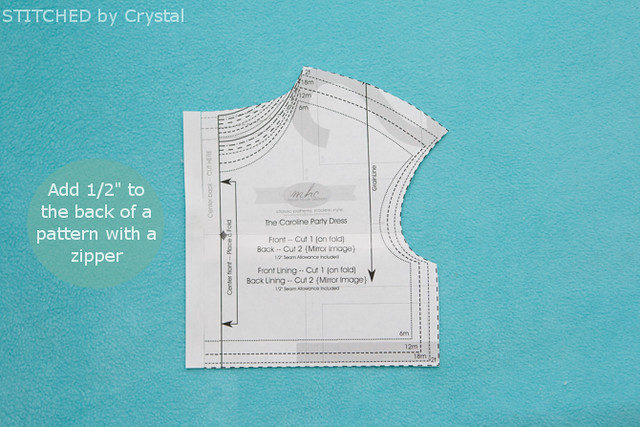
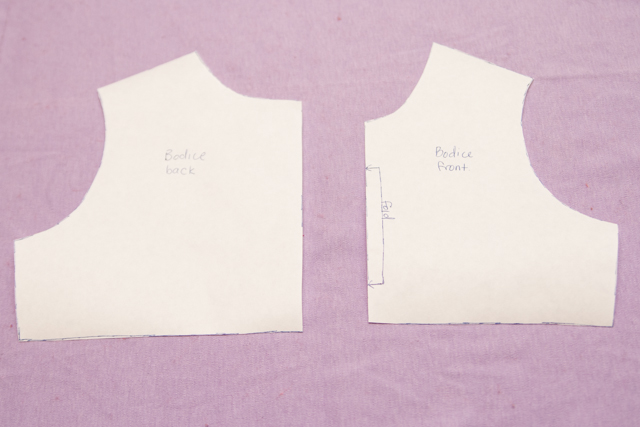
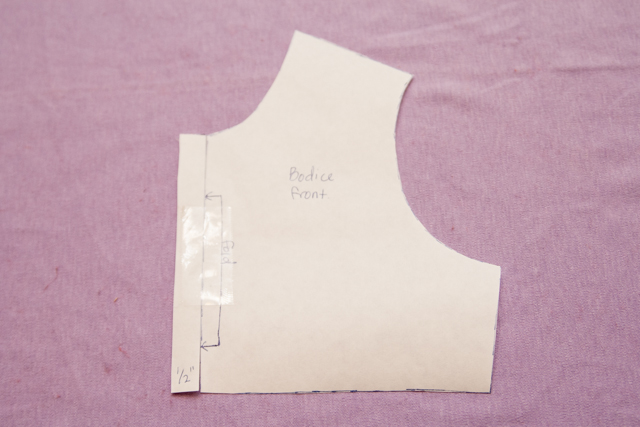
If the dress pattern has a zipper closure and you want to change over to buttons and a bias placket, you will have to make a few changes. First, you will need to add ½” to the back of the pattern. With the zipper the back sides meet in the middle with the zipper in-between, we need some overlap for the buttons and button holes. You can do this but cutting a ½” strip of paper and taping it onto your pattern before cutting your fabric.
Also, if your pattern calls for a zipper, it probably directs you to cut 2 rectangles for the skirt back. We only want one. So instead of cutting according to the back skirt measurements, cut the back of your skirt exactly like the front. You will now have 2 long rectangles; one will be used for the front of the skirt and one for the back.
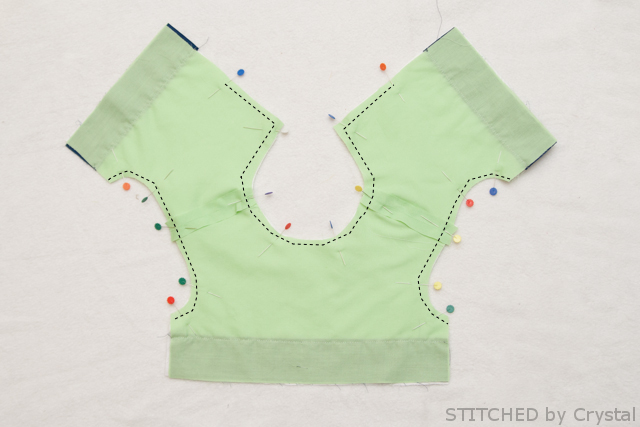
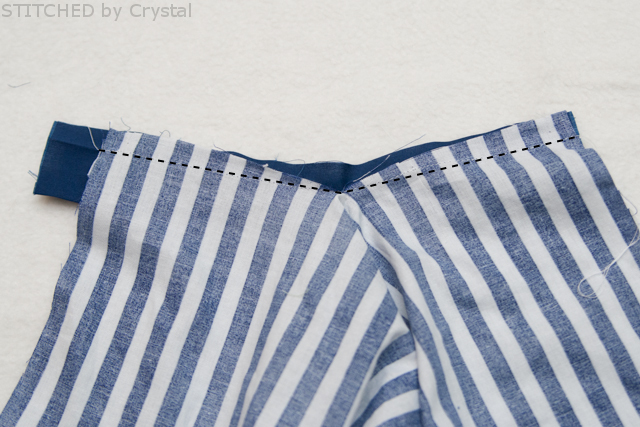
Start by sewing your bodice pieces together at the shoulders like you normally would. Then put the lining and bodice right sides together and sew around the arm holes. Sew the back and the arm holes, but don’t sew about 3” at the bottom of the bodice back as shown in the photo below.
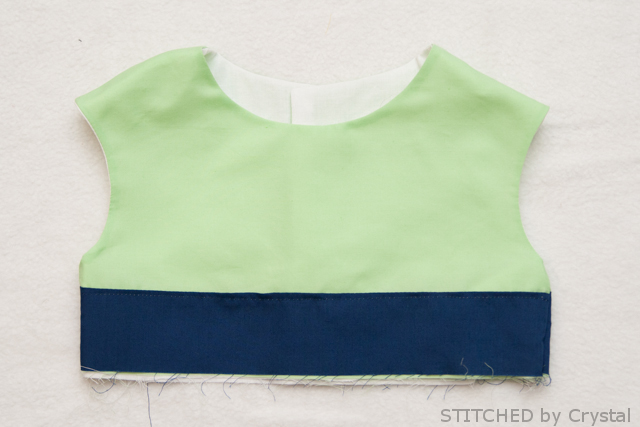
Then line up the underarms and sew to complete your bodice. Put your bodice aside.
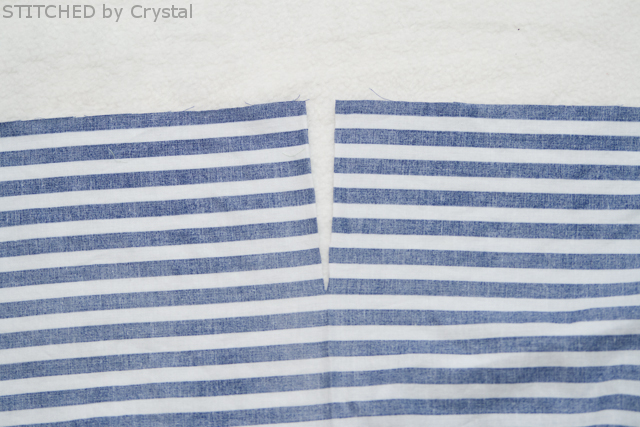
Find the center of your back skirt piece and cut a slit about 3”- 4” (cut 3” for smaller sizes and 4” for larger sizes.
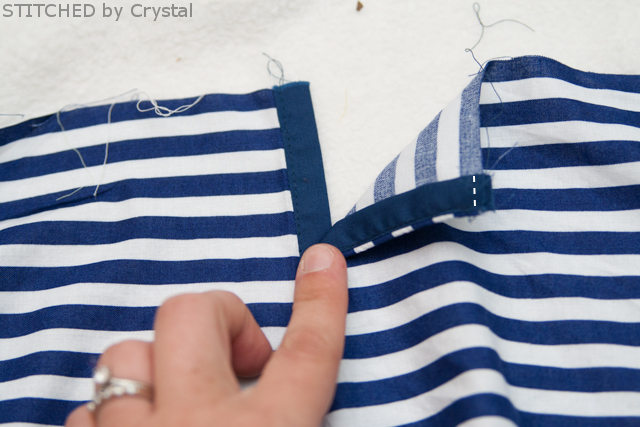
Open the slit so it forms a wide V shape. Unfold the bias tape and pin the raw edge of the bias tape to the slit of the skirt with right sides together. At both ends of the slit, the edge of the bias tape will line up with the edge of the slit. In the middle of the V, the fold will be just below the slit. Sew along the fold of the bias tape, just catching the skirt fabric at the bottom of the V, it will literally just be a few threads of the fabric holding on at the bottom of the V, that's all you need!
Refold the bias tape, folding it up and over the skirt fabric to encase the raw edges. Pin and sew in place. Cut off any extra bias tape.
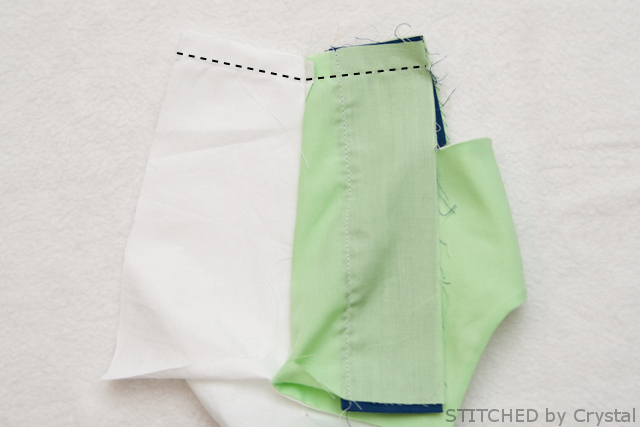
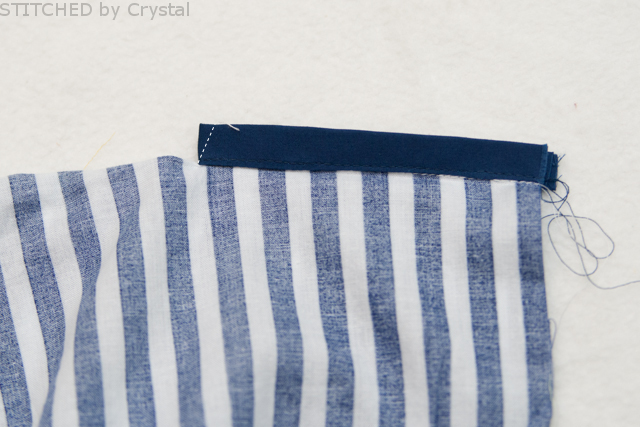
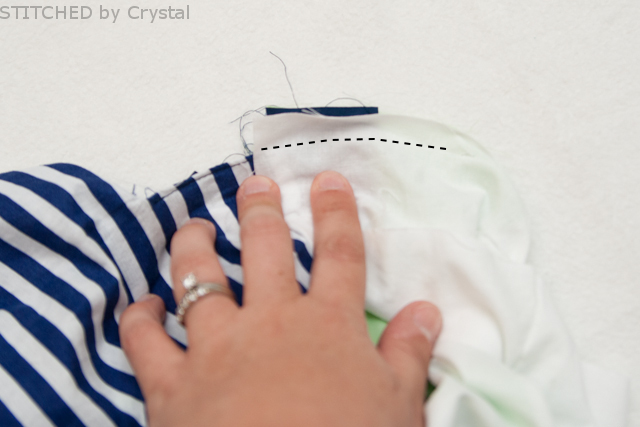
Fold your skirt along the placket, so the skirt is right sides together and the placket is sticking out. Sew the placket together at the bottom at an angle, this helps it from coming open while your garment is being worn.
Press the placket to one side and baste the side of the placket to the skirt so it stays folded under when you attach the skirt to the bodice.
If you want, you can also topstitch along the folded edge of the placket, I like to do this to help keep that side folded under, but is not necessary.
Sew your skirt back to the skirt front along the side seams, then gather the top of the skirt.
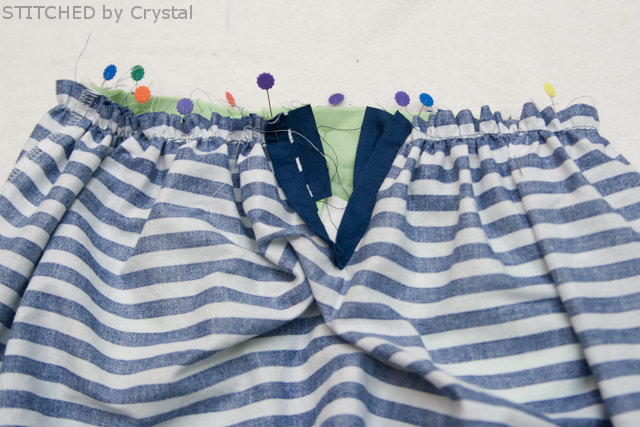
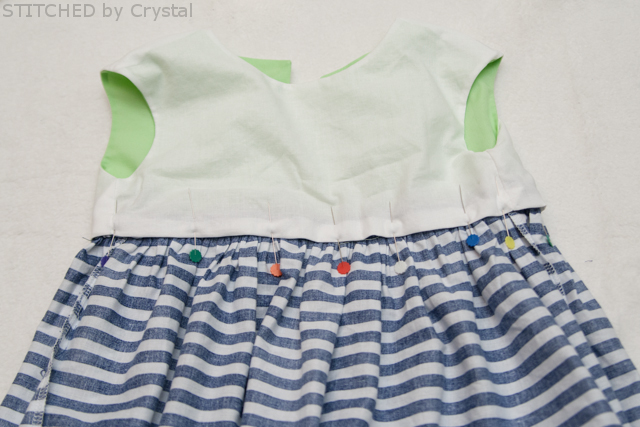
Move your lining out of the way so you can pin the gathered skirt to the outer bodice. Pin the skirt so the back sides of the bodice stick out ½” past the placket on both sides. Sew the skirt to the bodice.
Put center back sides of outer bodice and the lining right sides together and finish sewing the back of the dress with a ½” seam allowance, sewing just to the side of the skirt.
Tuck the raw edge of the lining under and pin in place. Sew the lining in place either by hand or by topstitching along the bottom of the bodice.
Finally, mark placement for your buttons and button holes at the back. The button holes will go on the side wher the placket is folded under so they end up on top.
That's it! Now you have a dress with a continuous bound placket, you will be so happy to have it when you go to put that dress on your wiggly toddler!