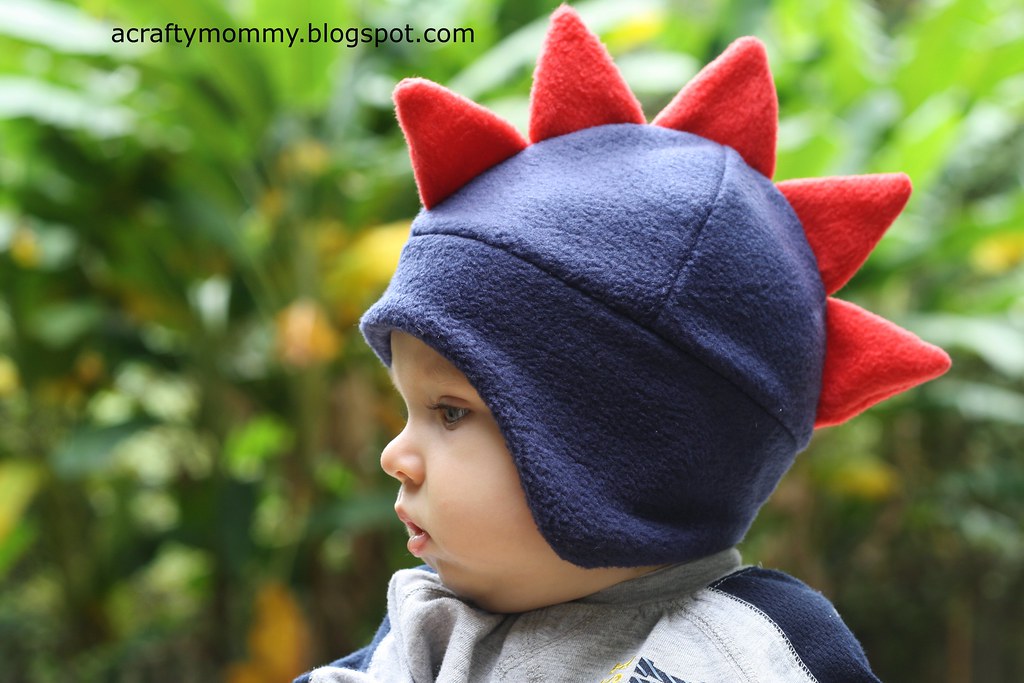
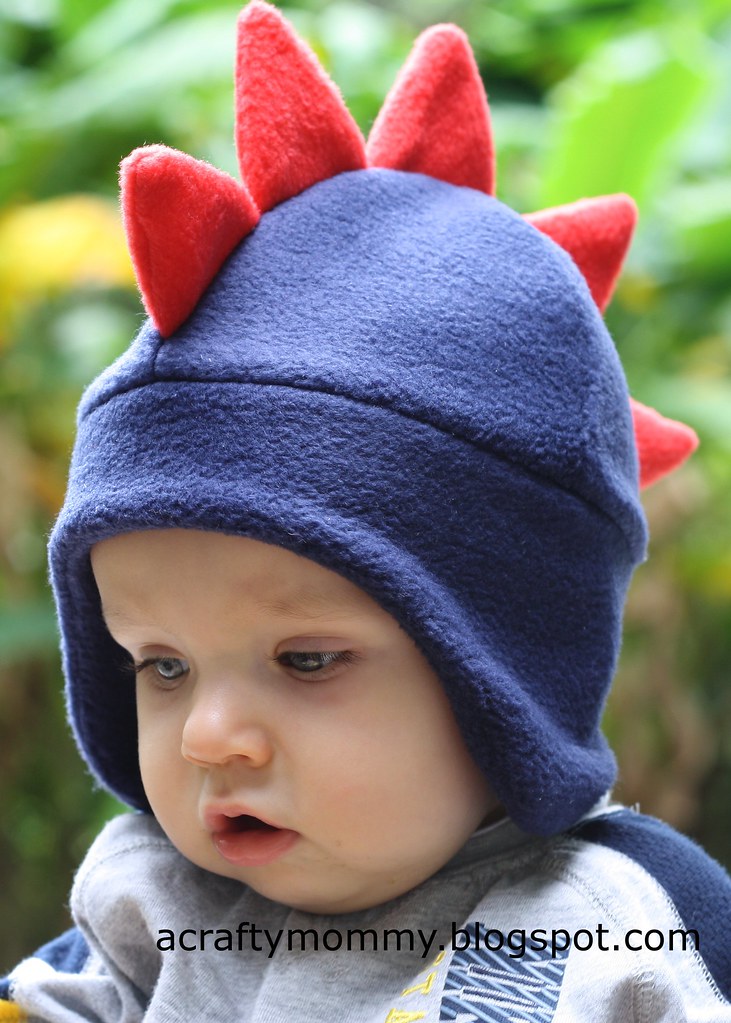
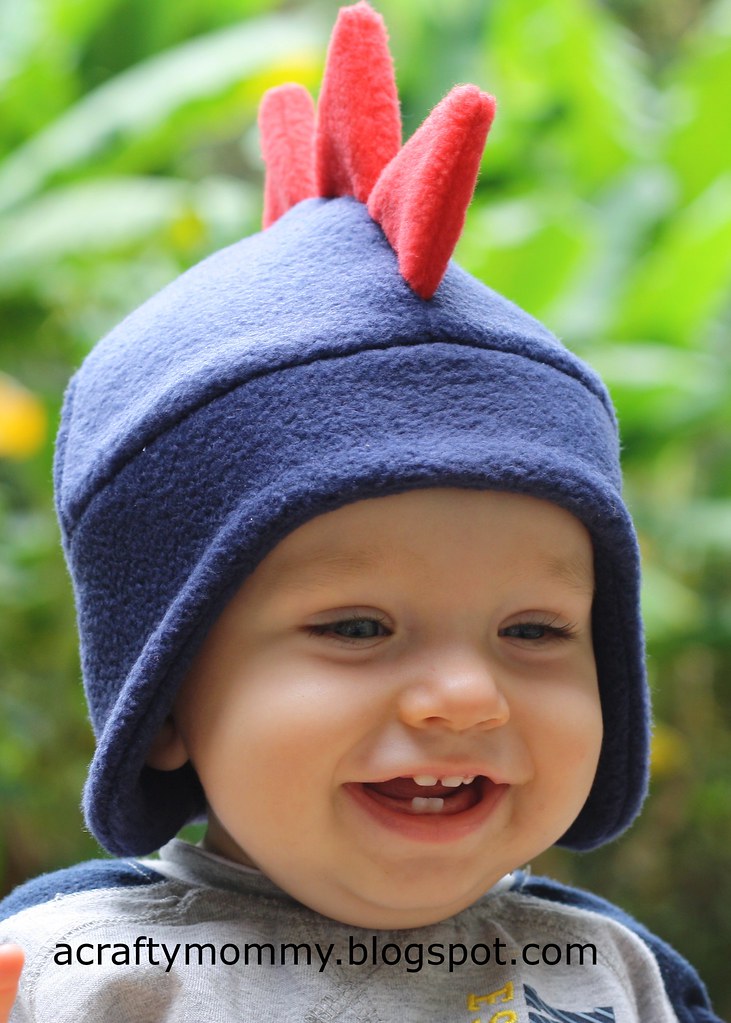
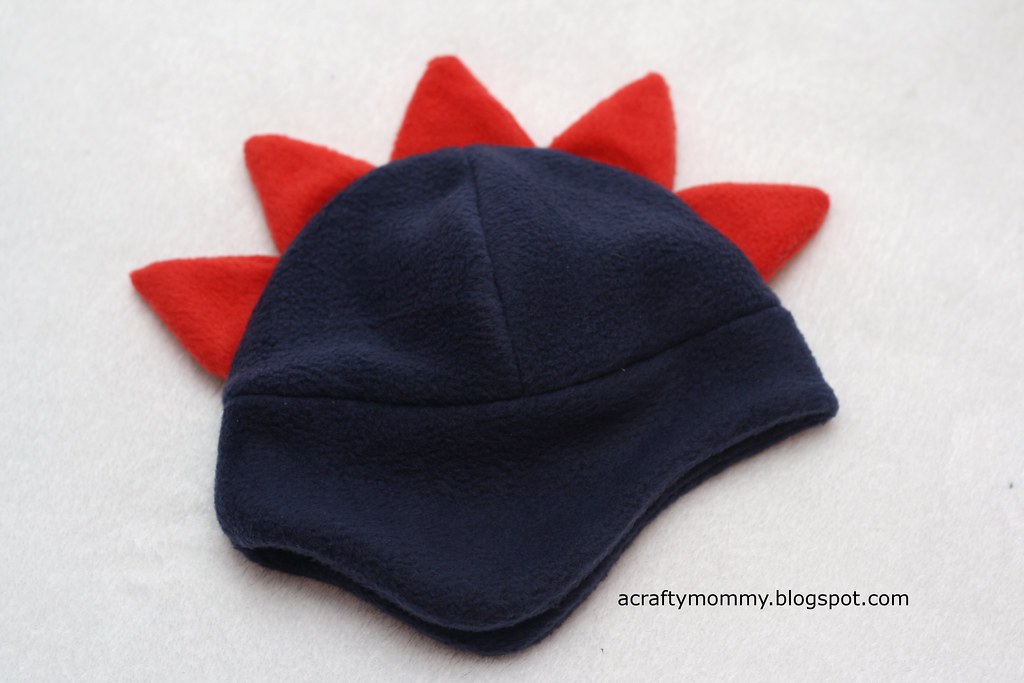
It's is getting closer to winter so my little guy needed a warm hat. I have been planning this hat for a while, I bought all the stuff to make it during kids clothes week challenge but didn't have time. Well I got it done today. It came together really quick, I drafted the pattern, cut everything, and sewed it all during a one hour nap!
I made it with fleece which doesn't fray, that means no finishing seams, and I did no ironing!
I think it turned out super cute, the dino look is perfect for a little boy and it should keep his head and ears warm this winter. And I think my little guy likes it too!
Here is how I did it...
Skill Level: beginner
Materials:
1/4 yard fleece for hat
a bit of contrasting fleece for dino points
sewing machine
If you make your own pattern you will need a ruler, paper, and marker. If you little ones head is 19" like Andrew's, you can download my pattern here.
To make my pattern, first I measured Andrew's head, it is 19" exactly. To make the pattern for the ear flap, I added 1/2" to his head circumference (for seam allowance) then divided that number by 2.
19"+.5"=19.5"
19.5"/2=9.75".
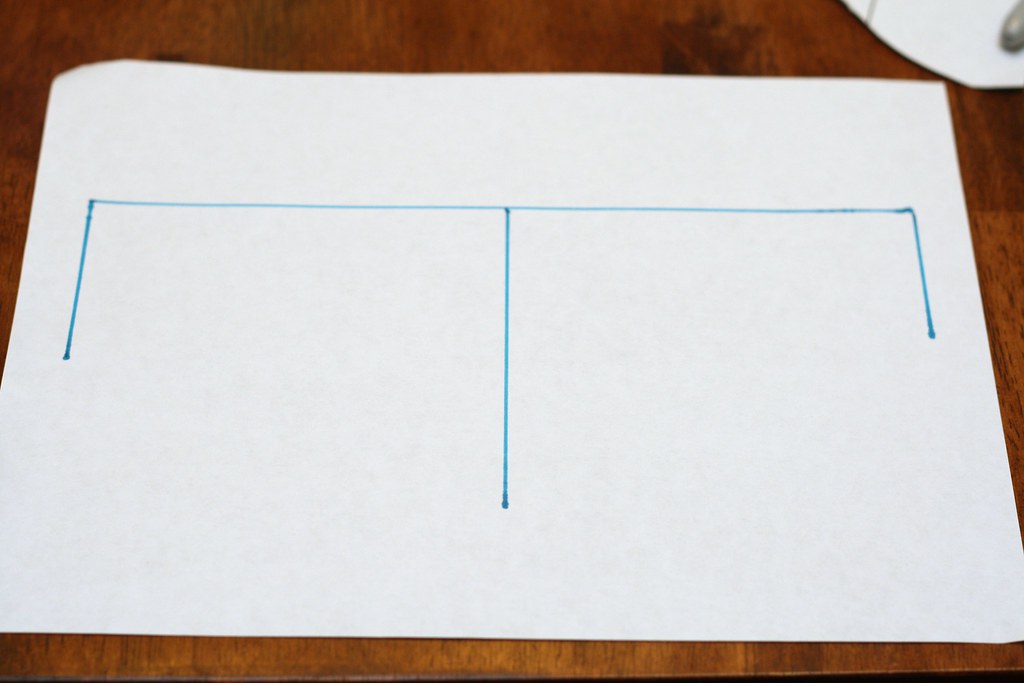
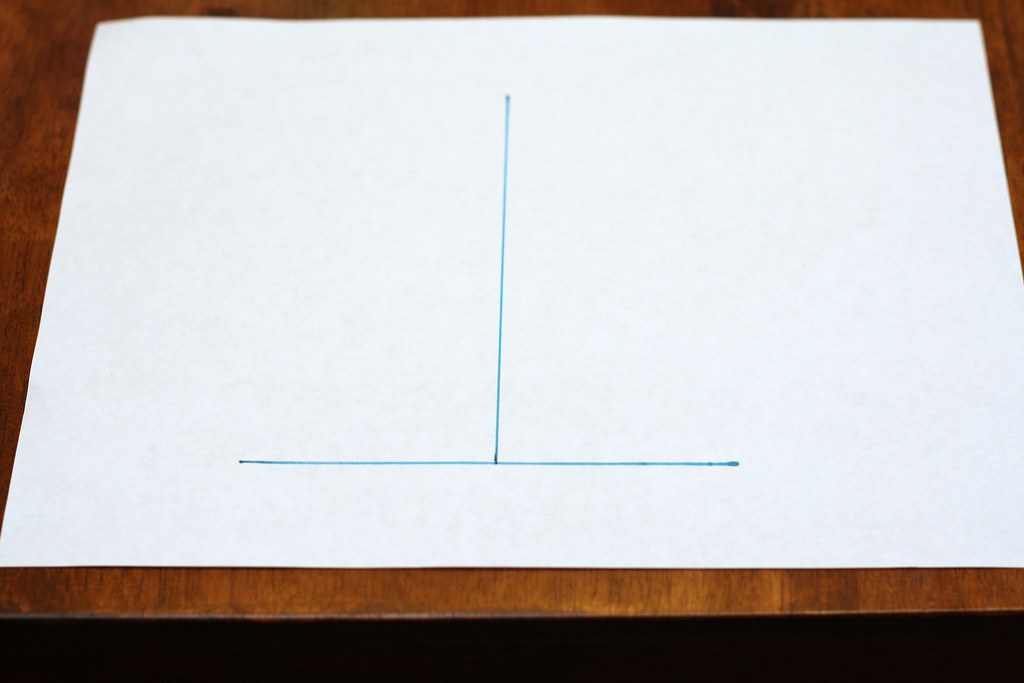
I drew a line 9.75" on my paper. Then I drew a 2" line down from one end, a 2.5" line down on the other end and a 4.5" line right in the middle.
The side with the 2.5" line is the back, the 2" side is the front and will be on the fold when you cut out your patter. I wanted the ear flap closer to the back for it wouldn't get in his face, so I free handed the ear flap closer to the back.
Next I drew the pieces for the top of the hat. to get the measurements, I divided his head circumference by 4 since I will have 4 pieces. then added 1/2" for seam allowance.
19"/4= 4.75"
4.75"+.5"=5.25"
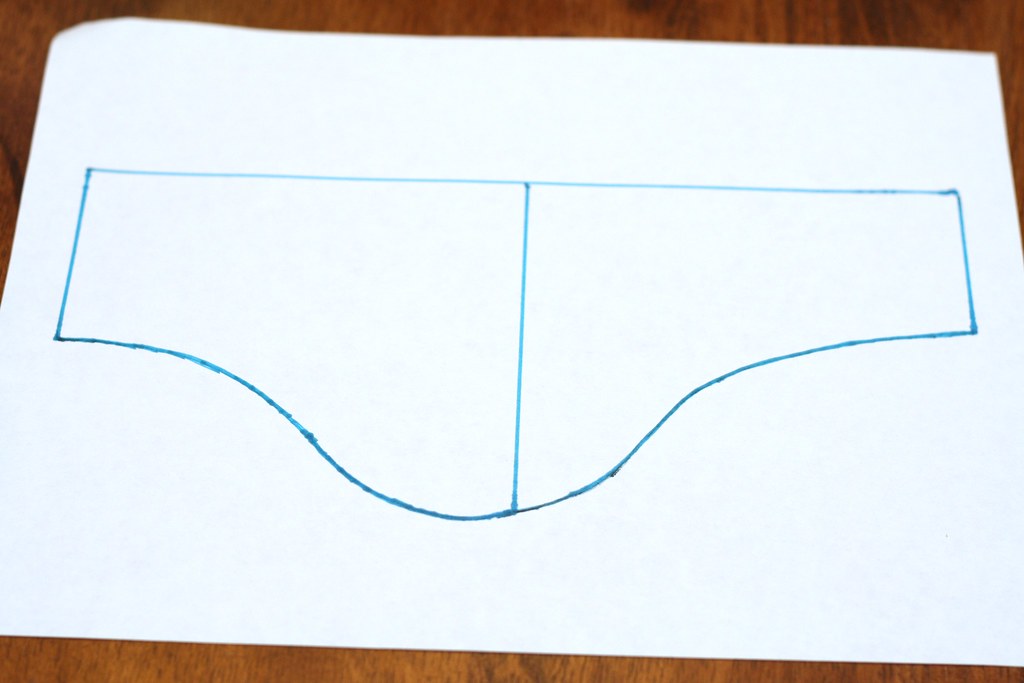
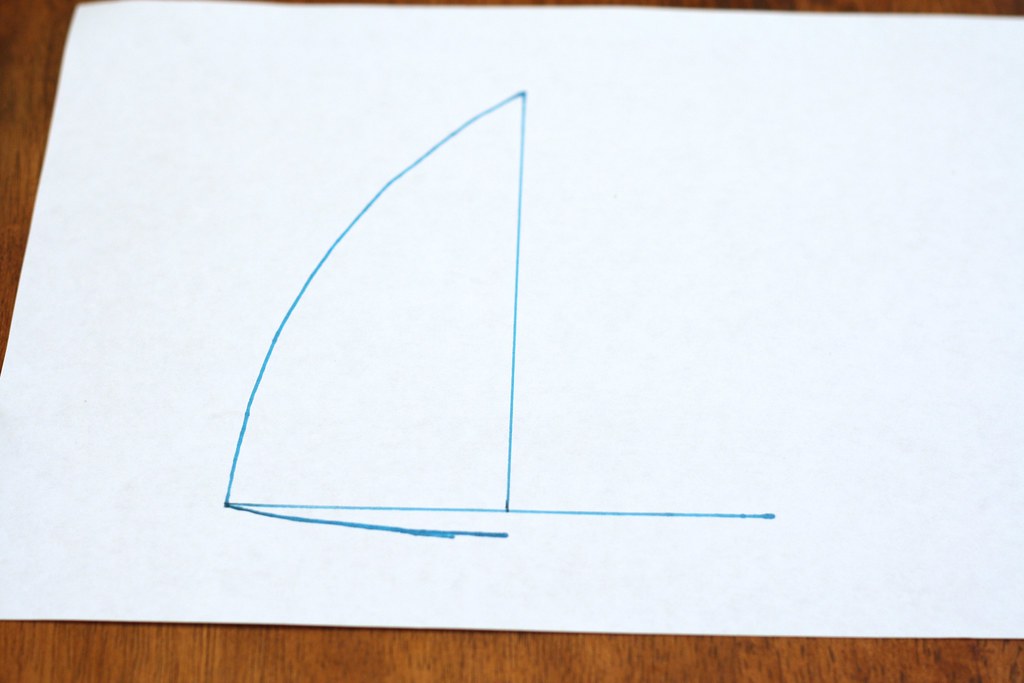
I drew a line 5.25" on my paper and in the middle of that line, I drew a line straight up 5.75"
Then I drew a curved line from the bottom line to the top line and a slight curve across the bottom. I only drew them on one side, then I folded my pattern in half to cut it out so it would be symmetrical.
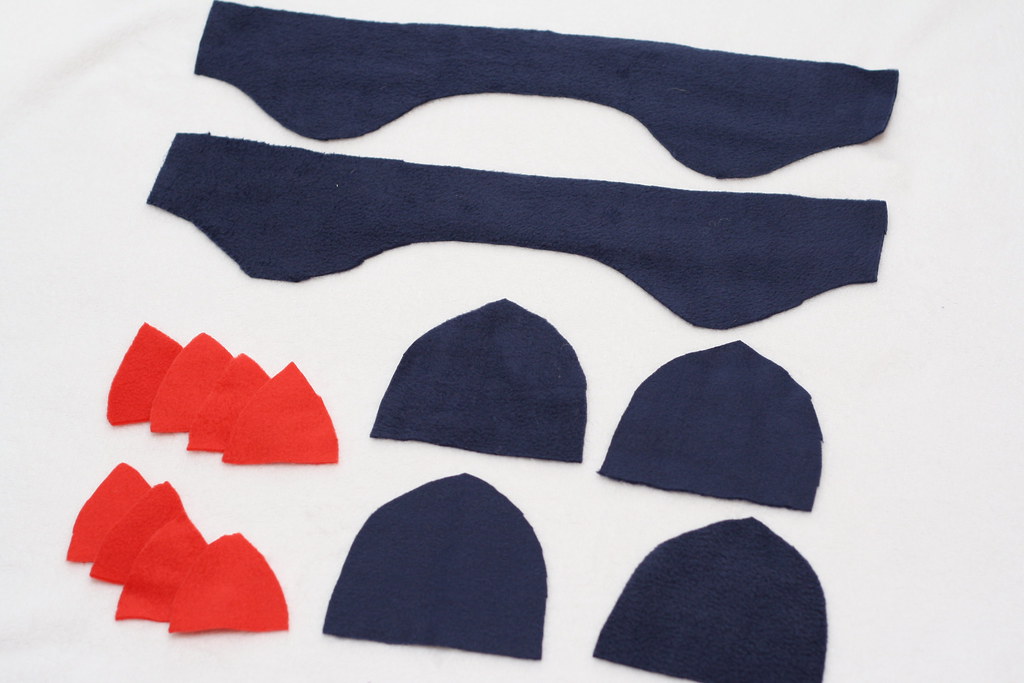
And you have your pattern! Now cut out 2 of the ear flap pieces (remember to put the front side on the fold) and 4 of the triangle pieces for the top of that hat. Then I cut out 10 little triangles for the top, I made mine about 2.5" high and 2" wide.
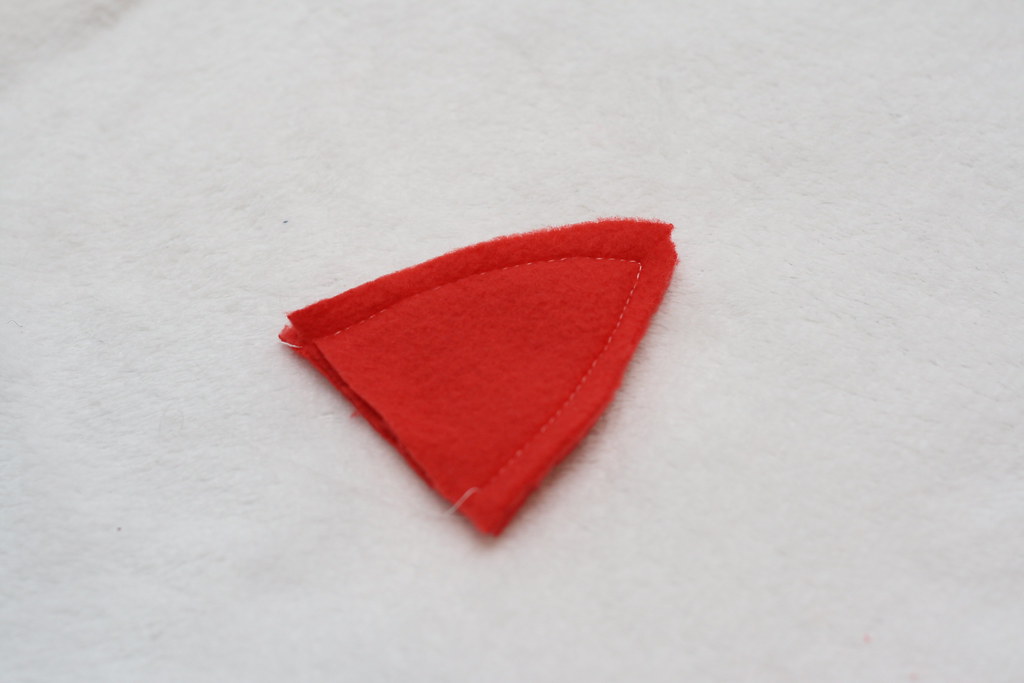
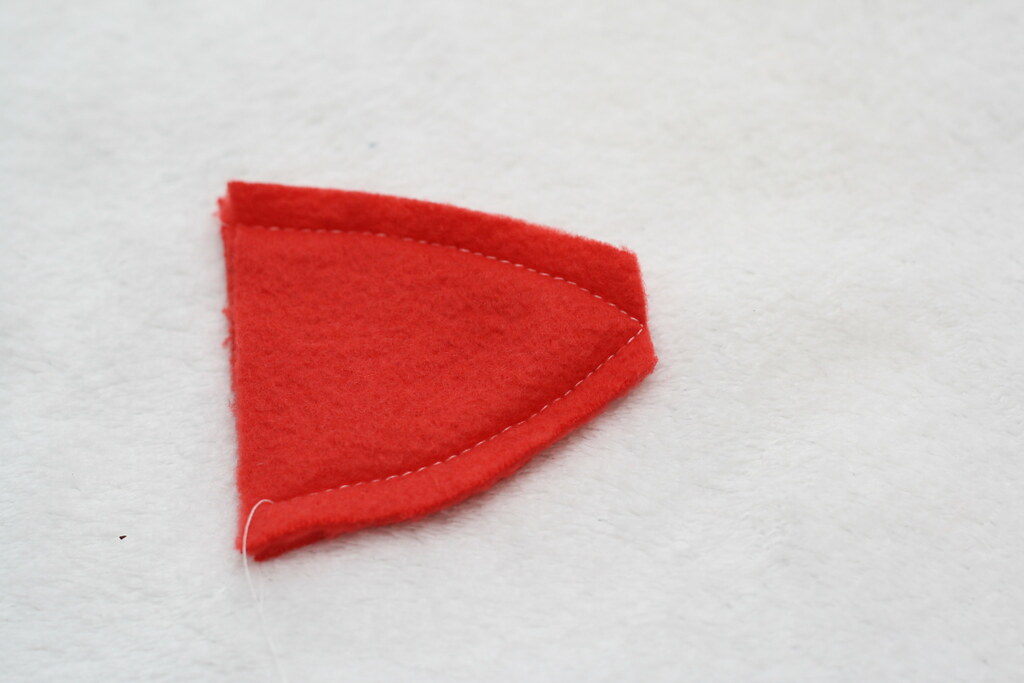
Take two small triangles and sew them right sides together
Trim the top corner off so there is not so much bulk inside.
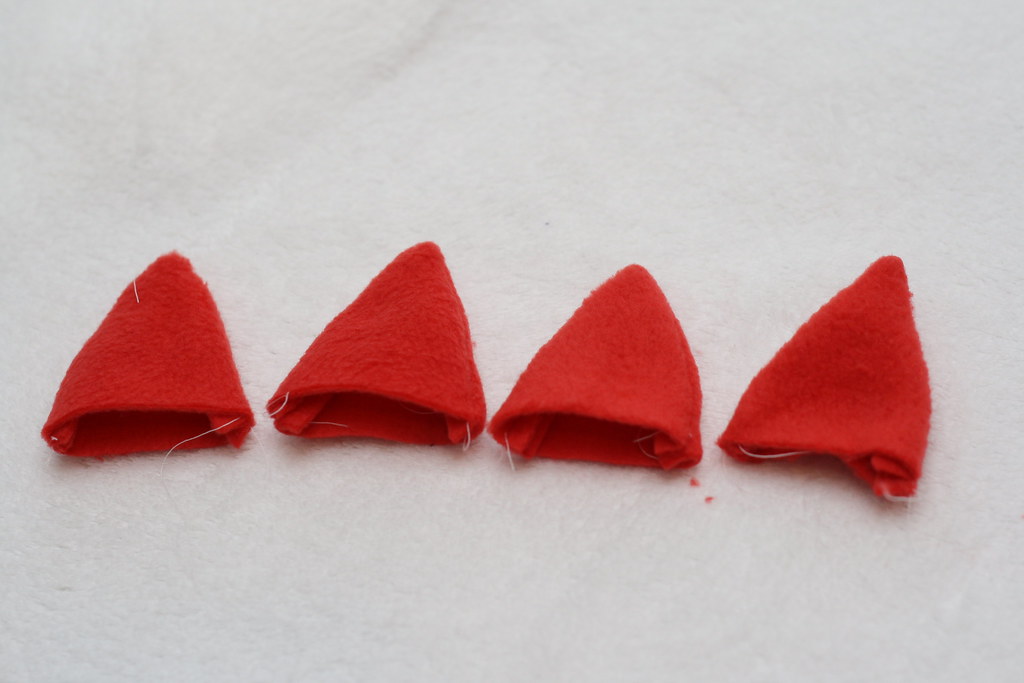
Then turn the triangle right side out. Repeat with the other triangles.
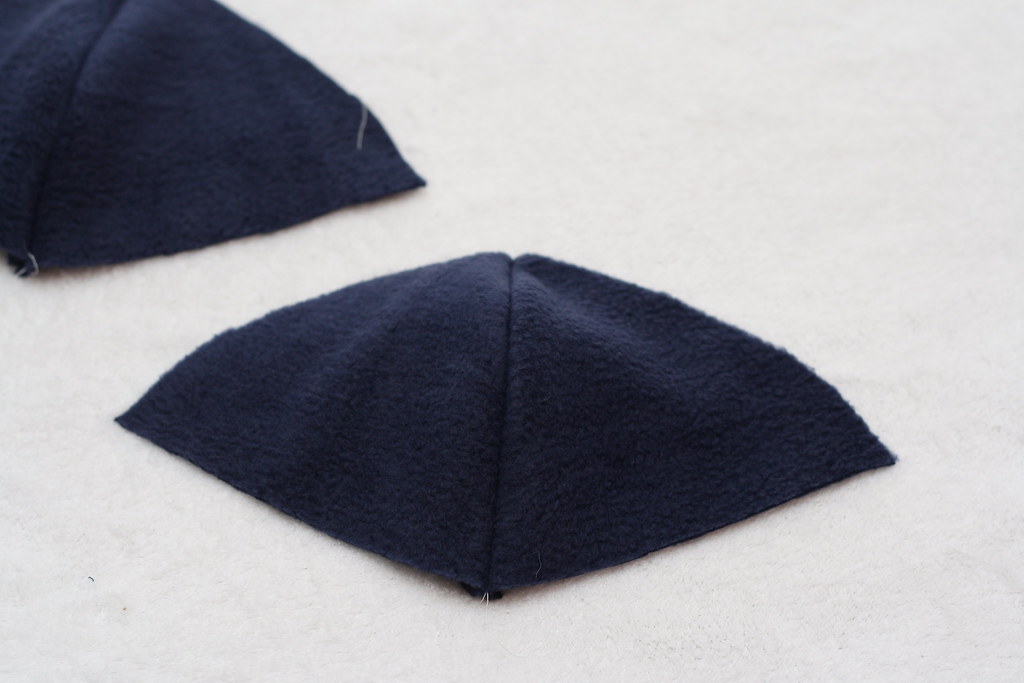
Next take 2 of the bigger triangles and sew them right sides together along one side. Repeat with the other 2 triangles, these will make the top sides of your hat.
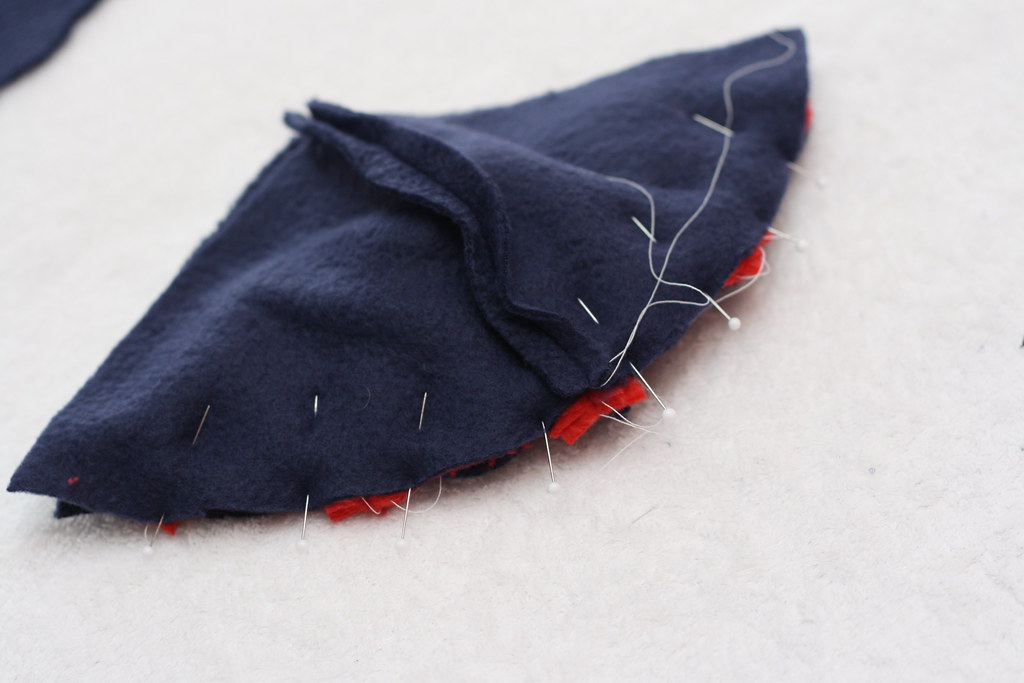
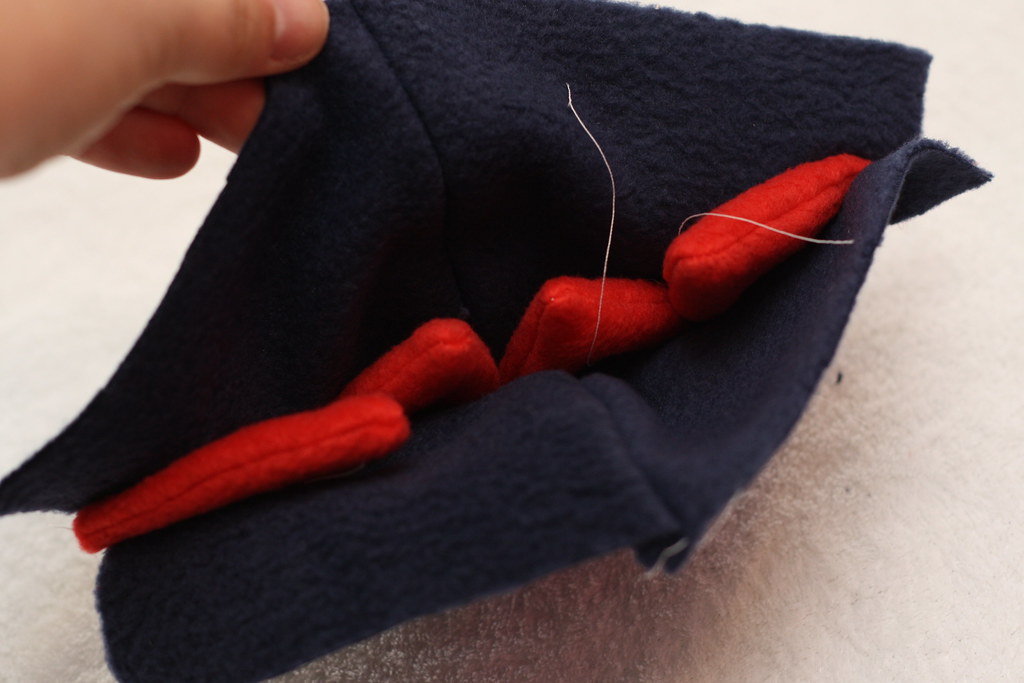
Pin the sides together (right sides together) with the dino triangles sandwiched in between, pointing down.
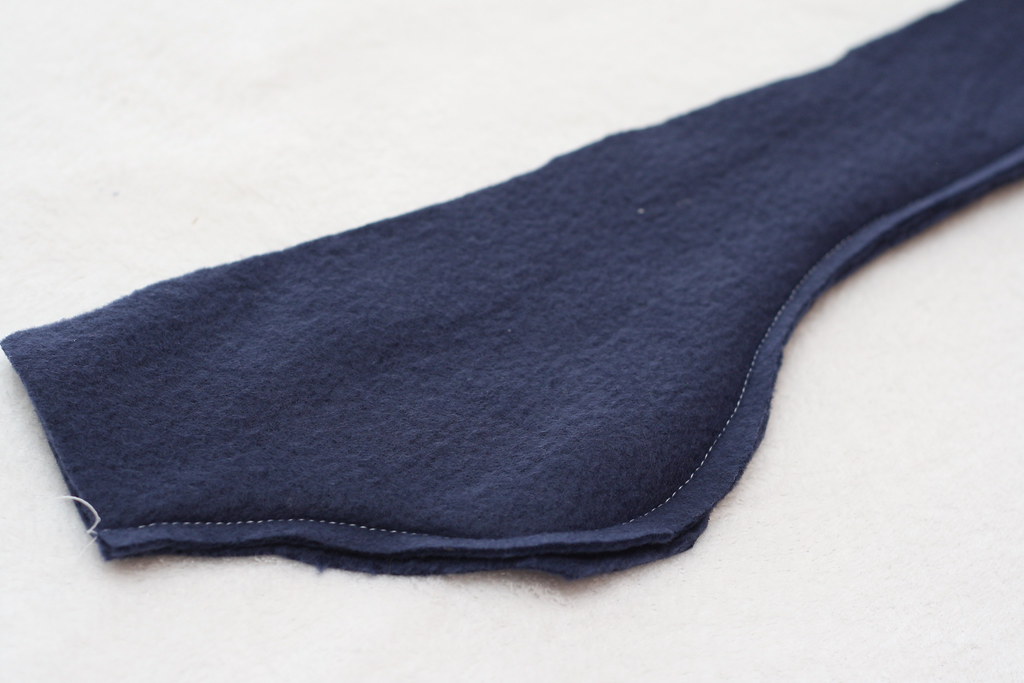
Sew them together and put the top of the hat aside. Grab your 2 ear flap pieces. Place them right sides together and sew along the edge.
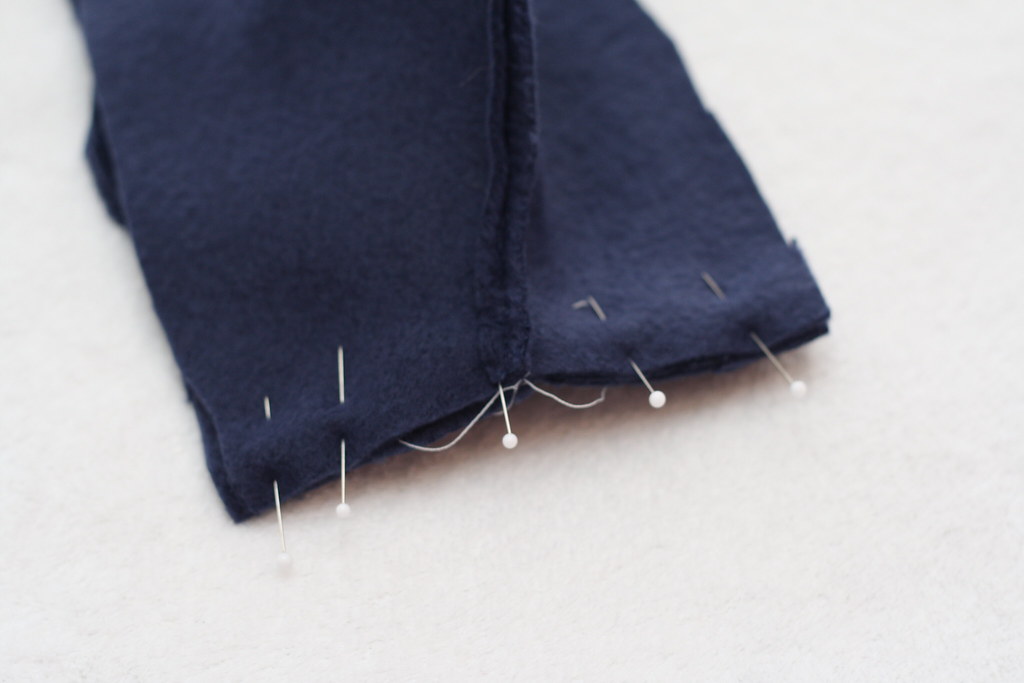
Open both ends and put them right sides together. Line up the seams, pin in place, then sew along the edge.
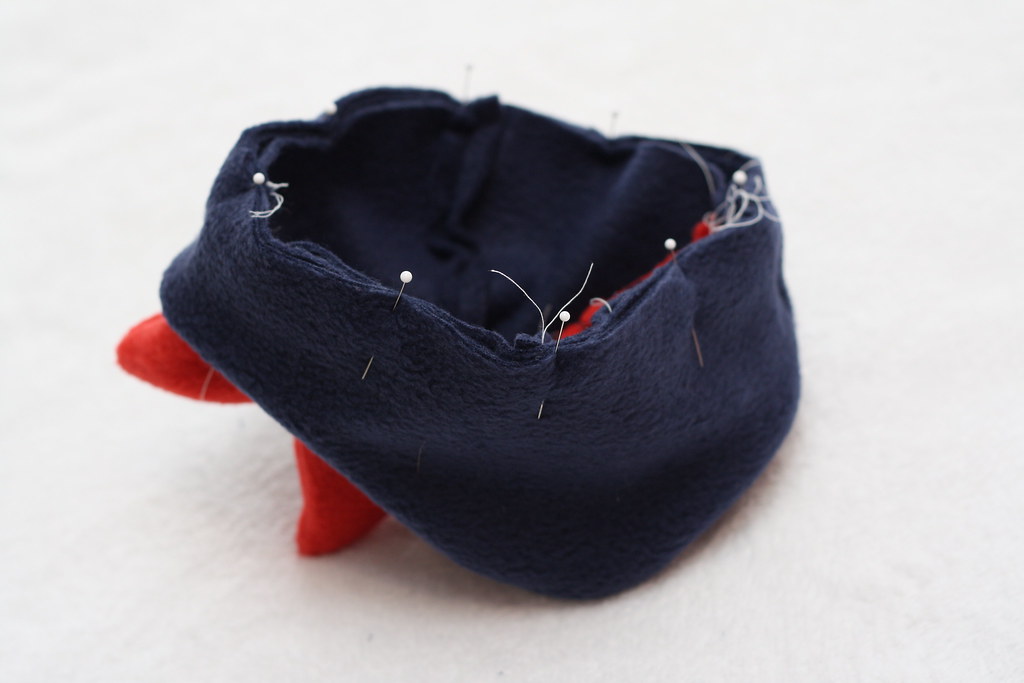
Turn your ear flap band right side out. Pin the top of the band to the top of your hat. Start by lining up the back seam of the band with one of the seams on the top where the dino points are.
Sew the band to the top of the hat and you are done!
Put your hat on your little one and enjoy! Then take a picture and share it in my flickr group, I would love to see it!