I have been wanting to make my daughter a doll for a while. It was on my list of things to make before Christmas but I never got around to it. We were out shopping for little gifts for their Easter baskets last night and I thought a bunny rag doll would be perfect!
Enter this little gal....
Are you looking for a quick project for your little ones Easter basket? This bunny was easy and a ton of fun to make.
I love seeing things I dream up come to life. I get so excited when it actually works, and even more excited when it looks like what I was imagining in my head!
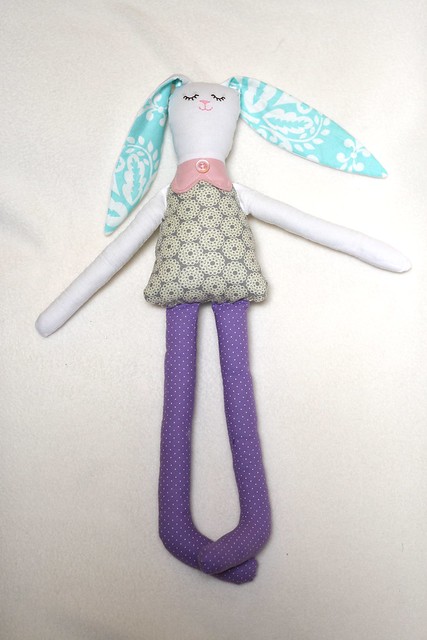
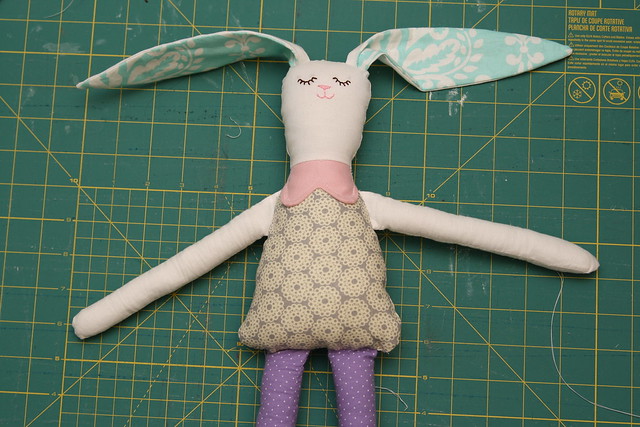
She is about 18" tall from her toes to the top of her head.
I love her giant bunny feet!
To make a bunny, you need:
- Some fabric, this is a great pattern to use up some scraps.
- Poly-fil
- Embroidery thread
- Sewing machine
- Needle and thread
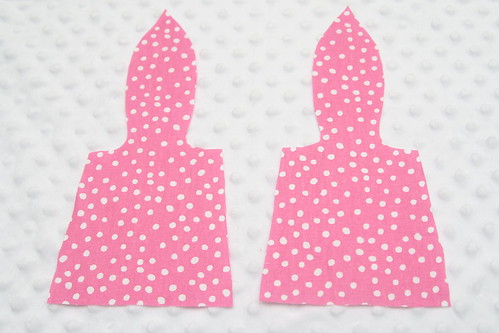
- The pattern found HERE
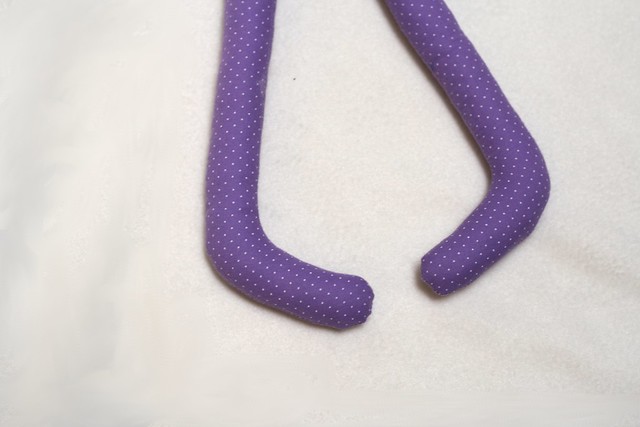
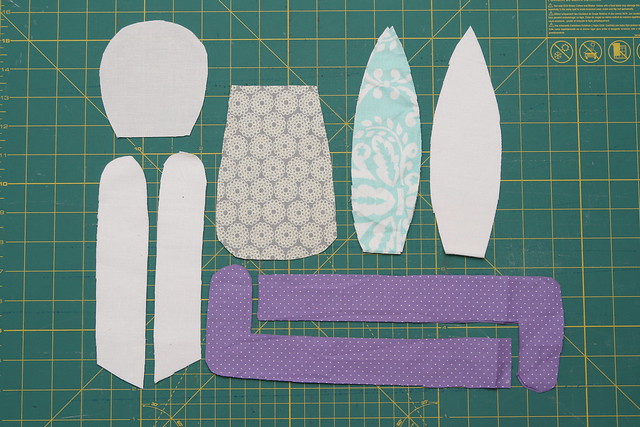
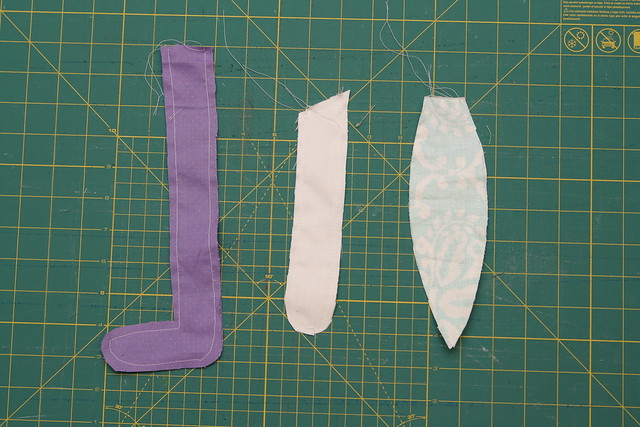
First use the pattern to cut out your pieces (you probably noticed your feet look a bit different than the ones pictured, I didn't like the way they looked at first, you will notice them change about half way through)
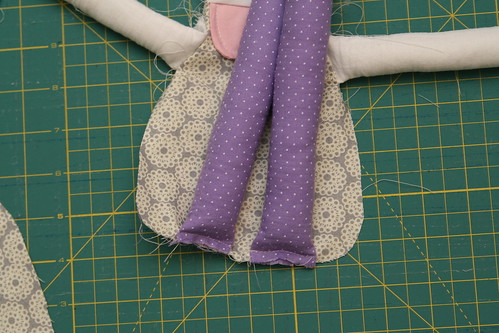
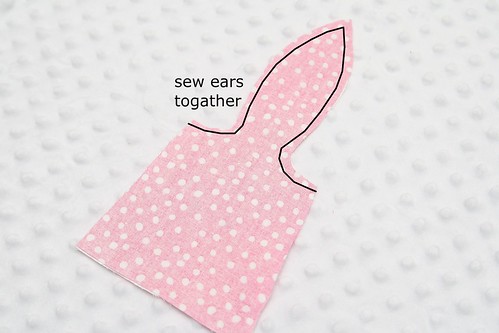
Sew your ears, arms and legs right sides together.
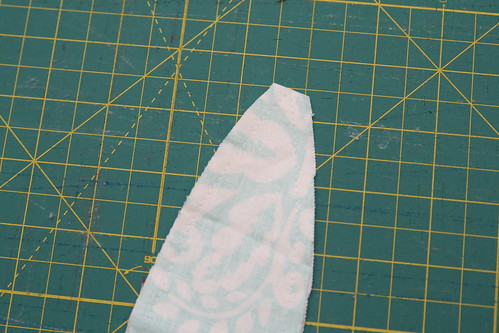
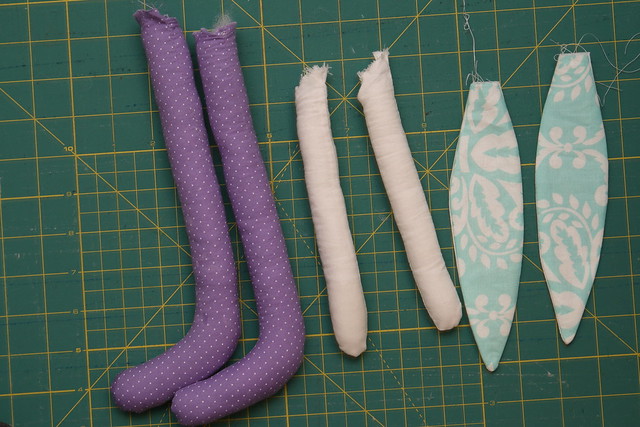
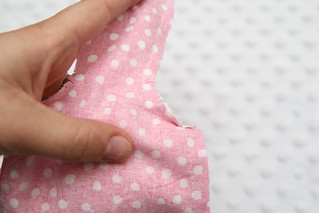
Trim off the tips of the ears and snip inside of the curve on the feet close to the seam.
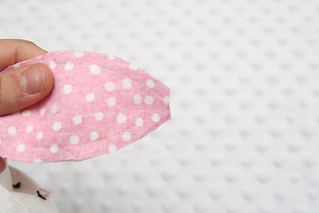
Turn them right side out. Stuff the arms and legs and press the ears flat.
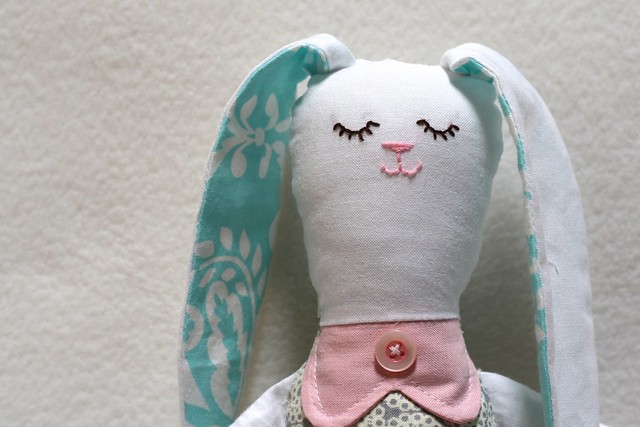
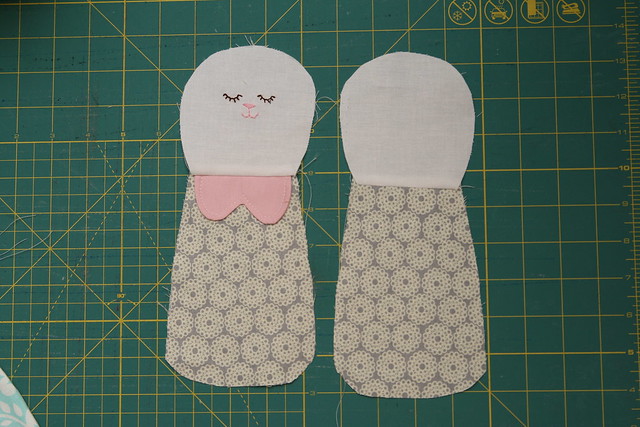
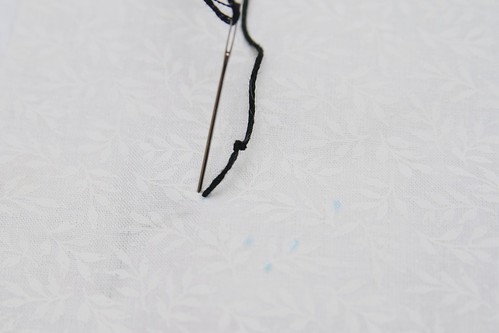
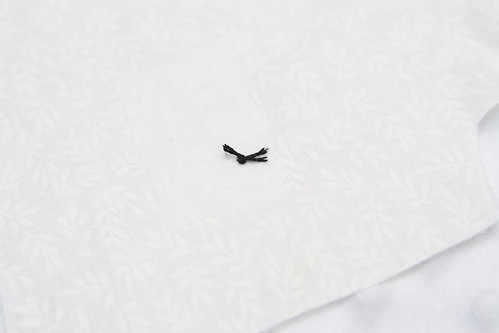
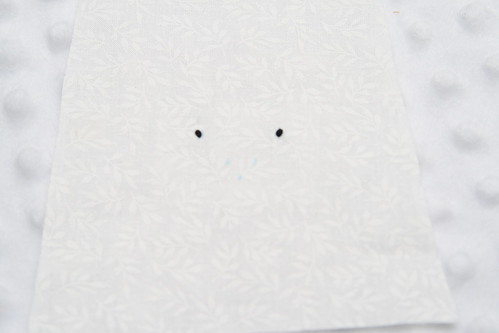
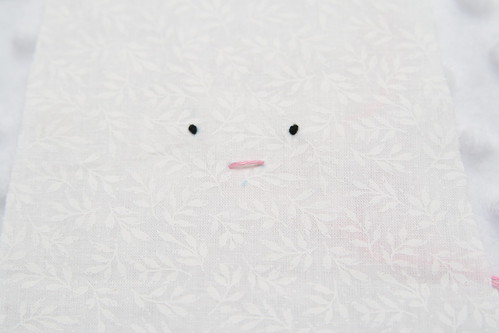
Sew the heads to the bodies. I added a little collar to the front. I also embroidered the face before sewing it on, you can do that now or wait until it is stuffed.
Baste your arms and legs in place on the front body of the bunny.
Baste the ears to the back of the head.
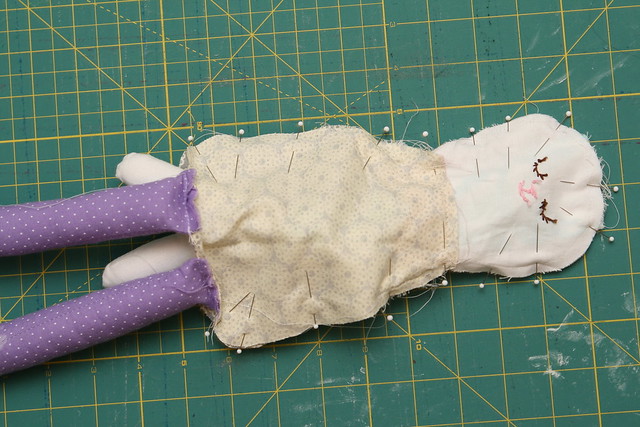
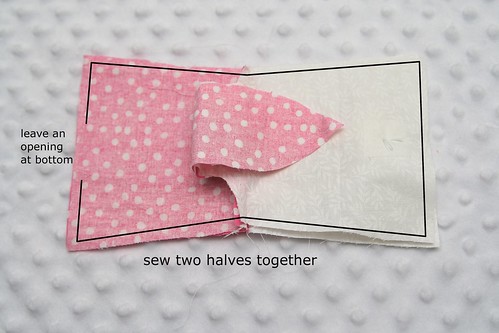
Pin the two halves together, make sure the arms and ears are tucked inside, the legs can stick out the bottom.
Sew around the bunny starting next to one leg and ending at the other.
Turn the bunny right side out, stuff him, then hand stitch her hiney closed.
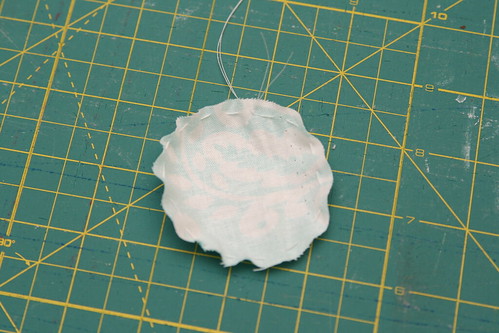
To make a tail, cut a 2" circle and sew a running stitch around the edge.
Pull the string tight and stuff some poly-fil inside.
Stitch the tail on the back of the bunny.
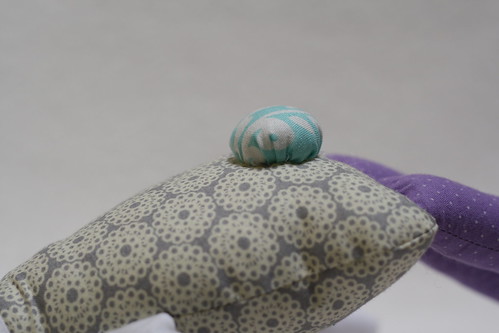
I added a little button on her collar and she is all done!