Showing posts with label Easter. Show all posts

Mar 26, 2015

Trendsetter Easter Dress

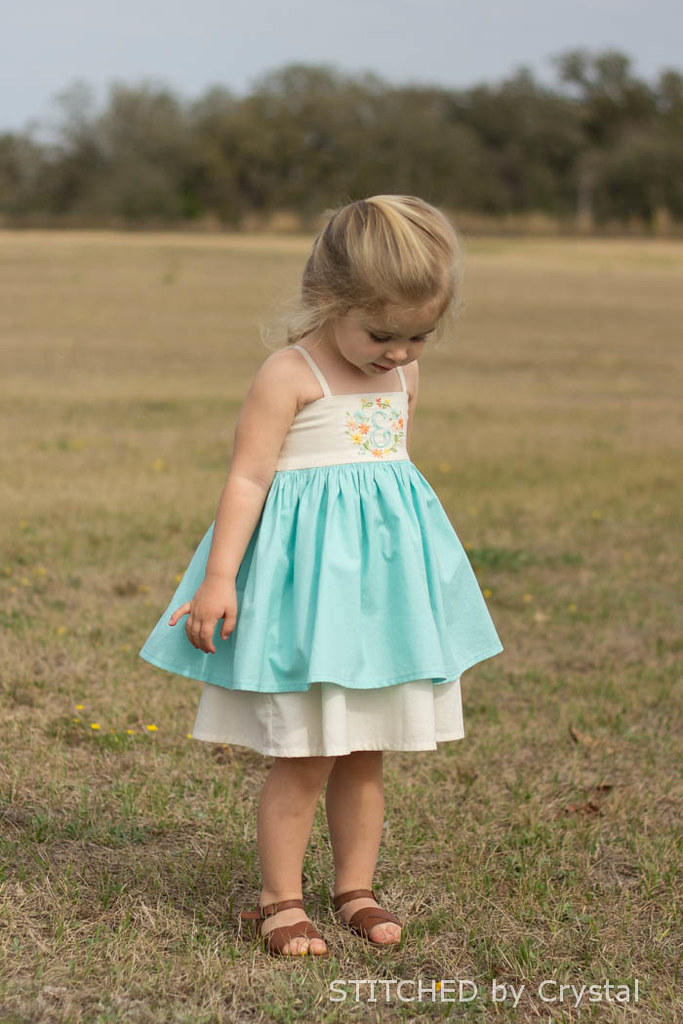
I finished Em's Easter Dress way ahead of time this year!  (You can check out last years Easter dress HERE...still one of my favorites! and the year before that HERE)  This year, she will be wearing the new Trendsetter dress from Little Lizard King.


When I first saw this design I thought it was screaming for some embroidery on the bodice, and I had just the thing.  I did this hand embroidery a while ago for a different project and didn't end up using it.  It just happened to be the perfect size for the bodice and in perfect Easter colors...it was meant to be!  
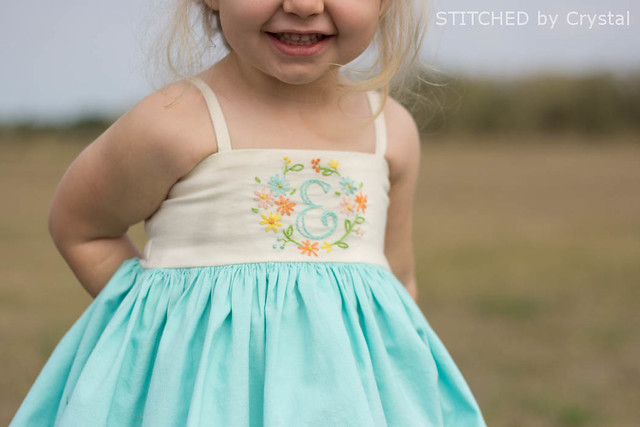

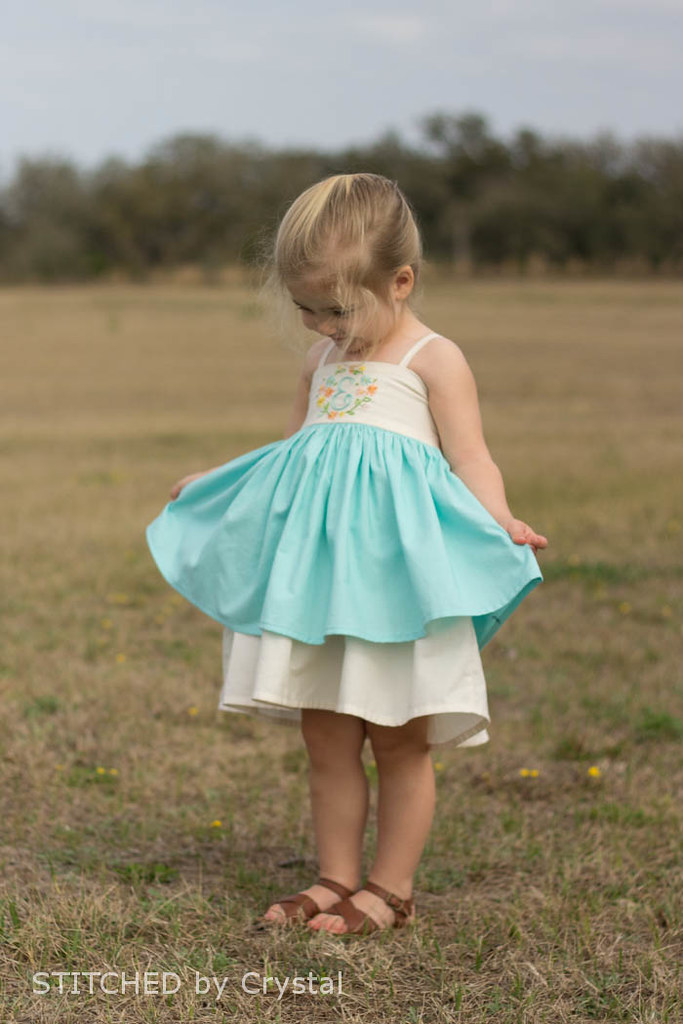
Just like the Perfect 10 shirt Cassie also designed for Little Lizard King, this dress has lots of options!  I did a simple version with a double layer skirt.  There is also a single layer skirt and options for a fancy dress with fabrics like chiffon, lace, or tulle.  

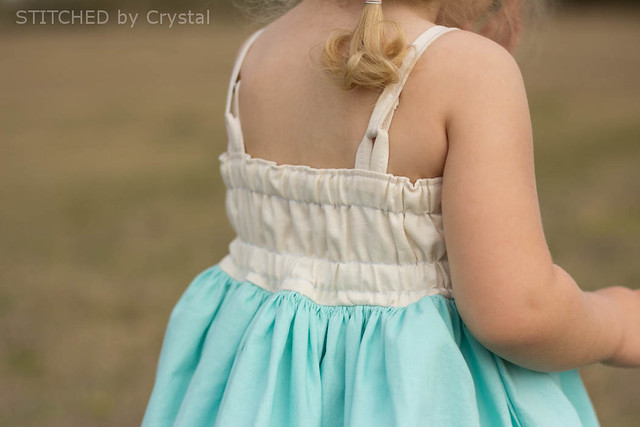
And it has a couple of strap options.  I did a simple strap, they snaps in the back...or you can do some neat criss cross straps that tie in the back or add a little ruffle to the straps.
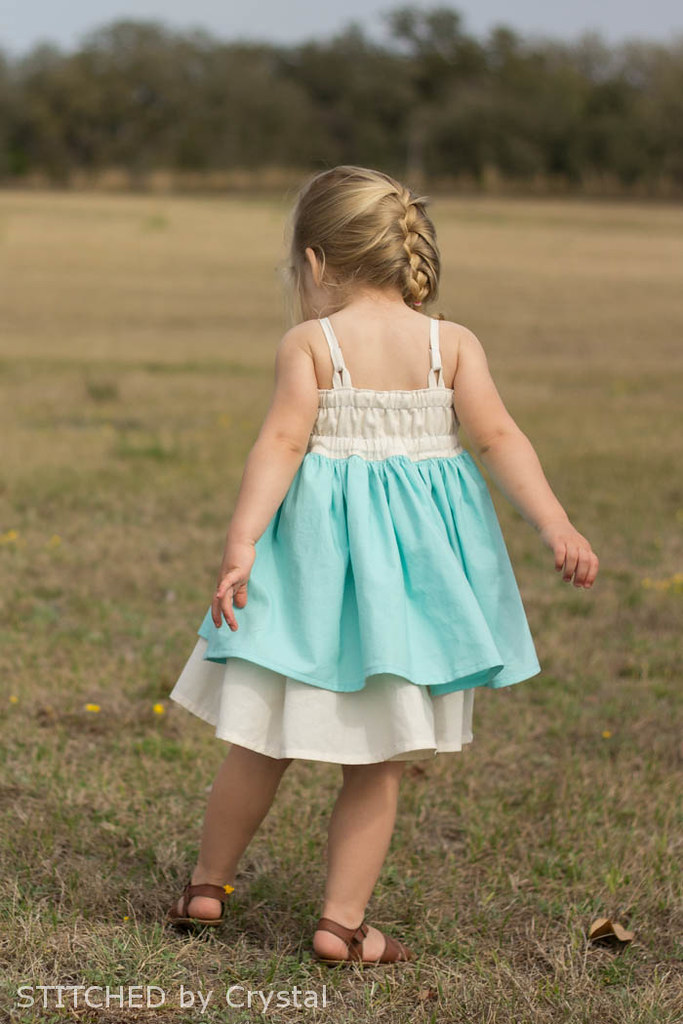

This PDF pattern has no pieces so no pages to print, you get to save your paper and ink!  All of the pieces are rectangular shapes and there are charts in the pattern with cutting dimensions.  


Em was pretty impressed with the twirl factor on that double skirt.  
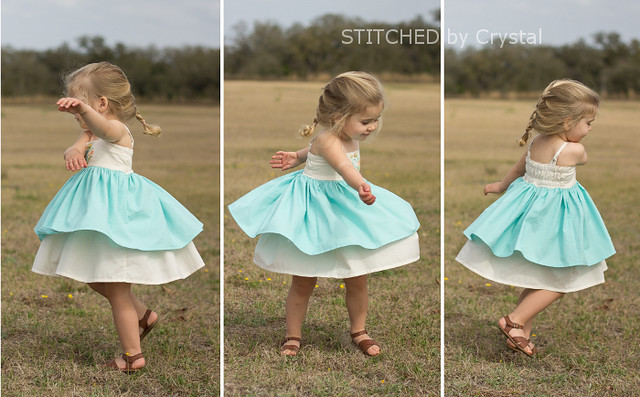

I really don't often sew a pattern more than once, but I have already made two Trendsetters (you can catch a glimpse of the other one in last weeks post).  They are so quick and easy!
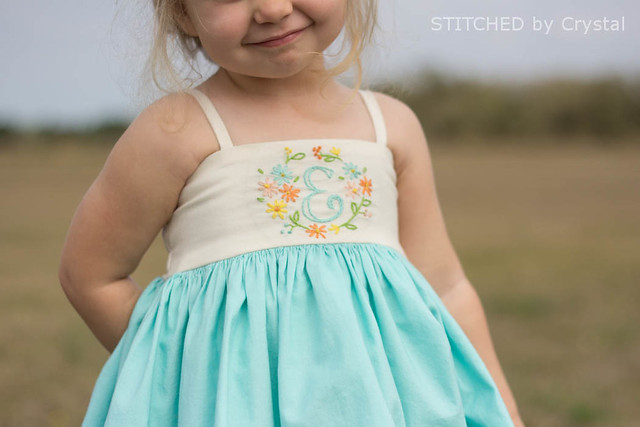

Thanks for stopping by!  Did you make an Easter dress this year?  What did you make?

Mar 25, 2013

An Easter dress


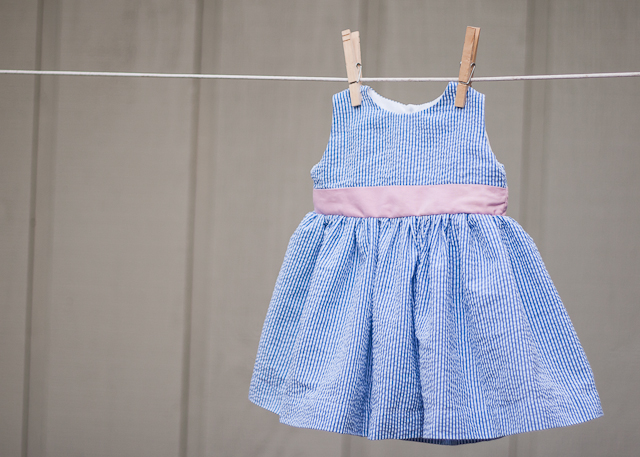
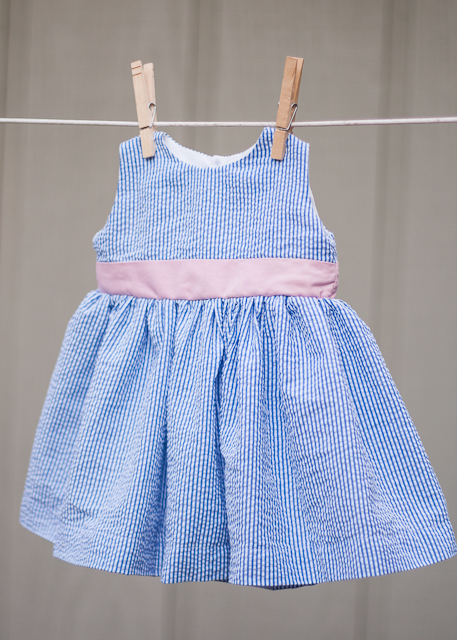
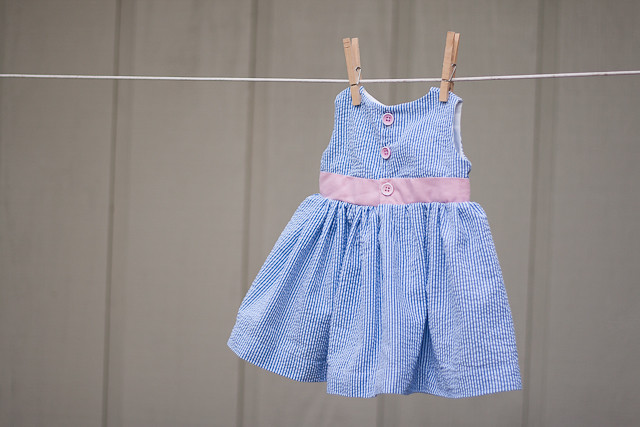
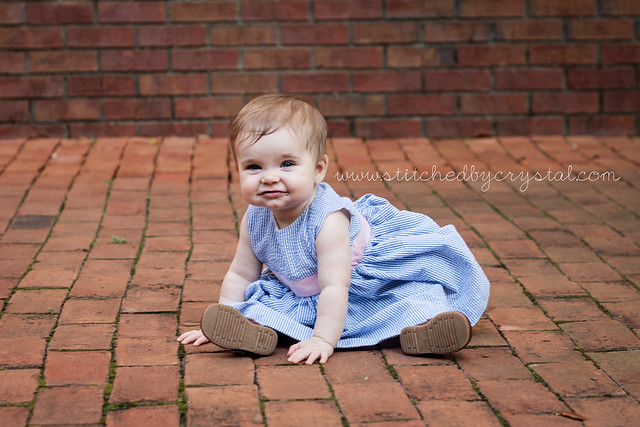
Easter is right around the corner!  I made my daughter's Easter dress last week.  I went with a pretty simple little seersucker dress, made with the same fabric I used for her romper and A's shorts for our trip to the beach back in August.  I still have tons of this fabric left so there will be more seersucker dresses in her future!  I considered using some to make my son a matching jacket, but I knew my husband wouldn't like it, so I bought him an outfit instead.


I made the pattern for the bodice using one of her shirts, then I just added a gathered skirt.  I wanted the skirt to be pretty full so I cut a strip of fabric that was about 4 times the width of the bodice to make the skirt.  


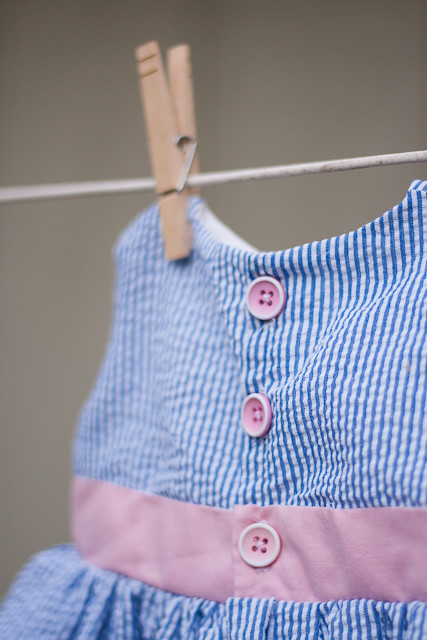
I debated between a navy blue sash or this pink one, but I figured pink was better for Easter, plus I had pink buttons to match it for the back.


I haven't been sewing many dresses for lately because she is not a big fan of them right now. She is crawling and always on the move, the dresses just get in the way, but they look so cute!  


I am trying to decide between a bonnet or a bow to match.  I am leaning towards a bonnet if I can find the time to make one this week.

Mar 21, 2013

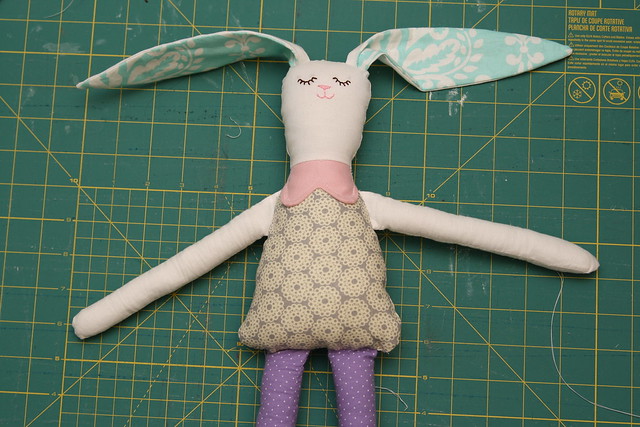
Tutorial: Bunny Rag Doll with Free Pattern

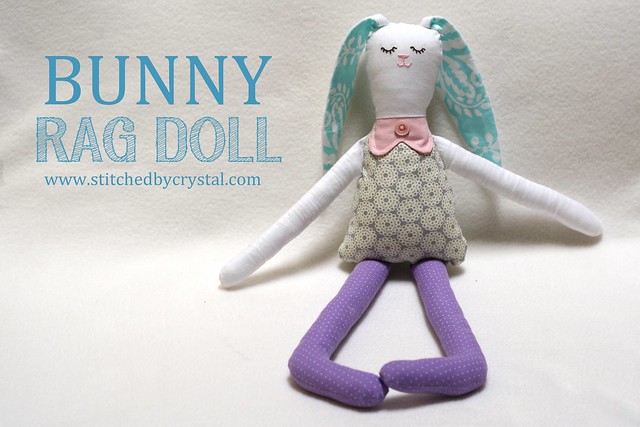
I have been wanting to make my daughter a doll for a while.  It was on my list of things to make before Christmas but I never got around to it. We were out shopping for little gifts for their Easter baskets last night and I thought a bunny rag doll would be perfect!
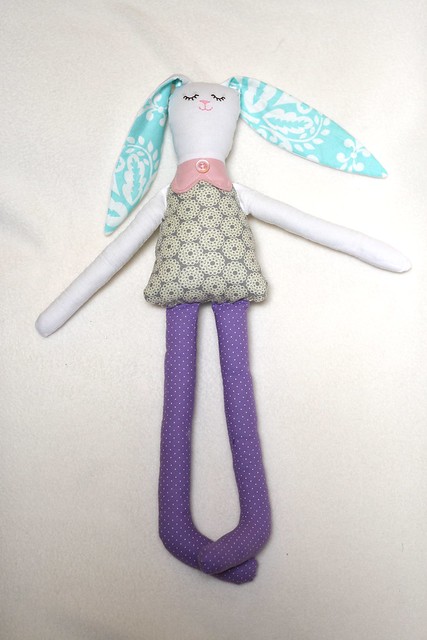
Enter this little gal....


Are you looking for a quick project for your little ones Easter basket?  This bunny was easy and a ton of fun to make.

I love seeing things I dream up come to life.  I get so excited when it actually works, and even more excited when it looks like what I was imagining in my head!
She is about 18" tall from her toes to the top of her head.


I love her giant bunny feet!


To make a bunny, you need:
  • Some fabric, this is a great pattern to use up some scraps.
  • Poly-fil
  • Embroidery thread
  • Sewing machine
  • Needle and thread
  • The pattern found HERE
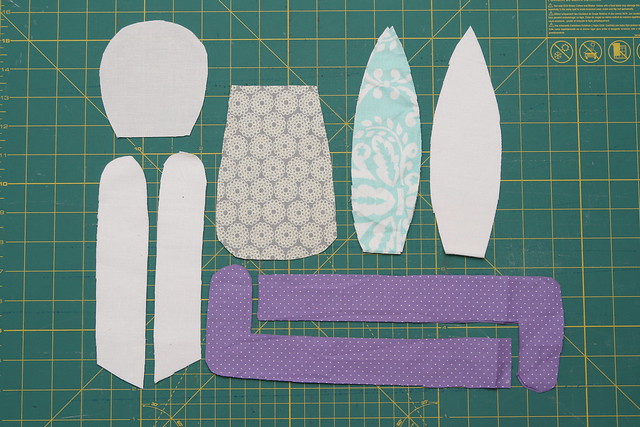
First use the pattern to cut out your pieces (you probably noticed your feet look a bit different than the ones pictured, I didn't like the way they looked at first, you will notice them change about half way through)


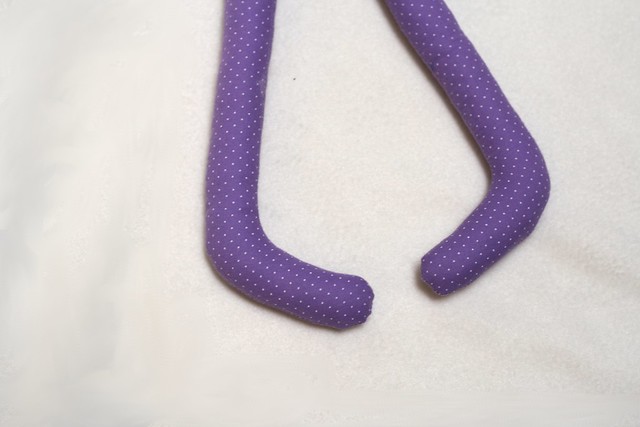
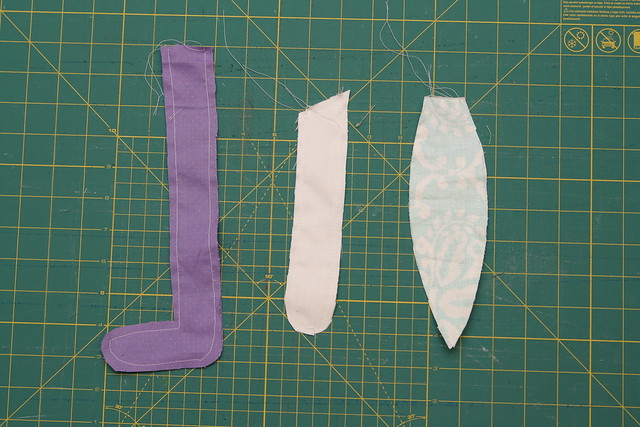
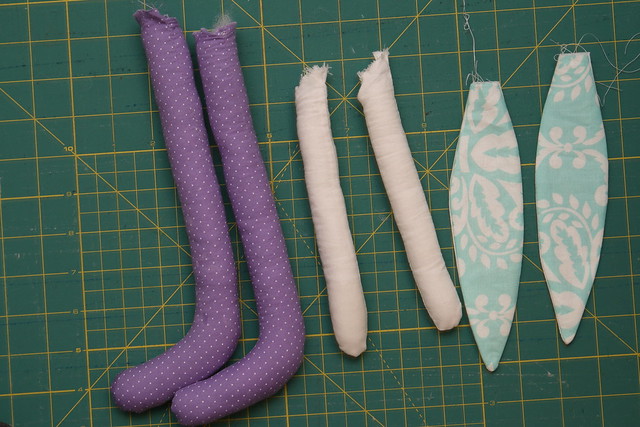
Sew your ears, arms and legs right sides together.


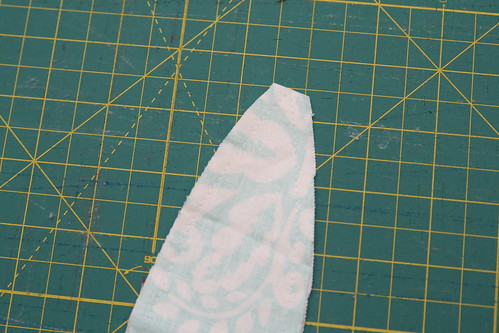
Trim off the tips of the ears and snip inside of the curve on the feet close to the seam.


Turn them right side out.  Stuff the arms and legs and press the ears flat.


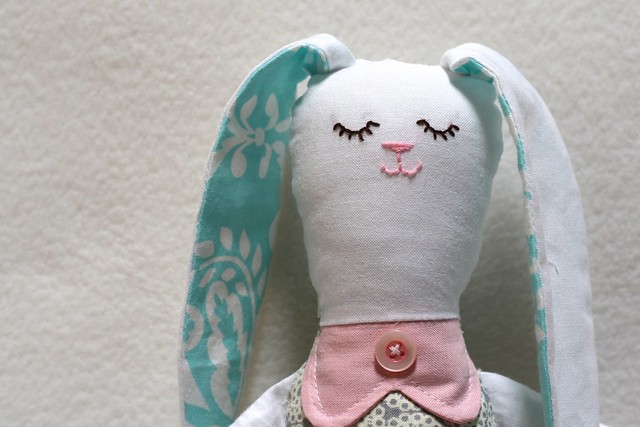
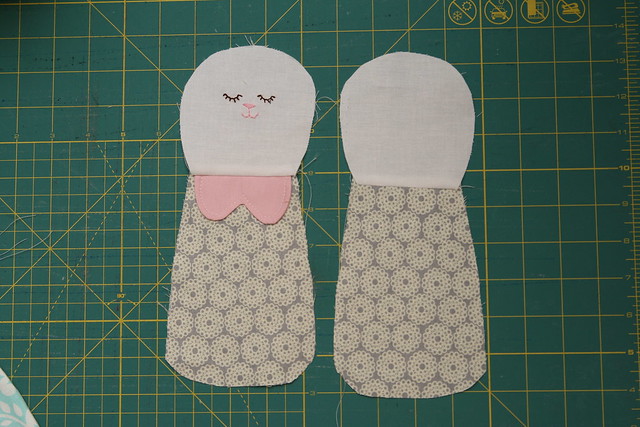
Sew the heads to the bodies.  I added a little collar to the front.  I also embroidered the face before sewing it on, you can do that now or wait until it is stuffed.  


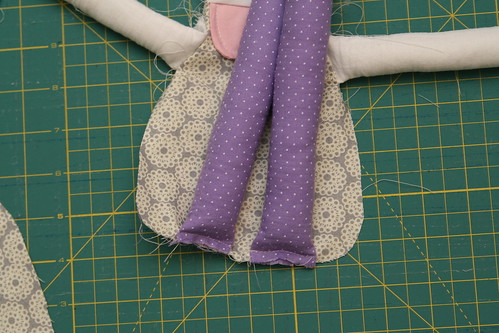
Baste your arms and legs in place on the front body of the bunny.


Baste the ears to the back of the head.


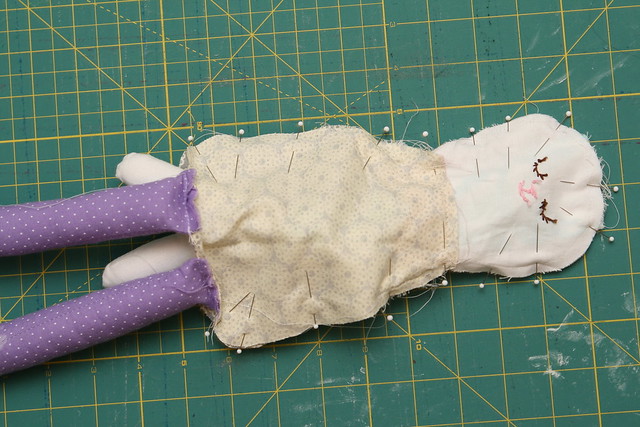
Pin the two halves together, make sure the arms and ears are tucked inside, the legs can stick out the bottom.  


Sew around the bunny starting next to one leg and ending at the other.  
Turn the bunny right side out, stuff him, then hand stitch her hiney closed. 


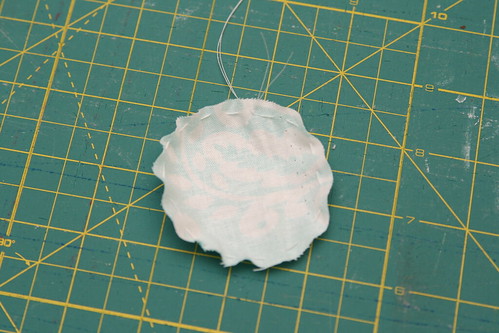
To make a tail, cut a 2" circle and sew a running stitch around the edge.


Pull the string tight and stuff some poly-fil inside.


Stitch the tail on the back of the bunny.


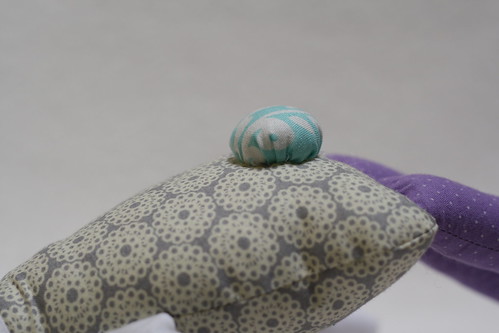
I added a little button on her collar and she is all done!


Mar 11, 2013

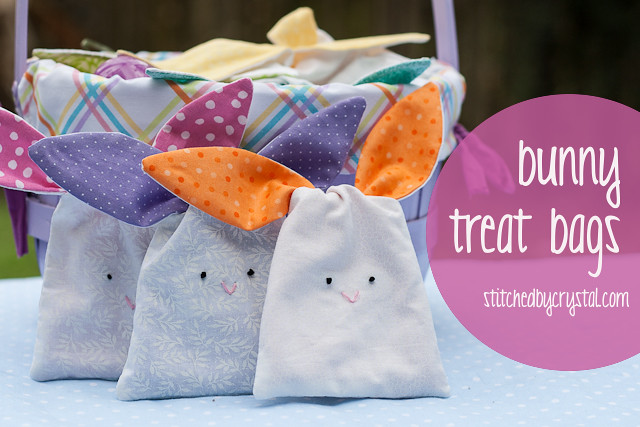
Tutorial: Bunny Treat Bags with Free Pattern


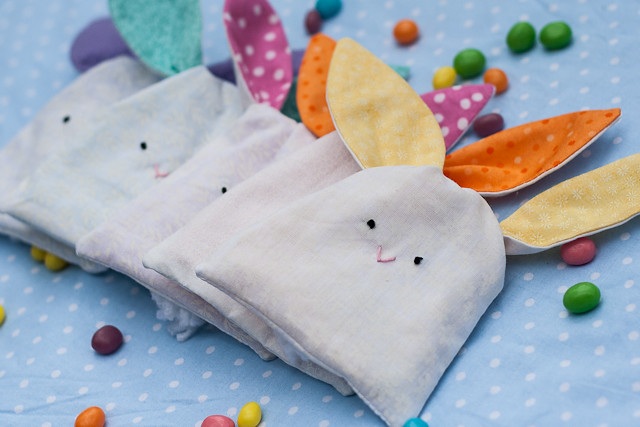
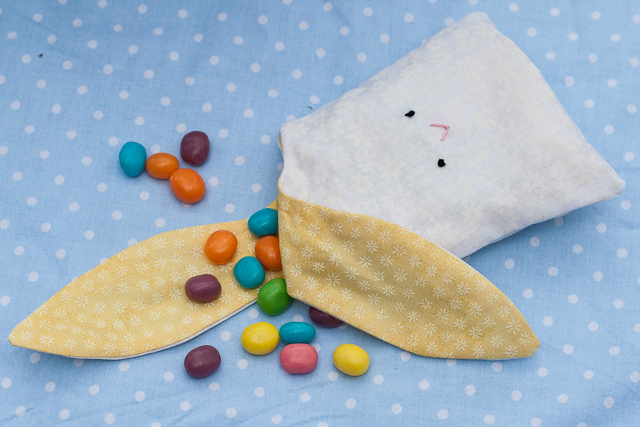
I wanted to make something fun for my kids Easter baskets this year, something they could use again and again every year.


When I was little we always had the traditional treat filled plastic eggs, but we also had a few different small treat containers that got pulled out every year.  The ones that stick out in my mind the most were these little bunnies and ducks that my grandmother crocheted.  They actually had a small hole in the back where you filled them with candy so it looked like they pooped jelly beans, which I thought was hilarious when I was a kid. I am sure Andrew would love a pooping bunny too, but unfortunately my crochet skills are a bit rusty so I couldn't make him one, instead I came up with these little bunnies.


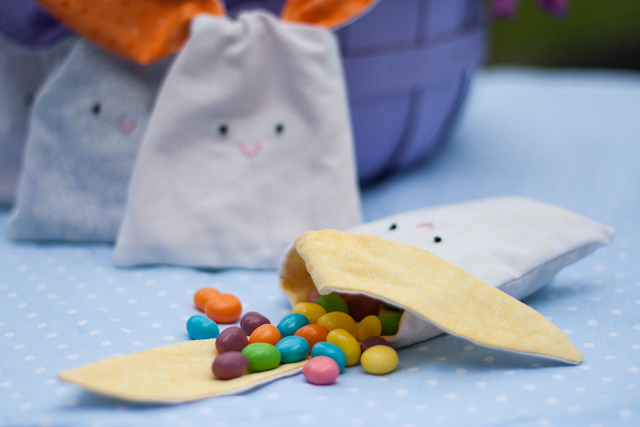
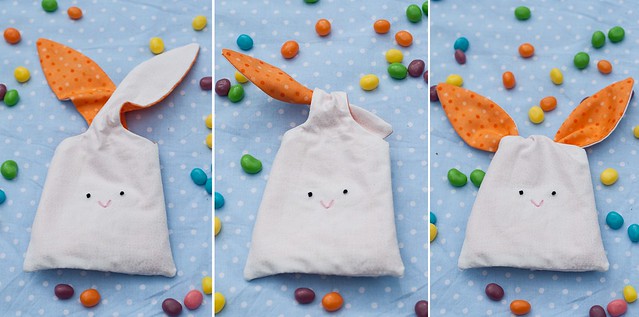
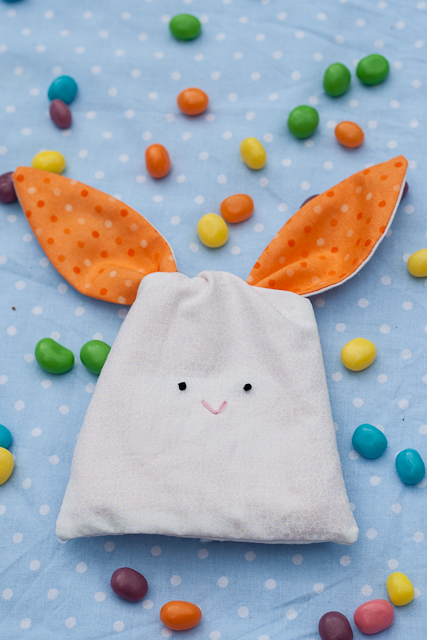
Just fill 'em up with your favorite Easter treat and tie their little ears in a knot.


They are small so they are a great way to use up some scrap fabric you may have laying around.  


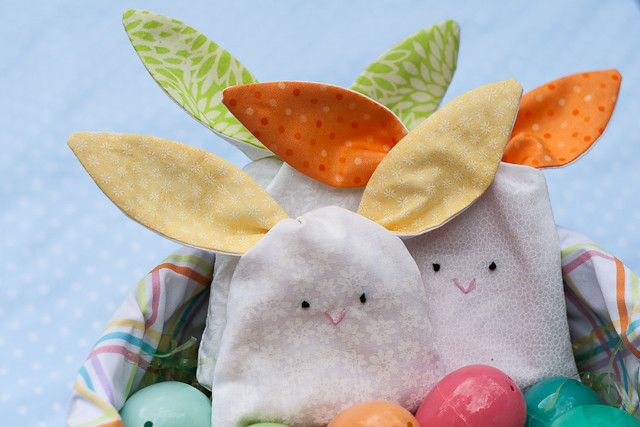
These little guys are quick to make so you probably won't be able to stop at just one.  I made six, three for each kid.


Then on Easter they can be tucked in their Easter basket, or hidden with the eggs.  


Want to make some bunny treat bags?  First download the pattern HERE.
(sorry about the white on white colors in this tutorial, I don't know what I was thinking...)

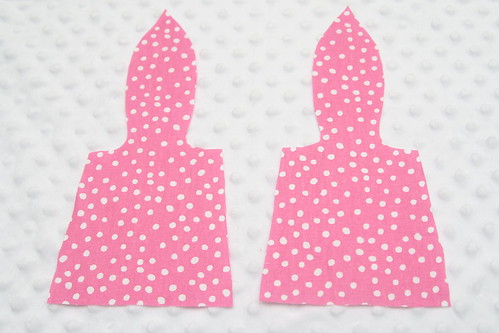
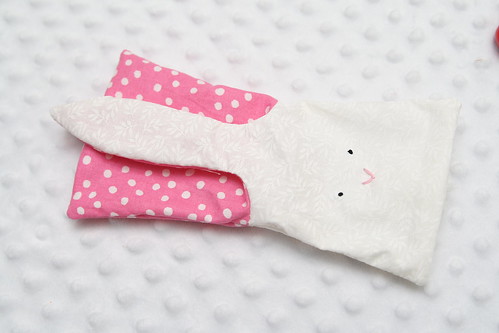
Cut out the pattern piece and use it to cut out 2 white pieces and 2 color pieces.


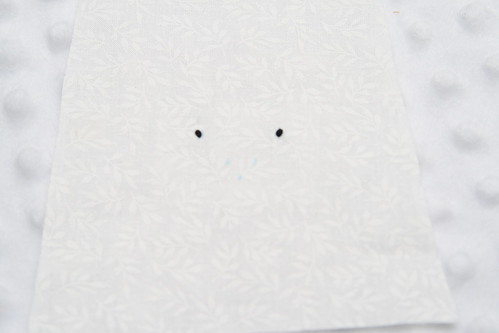
Using a water soluble pencil, transfer the dots for embroidering the face on one white piece and for adding a tail on the other white piece.


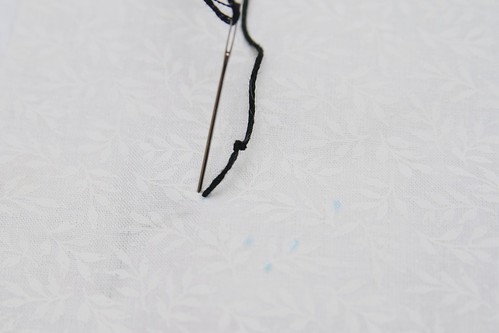
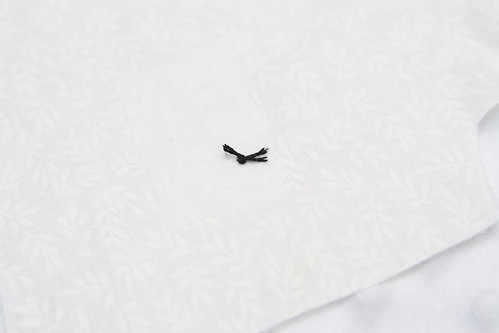
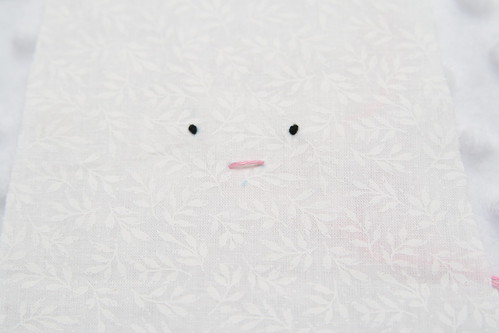
Use embroidery thread to make the face.  To make the eyes, push your needle up from the back of the fabric where you drew the dot for the eye.  Tie a knot in the thread an push your needle back trough the fabric on the dot.  Tie both ends of string off at the back.


To make the nose, make a stitch between the top 2 dots.  Bring your needle up through the fabric at the third dot and under the stitch you med.  Then push the needle back down through the fabric at the bottom and tie off at the back.  


Add a cotton tail on the back using a store bought pom pom or make your own with some yarn.


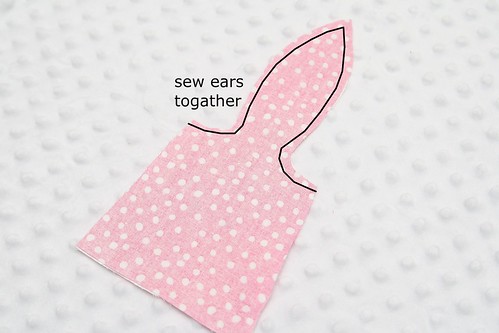
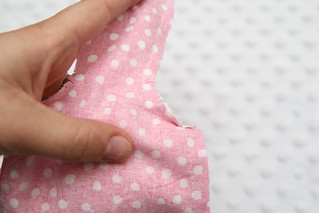
Next put one white piece and one color piece right sides together and sew along the ear.  Repeat with the other pieces.


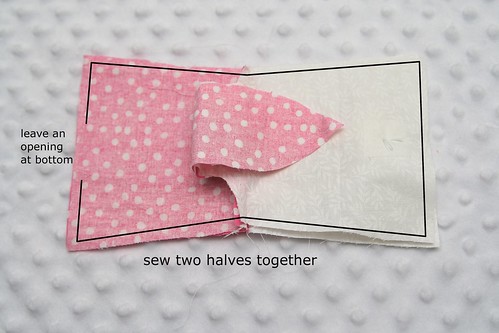
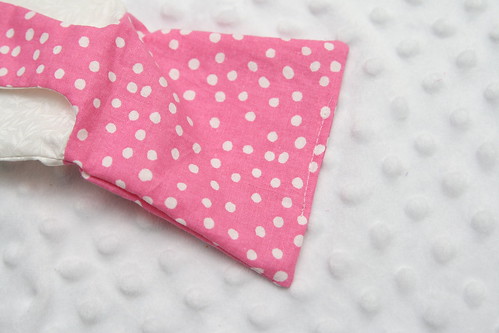
Open the bottoms of each side and place the two sides together, lining up the white and color sides.  Sew around the edge leaving an opening in the bottom.  Be careful not to catch his little cotton tail or one of his ears in the seam!


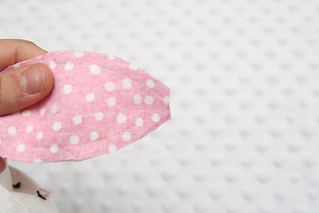
Clip the tip of the ears and along the seam allowance in the curve.


Turn the bunny right side out through the hole in the bottom and then sew the hole shut.


Tuck the lining down inside.  


Fill him up and he is ready for Easter!

LinkWithin

Related Posts Plugin for WordPress, Blogger...
I love reading all of your comments! Please make sure your blogger profile is linked to your email, so I can respond to your questions via email, otherwise I won't be able to email you back!

Please feel free to email me(stitchedbycrystal@gmail.com).

Thank you so much for reading! I If you like what you have seen here make sure become a follower of my blog so you can catch all my updates!!