Showing posts with label Quilting. Show all posts

Apr 4, 2013

Hexagon Quilt

When I first saw a quilt like this over at hobby mommy creations all I could see was those annoying Y seams where the hexagons meet.  No thank you! But I was completely blown away when I realized this quilt was made without sewing any Y seams at all.  I had to try it!


I used the fabric I had left over from the quilt I made for my grandpa.  I love the grey (or is it gray? I can't ever decide), blue, green, and orange combo.


For the quilting, I just machine quilted some horizontal lines.  It was pretty easy, I used my walking foot and just went back and forth across the quilt.  


The quilt ended up being smaller then I expected and I ran out of fabric so I couldn't make it bigger...oops.  But is is a good size for a car seat or stroller.  It now has a new home with a friend of a friend who is expecting a baby boy.

To make this quilt, I started with 2" strips.  I matched up 2 colors I liked together and sewed the 2 strips together.  Then using the 60 degree angle on my quilting ruler, I cut the strips into triangles.


I ended up with two piles of triangles.


Which make two different hexagons.


Then I sewed the hexagons into halves by sewing 3 triangles together. 


I laid out my hexagon halves into a pattern I liked and sewed them into strips.  In the picture below, you can see how I laid out my hexagons on the left, and then on the right you can see how I sewed them into strips.  I used the bottom half of some extra triangles on the end of each strip so I could cut straight across the top and bottom for binding.  


Then all the strips got sewn together.  Awesome hexagons, no annoying Y seams!


Nov 28, 2012

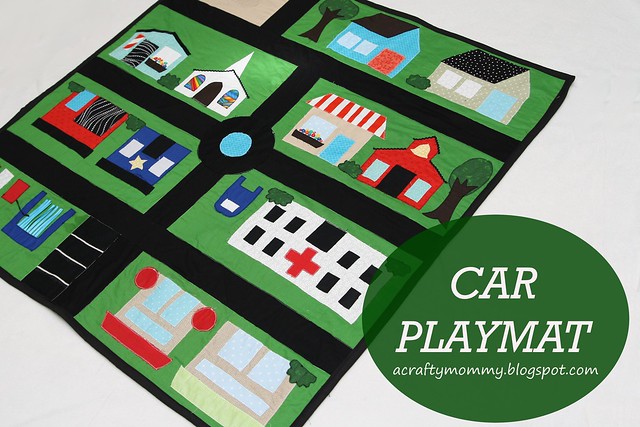
Car play mat


A is big into cars and trucks these days, he will play with matchbox cars for hours.  I made this blanket for him for Christmas so he has somewhere to drive his cars.
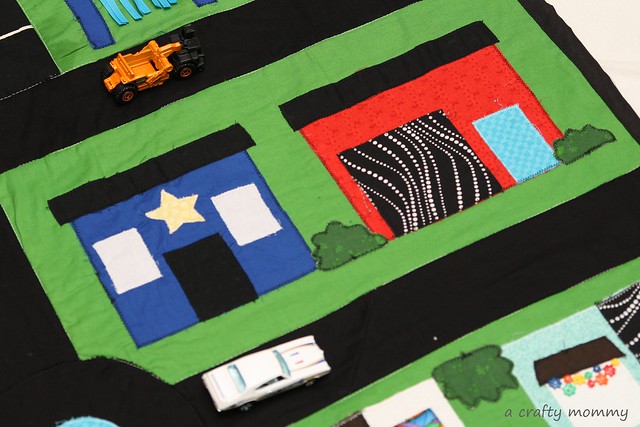
I spent a lot of time brainstorming how to make this play mat so it would be washable.  I ended up doing raw edge applique for all the buildings then piecing the roads in like a quilt.

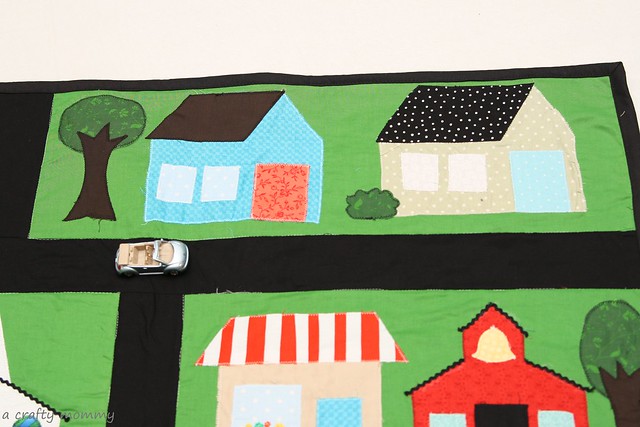
I had fun designing all the buildings and putting them together.  There are two houses, the green one on the right is ours.


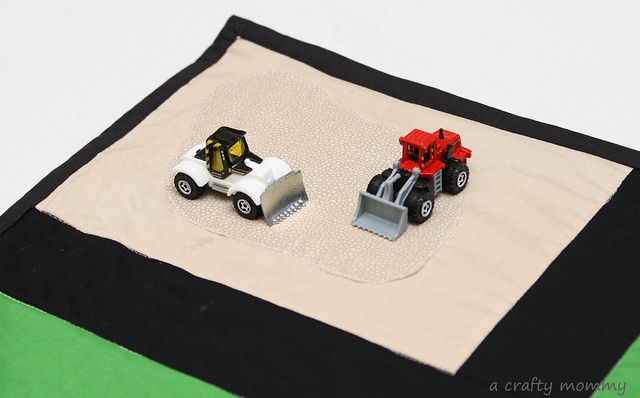
A construction lot where Andrew can play with all his bulldozers.


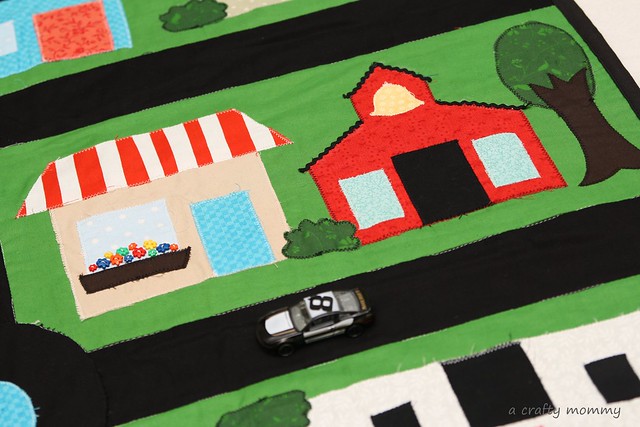
A school house and generic shop/restaurant.


A hospital (mommy's work) and a mail box.  


A police station (daddy's work) and a fire station.


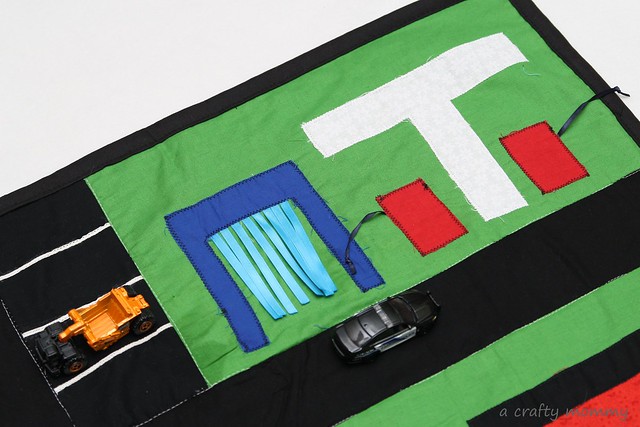
A gas station with car wash and the only 4 parking spaces in town.


The grocery store and of course our favorite store, Target.


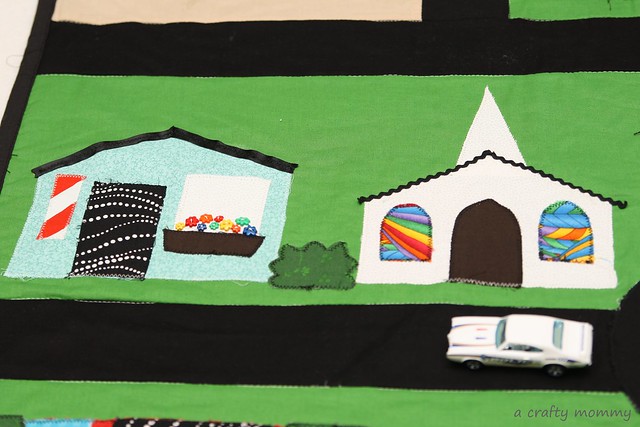
A barber shop and church.  (Those stained glass windows on the church are one of my favorite parts, they are from a fabric with hot air ballons.)


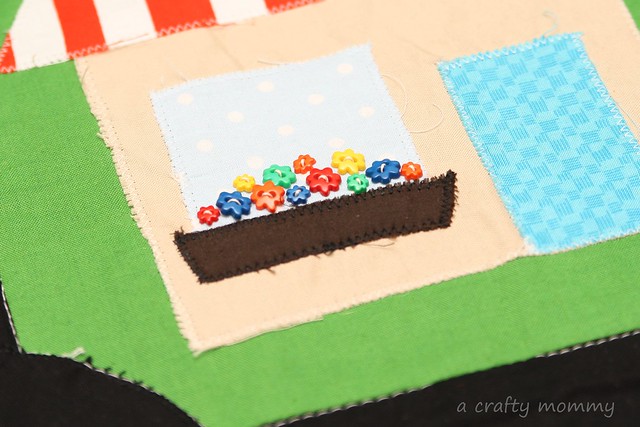
I also was really excited about the little flower buttons for the window boxes.


I backed it with fleece, since the fleece is thick I didn't even bother with batting.  Then I quilted in the ditch along the roads.  I probably should have used black thread to quilt it but I was too lazy to change my thread, oh well.
I added a little handle to it could be rolled up with his cars inside and toted along. 


I just sewed the straps right into the binding and added some snaps.  You can also see where I melted my fleece a bit, oops.  I was ironing in the dark while the baby was asleep in our room this morning :)


Oct 8, 2012

Tutorial: Quilting curves - The Drunkard's Path


The Drunkard's path is a quilt square with a ton of history. Some people say that it was used as a form of communication between slaves on the underground  railroad.  Can you imagine having to sew a whole quilt just to send a message to your friends?


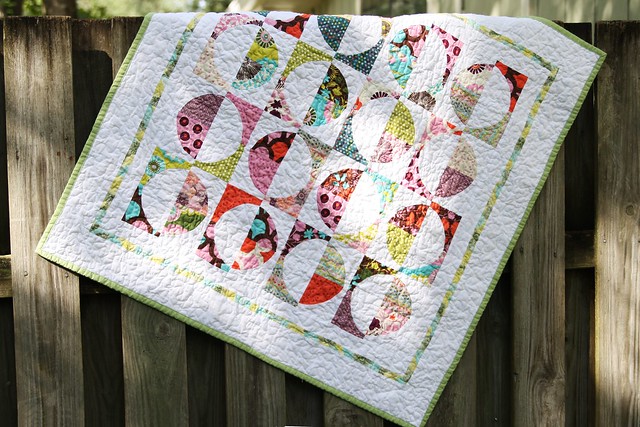
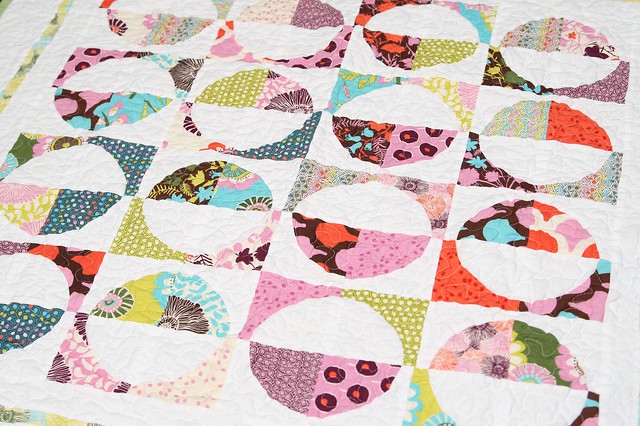
The Drunkard's path square is simple, just a quarter circle in a square.  I think people tend to shy away from it because it involves quilting a curve, scary right?  It is really not so bad! HERE is the post on the quilt I made.


Traditionally this quilt is made with just two colors, usually white and either blue or red.  But you could do it with any number of colors.  I am using some 5" squares I had left over from a charm pack (Sugar Pop by Liz Scott for Moda) and some Kona white fabric.


To make your Drunkard's path quilt, you will need a template to cut your pieces.
Decide how big you want your quarter circle to be.  My squares were 5" so I decided to make my quarter circles 4".  That meant I needed a full circle with a diameter of 8" to make my template.

To draw a perfect circle, you can find something the right size to trace around (like a plate or a bowl), use a compass if you have one, or you can print one off the computer, which is what I did.  Check out THIS TUTORIAL for making circle flowers where I show you how to make circles in Microsoft word.  This method of course will only work for a circle that will fit on a sheet of paper.

Once you have your circle drawn cut it out. Then fold it in half and then in quarters. Cut along the folds so you end up with a quarter circle.

Use that template to cut out your pieces. If you have a small rotary cutter you can use that, I just used scissors and stacked 3 or 4 squares to cut at the same time.  You will end up with one concave quarter circle and one convex one (remember those terms from high school geometry!)


On all of your concave pieces, cut 1/2" off both ends.  That will allow for a 1/4" seam allowance.


Take one of your concave pieces and one of the convex pieces.  Find the center of each piece and pin them right sides together.


Place one pin on both ends, because the curve is cut on the bias, it will stretch a bit.


Then fill in with pins.


Sew the pieces together, removing the pins as you come to them.


Then press your seam towards the concave circle.  Flip your square over and press the other side.


Once you have all your squares made, you will need to square them up so your quilt doesn't come out all wonky.  
Measure your square, mine was almost 4.5" so I decided to cut them down to 4.25" when I squared them.


Lay your quilter's square on top of your square with the quarter circle towards the middle.  Line the seams of the curve up on both sides with the same spot (mine were 3/4" in from the edge).  Note the spot you line the curve up at because you will need to use that same spot when you square the other pieces so they are all identical.  
Trim off the fabric that is past the ruler.


Turn your square so the corner you just squared it towards the middle.  Cut your square to the size you want (mine was 4 1/4")


Repeat the last two steps on all your squares.  


Now for the fun part, deciding how to arrange your squares!
Remember my post on quilting with half square triangles? Drunkard's path squares are pretty similar, there are countless ways to arrange them.  Here are a few a lot of the arrangements I tried.


Awesome, right? Try it out!

LinkWithin

Related Posts Plugin for WordPress, Blogger...
I love reading all of your comments! Please make sure your blogger profile is linked to your email, so I can respond to your questions via email, otherwise I won't be able to email you back!

Please feel free to email me(stitchedbycrystal@gmail.com).

Thank you so much for reading! I If you like what you have seen here make sure become a follower of my blog so you can catch all my updates!!