Showing posts with label Scrap buster. Show all posts

May 25, 2015

Saltwater Skirt Tutorial with Riley Blake Fabrics

A few months ago I was contacted by Riley Blake about using some of their fabrics to sew up a project to share.  I have always loved Riley Blake fabrics, so I jumped at the chance!  I got to look through all of their new and releasing soon fabrics and choose my favorite and they sent me a beautiful package of fabric in the mail!  Today I am sharing my project with you!


All the Riley Blake stuff is so cute, but choosing a fabric was really easy for me.  I am a huge mermaid fan, you may remember this mermaid doll or this adorable mermaid baby!  So when I saw this adorable Saltwater fabric I just had to have some!  I decided it would make the perfect summer skirt for my daughter. 


This skirt is a really simple sew with a fun patchwork design.  It has an elastic waist and hits right at the knee.  You can add some fun trim, I used some of this ric rac, this lace would be really cute too!  And the skirt has big, deep pockets on the sides, perfect for collecting seashells in the sand!


Want to make a Saltwater skirt?  Check out my tutorial below!

For this skirt, you will need...

  • 5 Saltwater fabrics, you will need 1/4 yard of one print and 1/2 yard (or fat quarters) of of the other 4 prints.
  • 2 yards of trim (optional)
  • 1 yard of 1" elastic
  • 1/2 yard of 1/4" elastic
  • Basic sewing supplies


Cut your fabric according to the chart below.  Please note, this skirt was designed and sewn in the size 2, I have not tested it in other sizes, but I crunched some numbers so you can make bigger sizes.  I would recommend finding the finished length you want and sewing up the skirt in that size, the elastic waist can be adjusted to fit your child, just cut the elastic .5 inch smaller than their waist measurement.

All measurements in the chart and tutorial are in inches.  In the chart, W stands for Width and H for height.  All seam allowances are 1/2" and are included in the measurements.


Start with one of your pocket pieces.  Fold the top edge 1/4" towards the wrong side of your fabric, then another 1/2" towards the wrong side.  Press and sew along the folded edge to create a casing.

Using a safety pin, feed one of you pocket elastic pieces through the casing.  When the elastic just slips inside the casing, baste it to keep it in place.  Continue pulling the elastic all the way through the casing and baste it on the other side.

Line up the bottom and side edges of your pocket with the coordinating skirt panel and baste the pocket in place along the bottom and sides.  Repeat with your other pocket piece.
 

Place your pocket panel and another skirt panel right sides together and sew along one side with a 1/2" seam allowance.  Finish the seam with a serger, zigzag stitch or pinking sheers.  Press the seam away from the pocket and topstitch 1/8" from the seam.


Add the next skirt panel the same way (this one will be your middle panel, I chose the mermaids to go front and canter!).  Finish the seam, press the seam away from the pocket and topstitch.


Then add the fourth skirt panel, finish the seam, press the seam away from the pocket and topstitch.


Repeat those steps to sew the other panels together, you should now have a skirt front and back that are identical.


Place the skirt front and back right sides together, sew along one side with a 1/2" seam allowance.  Finish the seam, press the seam away from the pocket and topstitch.


Fold the skirt so it is right sides together again, line up the other side of the skirt and sew with a 1/2" seam allowance.  Finish the seam, press away from the pocket and topstitch.  I find it easiest to topstitch this seam with the skirt inside out, with my sewing machine foot inside the skirt as pictured below.


You should now have a completed skirt piece that looks like the one below.


Place your hem band pieces right sides together and sew them together on one of the short sides with a 1/2" seam allowance. Press the seam open.

If you are adding trim, baste it to the top of the hem band now.  You will have a 1/2" seam allowance at the top of the band so make sure to account for that when placing your trim.


Refold the hem band right sides together and sew the other side.  Press the seam open.


Fold the hem band in half, wrong sides together.  Line up the raw edge of the hem band with the bottom of the skirt, right sides together.  Sew the hem band to the bottom of the skirt with a 1/2" seam allowance, finish the seam.  Press the seam up towards the skirt and topstitch.


Finally, you will create a casing for the waist elastic.  Fold the top of the skirt down 1/4" towards the wrong side and press.  Then fold another 1.25" and press.  Sew along the folded edge to create your casing, leaving a 2"-3" opening at the back of the skirt. Using a safety pin, feed your waist elastic into the casing through the opening.


Overlap the ends of the elastic by 1" and sew them together, making sure the elastic is not twisted inside the casing.  Stretch the waistband so the elastic slips inside the casing and sew the opening closed.


Your skirt is done!


Thanks for stopping by and reading! And a huge thanks to Riley Blake for sponsoring this post!

May 15, 2013

Tutorial: "I Spy" Toddler Travel Game


One of my favorite ways to keep my toddler busy when we are out is to have him look for things.  When he starts to get a little restless I will say things like "can you find something blue?" or "look for some flowers" and he will quietly look around until he finds what I asked for.  This game works great in places with lots of stuff like a restaurant or grocery store, but not so great in other places.  I mean, how many times can your two year old find the coffee pot while you wait on your oil change before he decides mom's game is not so fun?


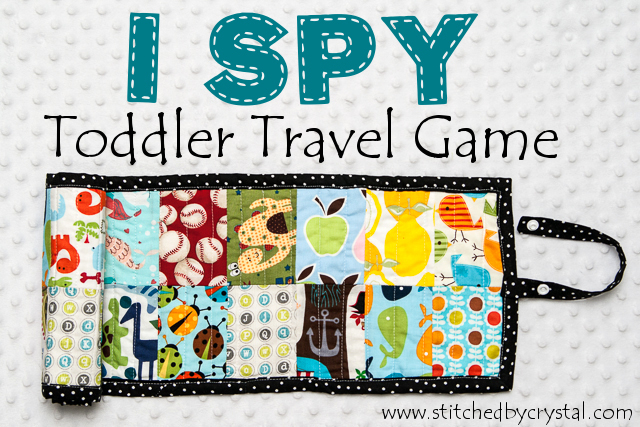
So I came up with this little game.  It is just a tiny little quilt made with some fabric scraps, but it can roll up and fit in the diaper bag and provide hours of entertainment!


For little toddlers, like mine, you ask them things like "can you find an apple?" or "point to a dinosaur?".  When they are a bit bigger, you can work on color recognition with questions like "can you find something red?"  If you use fabric with numbers or letters on it you can even work on letter or number recognition.  If your kids are spelling, you could try things like "where is something that starts with the letter L" or "find something that rhymes with rug".  Even older kids could have fun with this playing the traditional "I spy" game.


To make the game, you need:
  • 44 rectangles of fabric that are 3" wide x 4" tall with different objects on them (22 for the front and 22 for the back)
  • a rectangle of batting 28" x 8 "
  • a little over 2 yards of bias tape or binding
  • one rectangle of fabric 2" wide x 10" long 
  • a snap or velcro

Sew your rectangles into 4 rows of 11. Two row are for the front and two are for the back.  Press the seams of the two rows in opposite directions.


Sew the two front rows together.  Repeat with the two rows for the back.


Sandwich the batting between the rows and quilt some rows about 1" apart across the whole thing.


Fold the 10" by 2" strip in half and sew the long end and one short end.


Turn the strip right side out and press it.  Baste the raw edge to one of the short ends of the game.


Bind the raw edges or sew on bias tape.  Click HERE for help with binding.


Add one end of the snap or velcro to the end of the strap you sewed on.  


Roll up the game and wrap the strap around it.  Mark the position the other end of the snap or velcro should go then add it to the strap.


Roll up your game and throw it in your diaper bag.  You will be happy to have it next time your toddler gets bored!


Mar 21, 2013

Tutorial: Bunny Rag Doll with Free Pattern

I have been wanting to make my daughter a doll for a while.  It was on my list of things to make before Christmas but I never got around to it. We were out shopping for little gifts for their Easter baskets last night and I thought a bunny rag doll would be perfect!
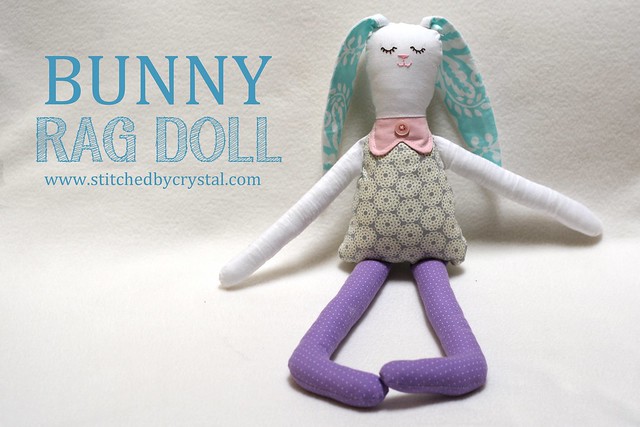
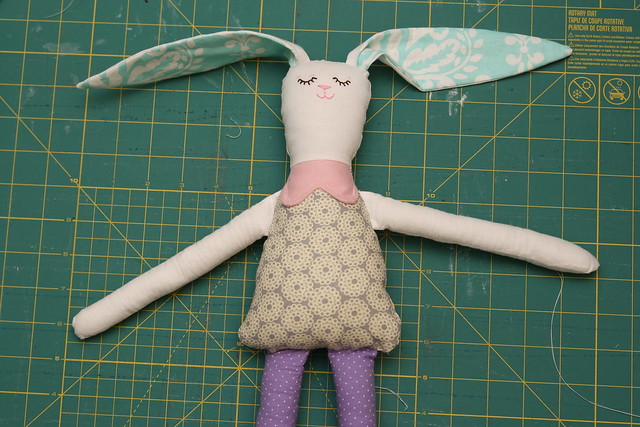
Enter this little gal....


Are you looking for a quick project for your little ones Easter basket?  This bunny was easy and a ton of fun to make.


I love seeing things I dream up come to life.  I get so excited when it actually works, and even more excited when it looks like what I was imagining in my head!
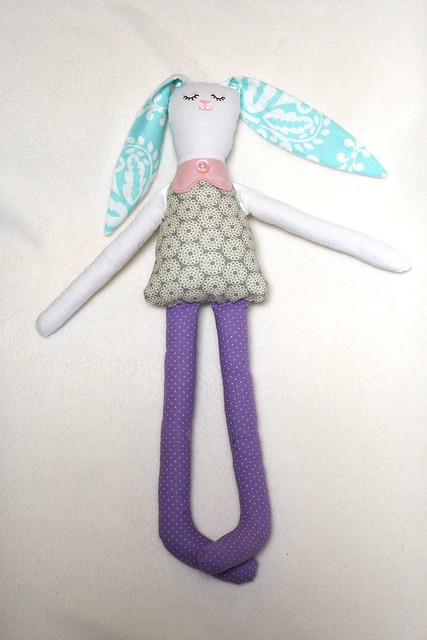
She is about 18" tall from her toes to the top of her head.


I love her giant bunny feet!


To make a bunny, you need:
  • Some fabric, this is a great pattern to use up some scraps.
  • Poly-fil
  • Embroidery thread
  • Sewing machine
  • Needle and thread
  • The pattern found HERE
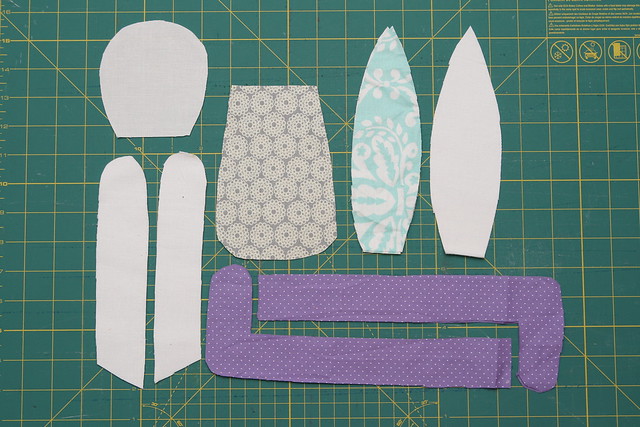
First use the pattern to cut out your pieces (you probably noticed your feet look a bit different than the ones pictured, I didn't like the way they looked at first, you will notice them change about half way through)


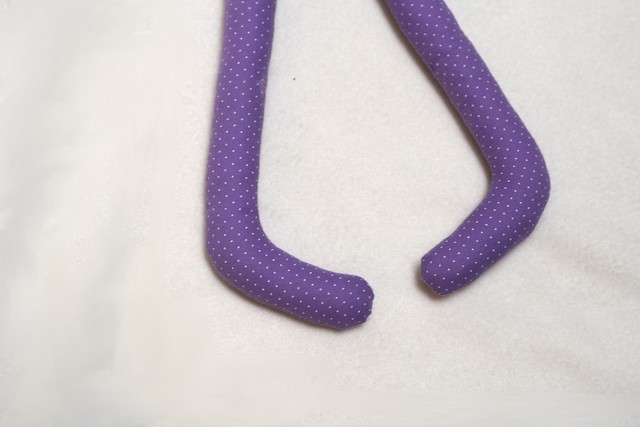
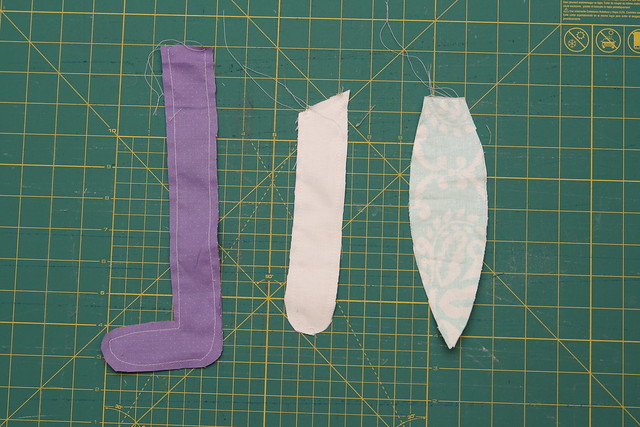
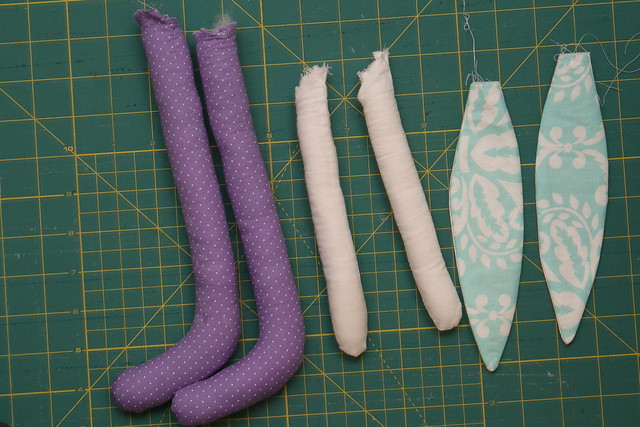
Sew your ears, arms and legs right sides together.


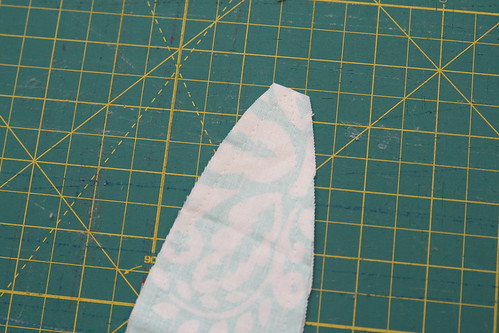
Trim off the tips of the ears and snip inside of the curve on the feet close to the seam.


Turn them right side out.  Stuff the arms and legs and press the ears flat.


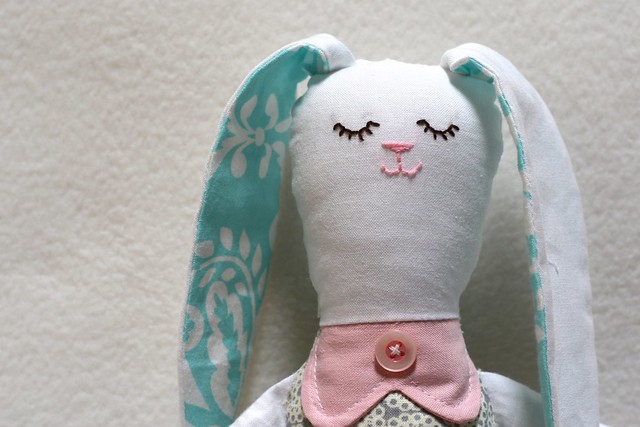
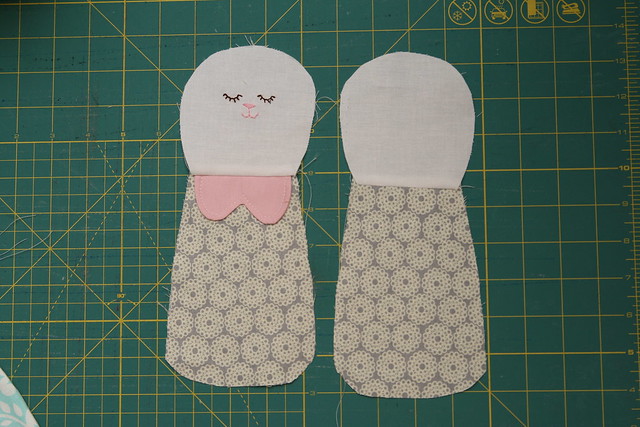
Sew the heads to the bodies.  I added a little collar to the front.  I also embroidered the face before sewing it on, you can do that now or wait until it is stuffed.  


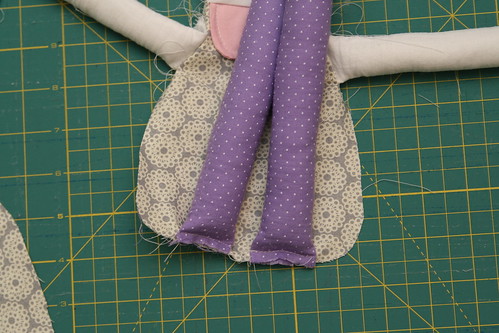
Baste your arms and legs in place on the front body of the bunny.


Baste the ears to the back of the head.


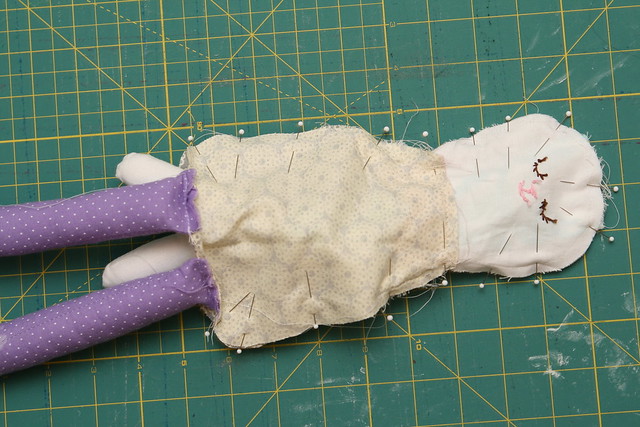
Pin the two halves together, make sure the arms and ears are tucked inside, the legs can stick out the bottom.  


Sew around the bunny starting next to one leg and ending at the other.  
Turn the bunny right side out, stuff him, then hand stitch her hiney closed. 


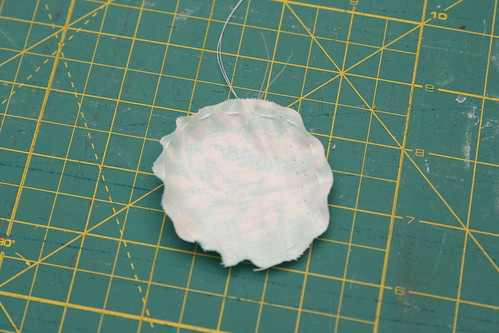
To make a tail, cut a 2" circle and sew a running stitch around the edge.


Pull the string tight and stuff some poly-fil inside.


Stitch the tail on the back of the bunny.


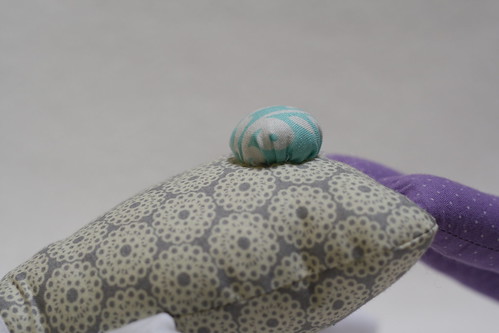
I added a little button on her collar and she is all done!


LinkWithin

Related Posts Plugin for WordPress, Blogger...
I love reading all of your comments! Please make sure your blogger profile is linked to your email, so I can respond to your questions via email, otherwise I won't be able to email you back!

Please feel free to email me(stitchedbycrystal@gmail.com).

Thank you so much for reading! I If you like what you have seen here make sure become a follower of my blog so you can catch all my updates!!