Is winter over where you are? Or are you in the southern hemisphere, just gearing up for the cold? Here it has been feeling like summer and I couldn't be happier about it!
Today I have a really fun project to help you gear up for warmer weather...or to help kick those winter blues! I have been busy sewing up some cute little coin pouches and purses for my kiddos and I have a pattern and tutorial to share with you!
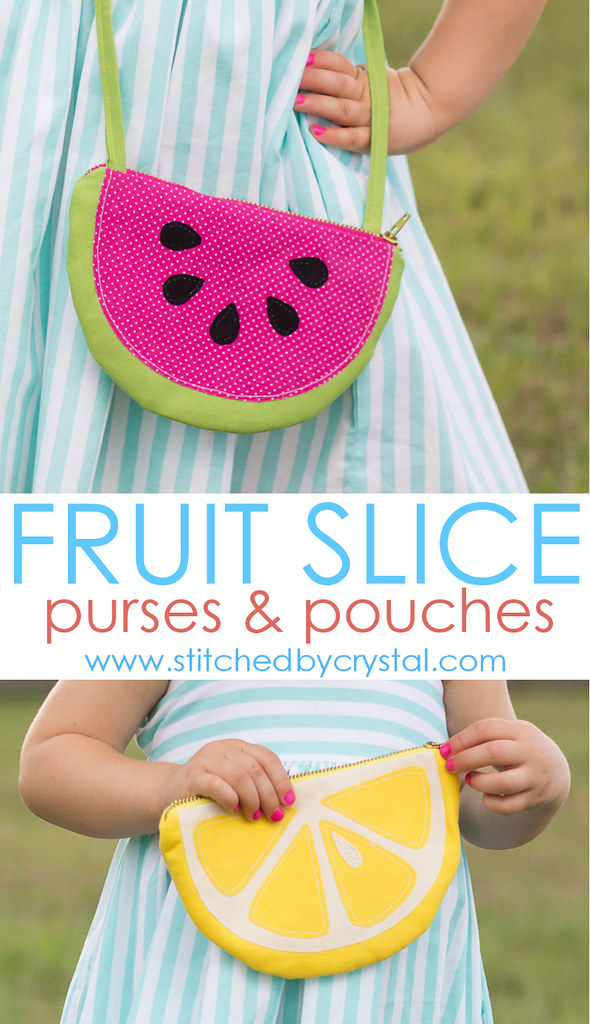
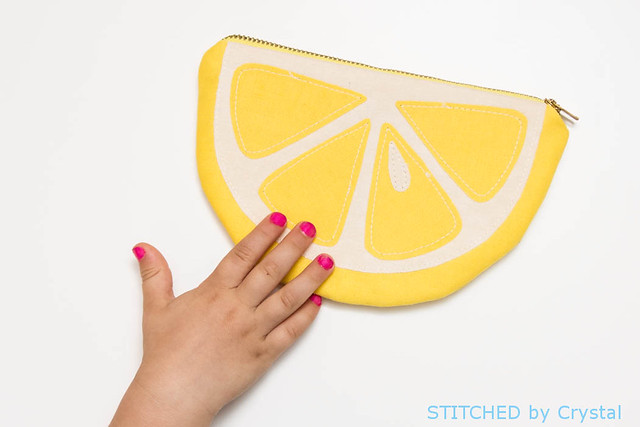
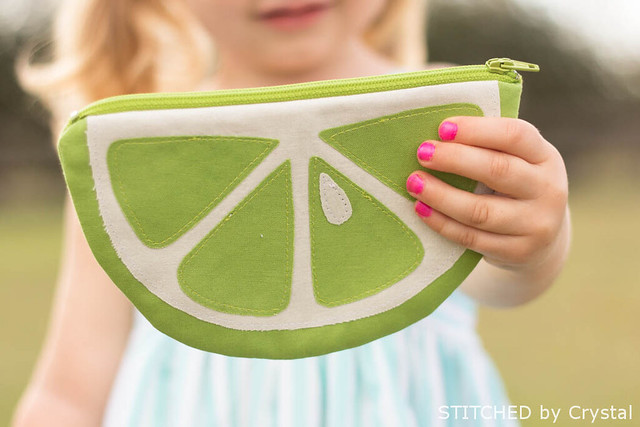
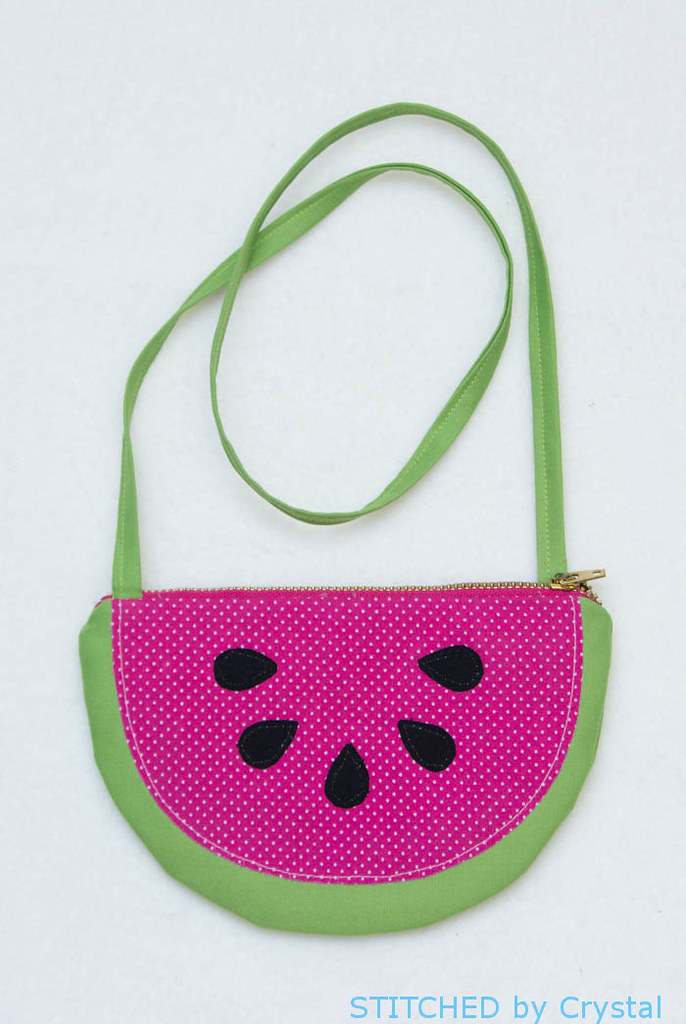
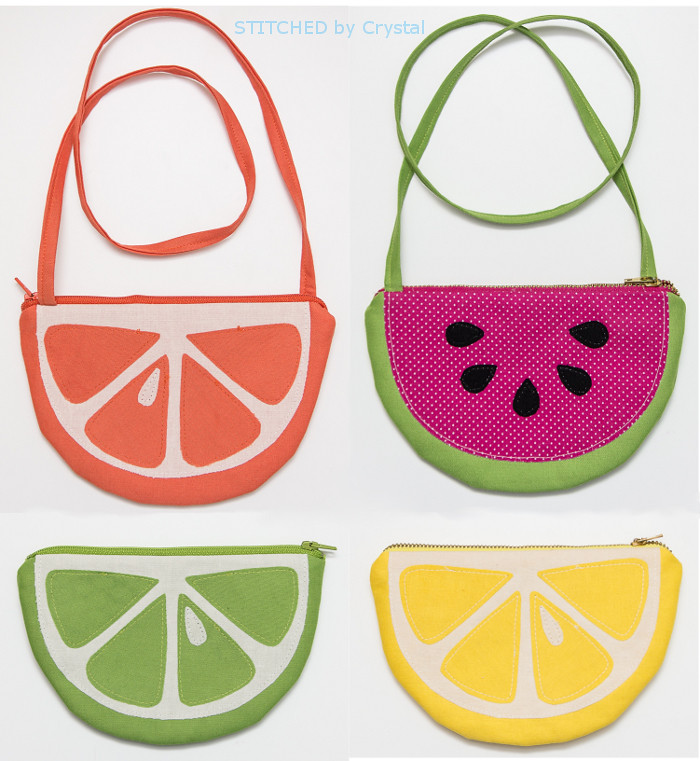
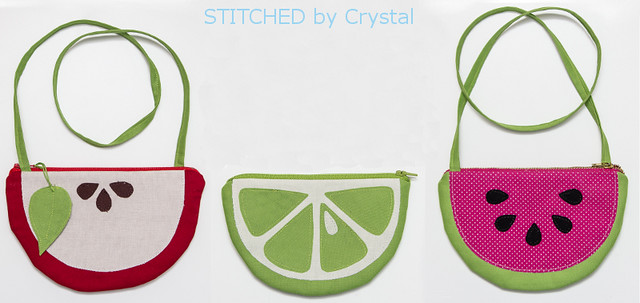
I thought that it might be fun to sew up a lemon clutch. And it was. Then I thought a lime one would be fun too, and then maybe a watermelon purse...soon I had 6 fun little fruit inspired purses.
These little pouches are a quick sew and don't take much fabric at all. I raided my scrap bins and was able to find everything I needed to make these. If you have never sewn a zippered pouch before, it is really easy, and fun...you will want to make six of them too! And any little girl in your life will love a fruity purse, or sew one up for you!
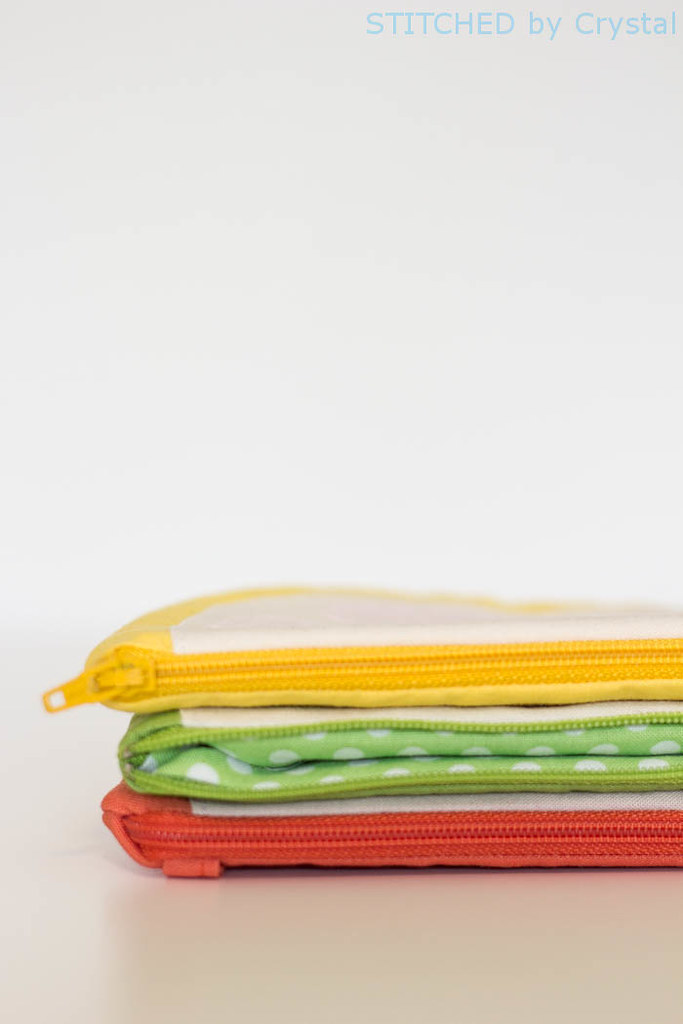
These pouches measure about 7.5" wide and 5" tall. They are fully lined and close with a zipper.
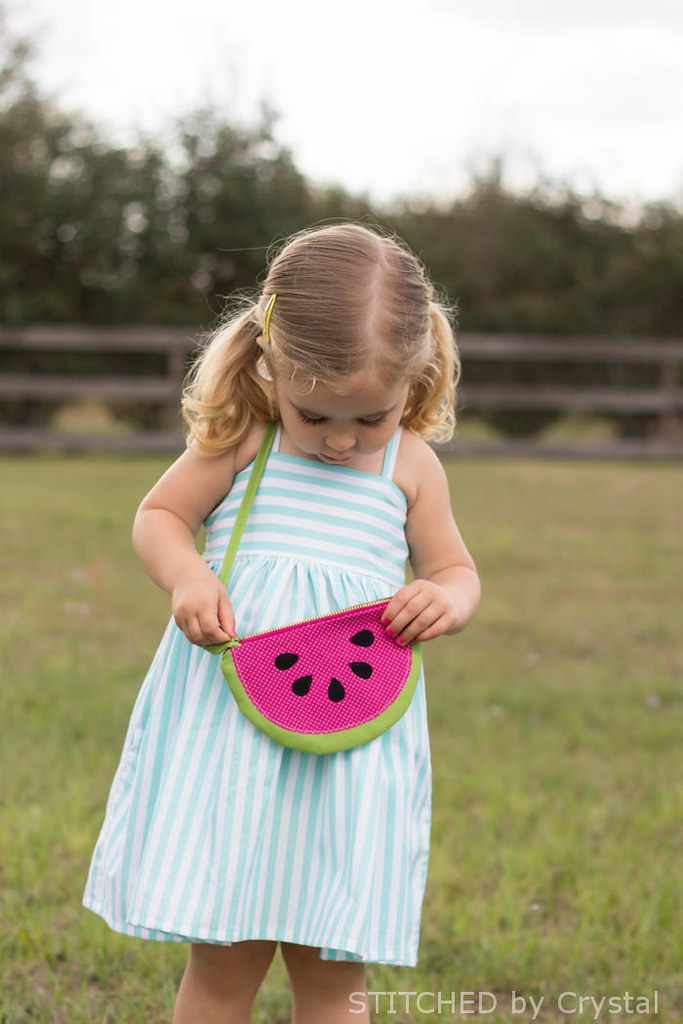
You can make these with a strap for a purse or leave the strap off and you can use it to hold anything small. I made my purses with a 30" strap, which is perfect for my two year old, but you can easily make the strap longer if sewing for bigger girls or yourself.
The fruit details are all appliqued on, but you don't need any special equipment, everything is done on a home sewing machine.
Want to sew a fruit purse too? Here's how...
You will need:
- A pattern...you can download and print that HERE. You will see a little 1" square in the corner of one page, just check to make sure that is 1" after you print so you know your pattern printed the right size....you wouldn't want a tiny coin purse (or maybe you do!) If you are having trouble with the download, try a different browser, I think Google Chrome works best.
- Some fabric scraps in fruity colors and some fabric for the lining. If you are buying fabric, 1/4 yard will be more than enough.
- A zipper that is at least 8" long.
- Some scraps of fusible fleece (again 1/4 yard will work)
- Heat n Bond Ultra, to make the appliqueing really easy
- Optional 30"-45" of double fold bias tape for the purse strap (store bought or make your own, I will show you how). 30" is a great length for my 2 year old and also works pretty well on my 4 year old. I might try 35" for someone around 5-7, 40" for 8-10, but those are just guesses. And I think 45" would be comfortable on me, so try that for anyone adult size. If you have your girl handy, You can just measure over her shoulder and down to the opposite hip, where a purse would sit to get a measurement for the strap.
- Basic sewing supplies - sewing machine, iron, scissors, coordinating thread, etc.
Let's get started! Start by printing your pattern and cutting out all the pattern pieces you need. Don't cut out your fabric yet because some of the pieces will need to have Heat n Bond ironed to them before they are cut out.
Cut out your main bag pieces, 2 from your outer fabric, 2 from your lining, and 2 from your fusible fleece. Set all those pieces aside for now.
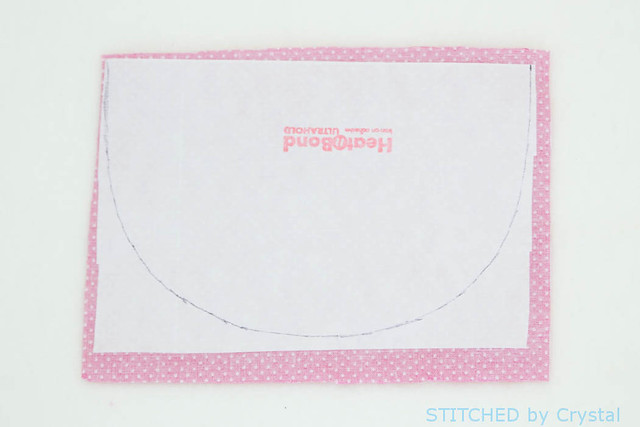
Trace the front accent piece onto the paper of a piece of Heat n Bond. Then iron the Heat n Bond to the back side of your accent fabric.
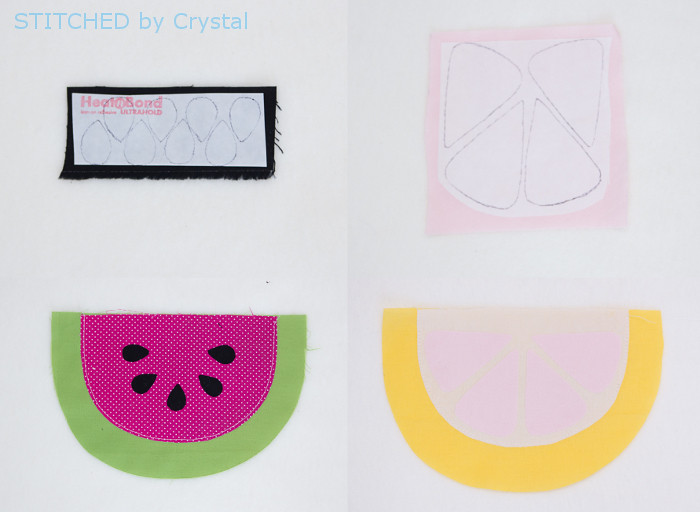
Cut out the accent piece on the line you drew. Peel the paper backing from your piece. Center your accent piece on your main bag piece, lining up the raw edges. Iron on top of your accent piece to adhere it to the main bag. Topstitch along the curve. You can do the topstitching with either a straight stitch or a zig zag stitch. With the straight stitch, the edges of the fabric may fray a bit over time but only up to your stitching line.
Next trace the fruit wedges or seeds onto the paper side of some Heat n Bond. Adhere the Heat n Bond to the wrong side of your fabric. Cut out the shapes and position them on your bag. Leave room at the top for your zipper seam allowance (3/8"). Iron the pieces in place and carefully sew them down by stitching around the edge.
Trim 3/8" off the top edge of your fusible fleece then fuse it to the back side of your main bag pieces.
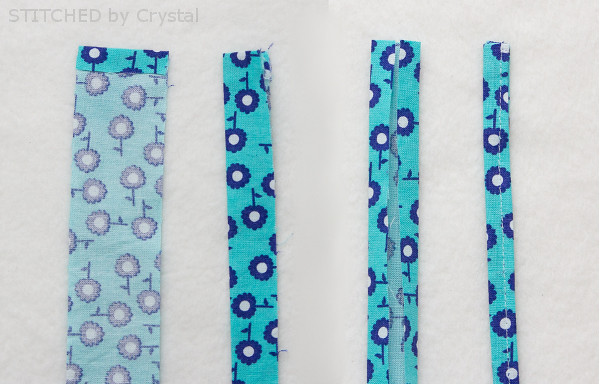
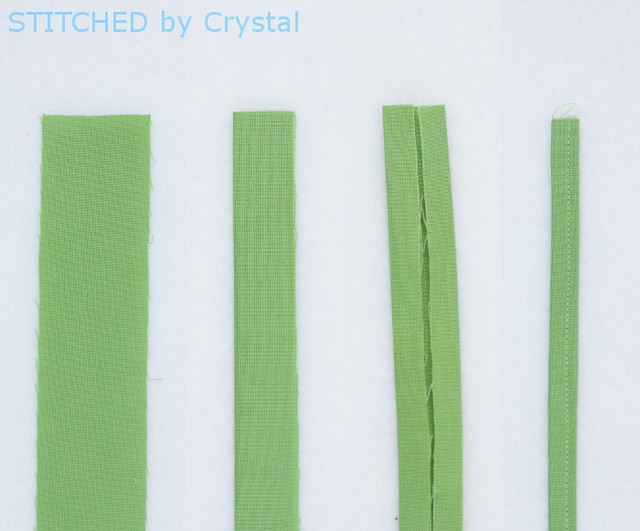
Next, if you are making a purse, you need to prepare your strap (if you are not doing the strap, skip down a couple steps to the zipper). If you are using store bought bias tape, sew it closed along the open edge. If you want to make your own, cut a 1.5" strip of fabric that is the length you want for your strap. It doesn't need to be cut on the bias for this project, you can just cut it selvage to selvage. Then fold the strip in half and press, open it up and fold the raw edges in to the center fold and press, Then refold it on the center fold and press again, sew along the open side.
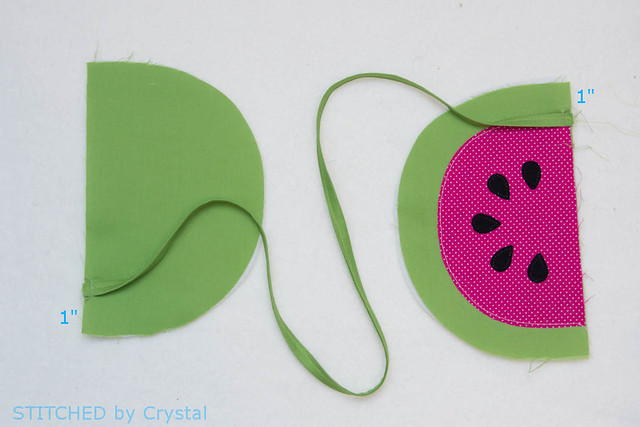
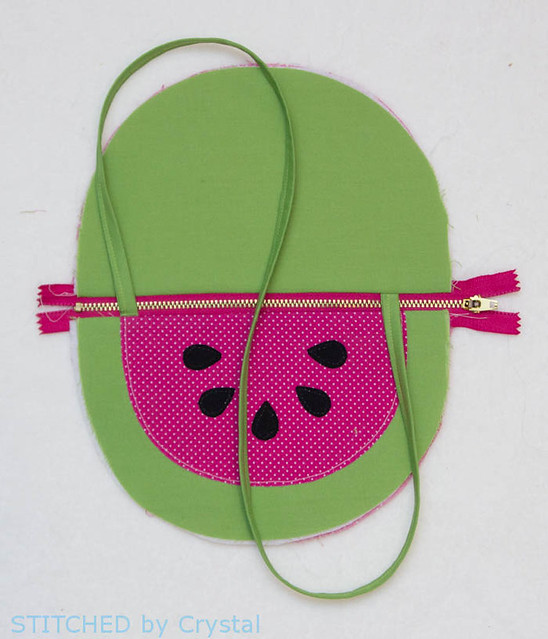
Make a small mark on the top of both your outer bag pieces that is 1" from the left side. Baste the end your strap to the inside of that 1" mark, lining up the raw edge of the strap with the top of the bag.
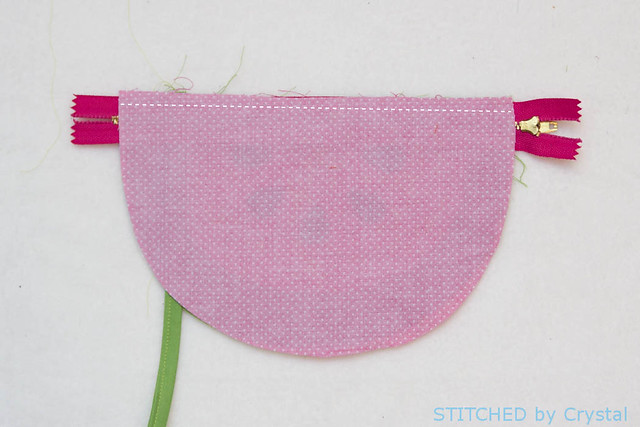
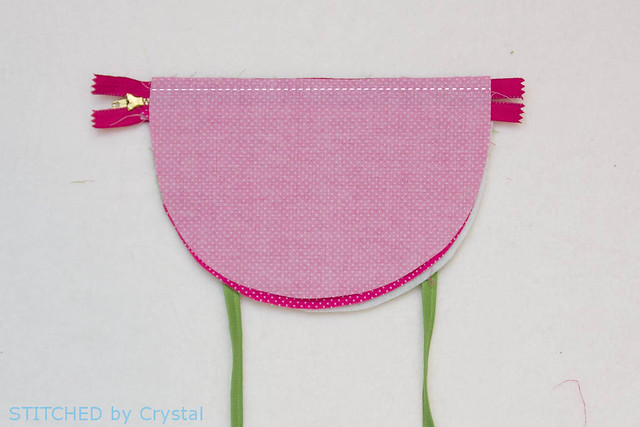
Place your zipper right side down on top of one of your bag pieces. Pin the zipper in place, then with a zipper foot, baste the zipper in place.
Lay a lining piece right side down on top of your zipper. You should have your bag outer and lining right sides together with the zipper sandwiched in the middle. Pin then sew along the zipper edge.
Turn your pieces right side out and press.
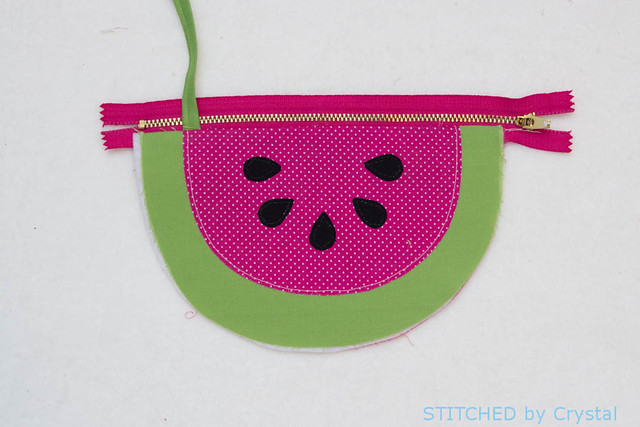
With the outer bag facing up, lay your other outer bag piece on top, right side down. If you are making a purse, make sure your strap is not twisted. Pin the top of the bag to the zipper edge, then baste it in place.
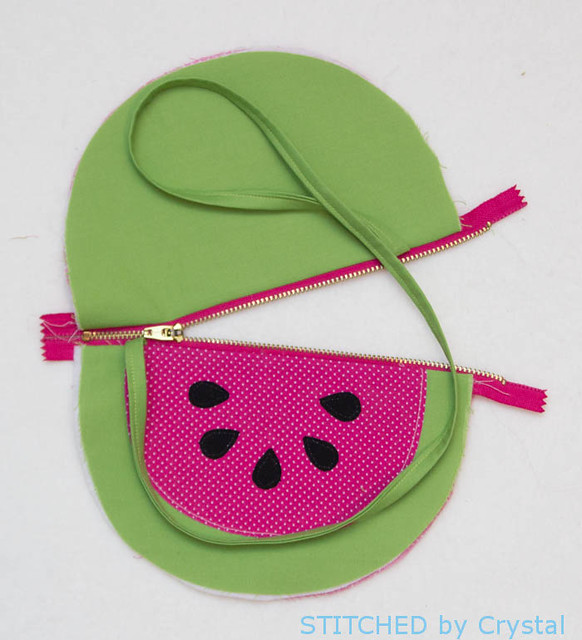
Flip the bag over so the lining you have already sewn on is facing up and then lay your other lining piece on top of it, right side down. You will have your zipper sandwiched in between your main and lining pieces again, but this time the main bag and lining from the other side will be sandwiched in there too. Pin and sew along the zipper.
Now flip those pieces right side out and you should have your main bag and lining pieces on each side and a zipper in the middle.
Now OPEN YOUR ZIPPER! This step is very important, if you skip over it, you won't be able to turn the bag right side out at the end and you will need to find your seam ripper! Position your zipper pull somewhere in the middle of your bag, you want it pretty open, but not so open that the pull gets in the way, about 3/4 of the way is good.
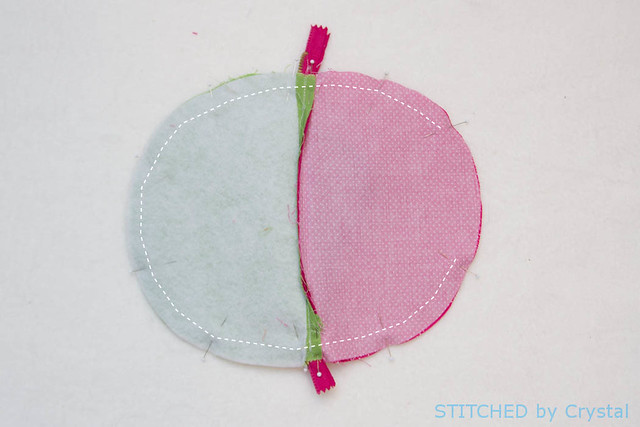
Almost done! Take your two outer bag pieces and put them right sides together, do the same with your lining pieces. Line up the curved edges and pin, if you are making a purse, make sure the strap is tucked inside and away from the seam allowance. When you get to the zipper, squish it flat, pushing the teeth towards the outer bag side. Starting towards the bottom of the lining, sew around the bag with a 1/2" seam allowance, stop when you get about 3" from where you started leaving an opening at the bottom of the lining.
Turn the bag right side through the hole you left in the bottom. Turn the raw edges of the hole in and sew the opening closed.
Tuck the lining down inside the bag and you are done!
Unless you want to add a cute apple leaf zipper pull...I made mine by sandwiching some Heat n Bond between 2 layers of green fabric, then I stitched my leaf shape and cut it out.
Now go make some fruity bags and get in the mood for warm weather!