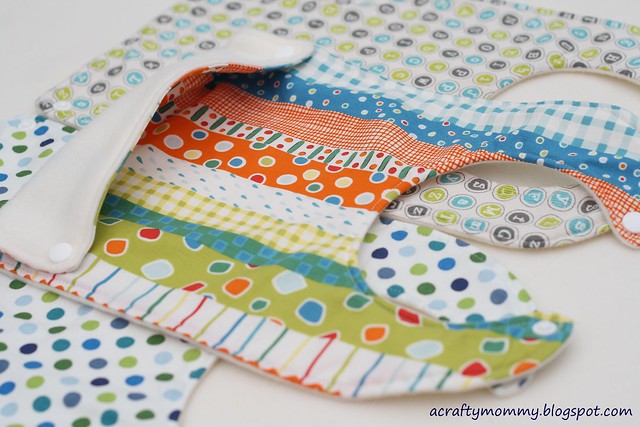
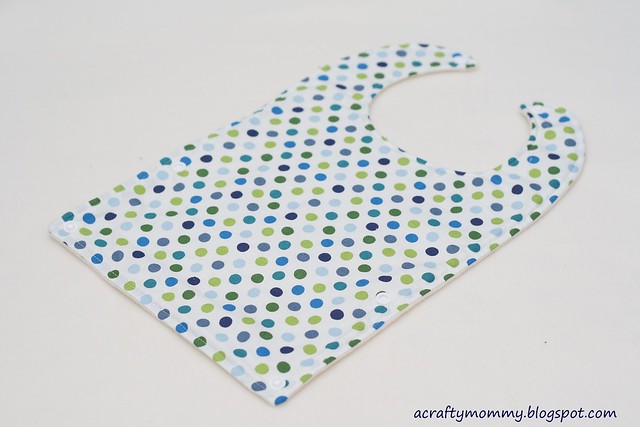
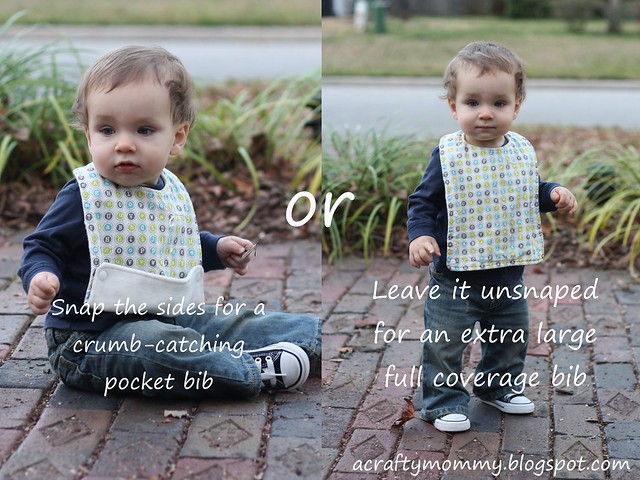
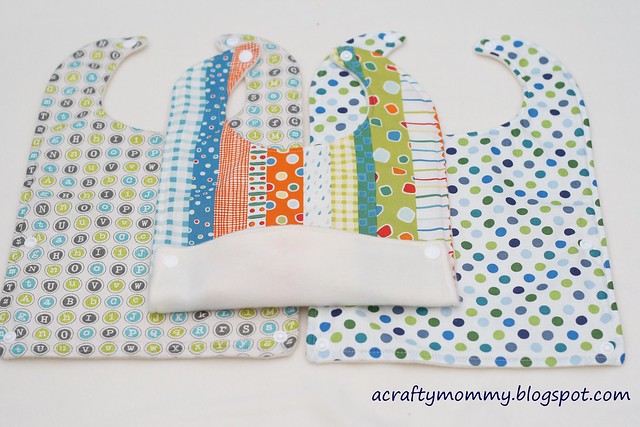
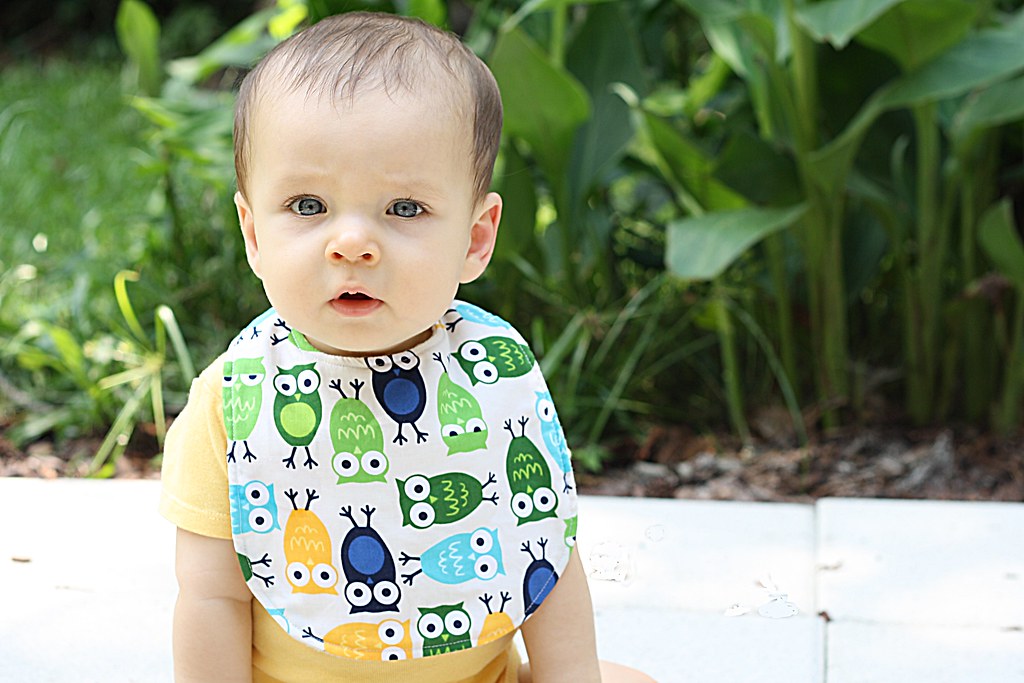
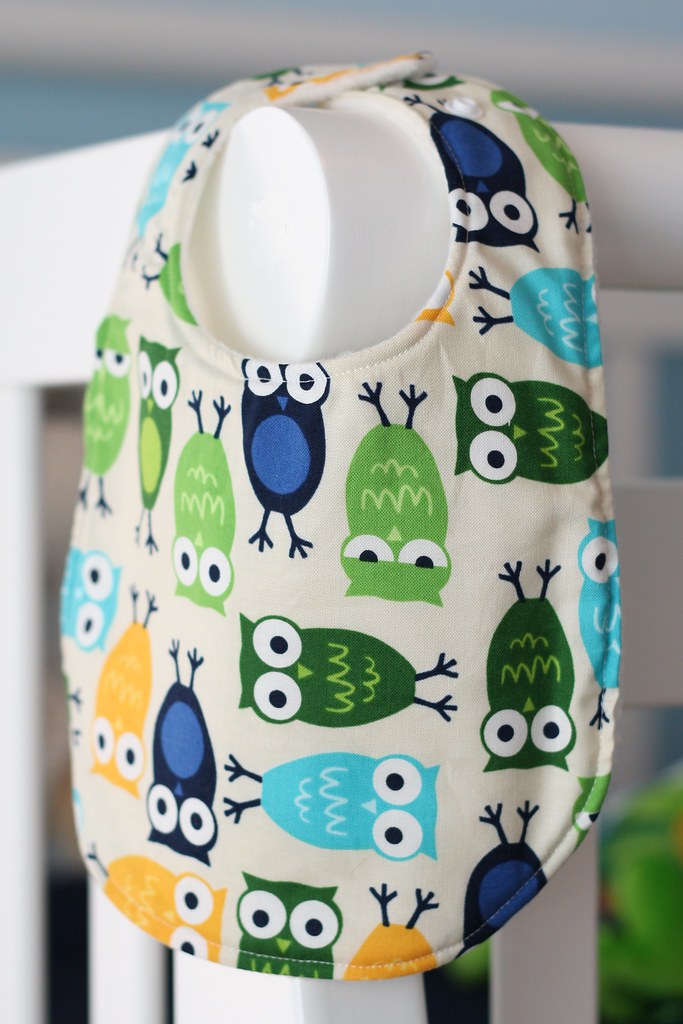
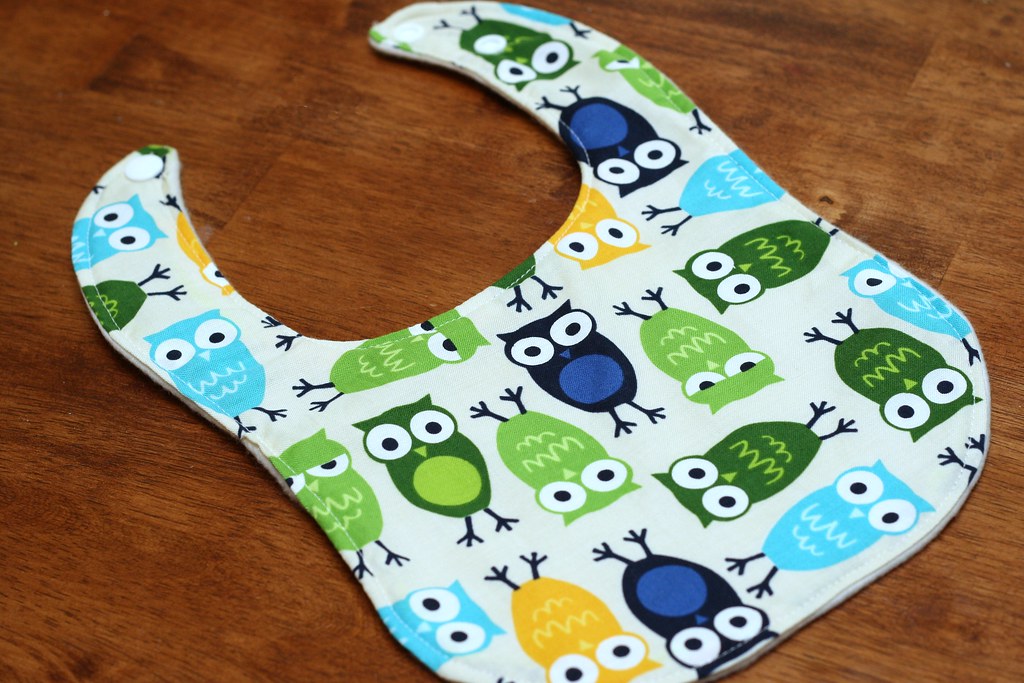
These bibs are awesome! I started making these when I couldn't find any bibs that worked well on my drooly baby. It does not have any plastic materials like store bought drool bibs so they are super soft and don't warp in the dryer. Not to mention they look so cute!
Bibs are super easy to sew even for someone just learning to sew. I really broke this tutorial down step by step so it should be easy to follow. Don't feel like sewing them? I will sew them for you! Buy them in my shop!
Skill Level: Beginner
Materials:
1/3 yard fabric for front of bib. I like quilting cottons they come in a variety of cute prints and hold up well. 1/3 of a yard which will make 4-5 bibs depending on the length, or one fat quarter will make 2 bibs.
1/3 yard polyester fleece for back of bib. This is what makes it soak proof, I recommend either an anti-pill or a blizzard fleece. 1/3 yard will make about 6 bibs.
Fastener. This can be a button, snaps, Velcro, whatever you want.
In this tutorial I am using Urban Zoologie Owls in Ivory by Robert Kaufman for the front of my bib and Ivory anti-pill fleece I bought at Jo Ann's for the back.
If you wanted to make your bib extra absorbent, you could add a layer of flannel in the middle, But I find the work great just like this.
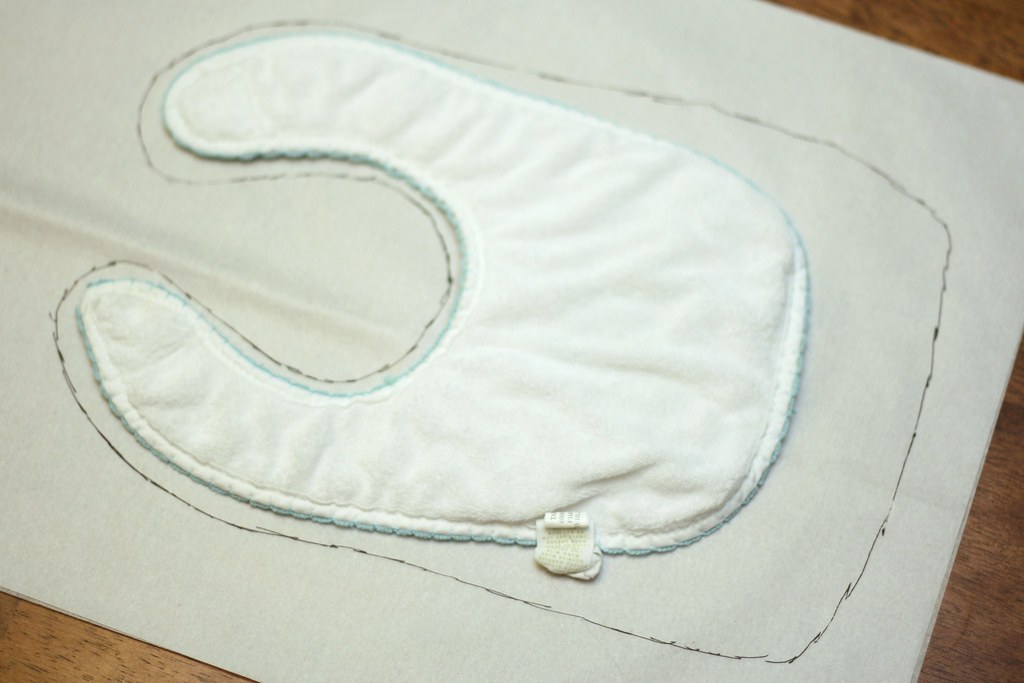
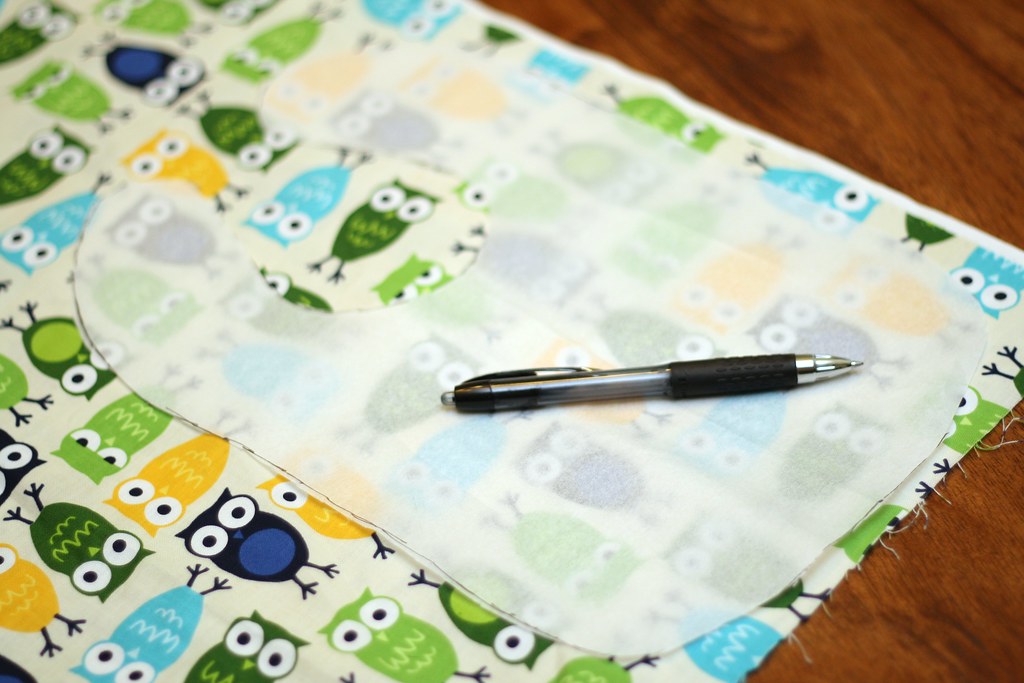
First draft a pattern using a bib you already have. I used tissue paper to draw my pattern on. Trace around the bib giving yourself an extra 1/2" or so for seam allowance. I picked a bib that fits my son well in the neck but it is a bit dinky so I made the bib part bigger when I traced it.
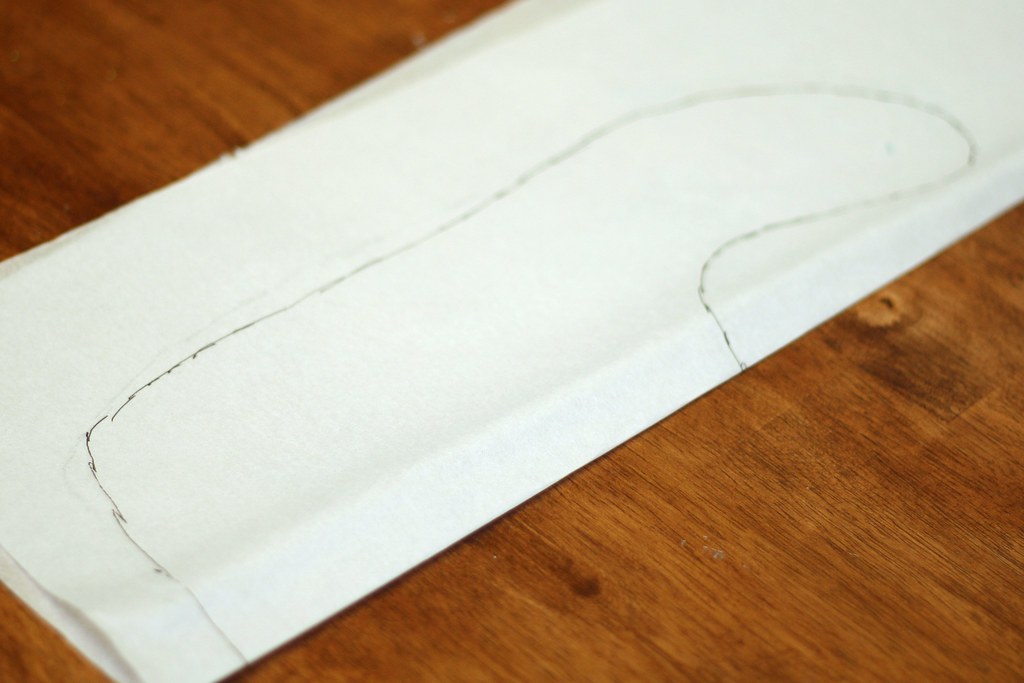
To make sure your bib is symmetrical when you cut it out, fold your pattern in half matching the edges the best you can.
Cut out your folded pattern but don't cut along the folded edge. Unfold and you have a perfectly symmetrical bib pattern.
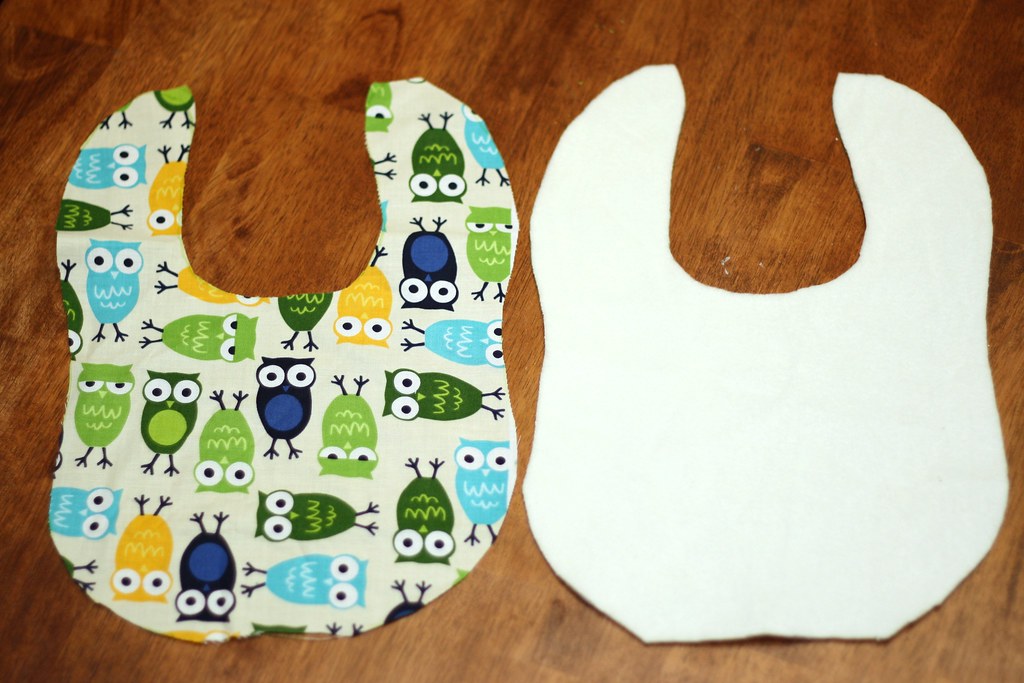
Now use your pattern to cut out your fabric for the front of the bib and the fleece. I like to trace around my patterns with a tailors pencil then cut them out.
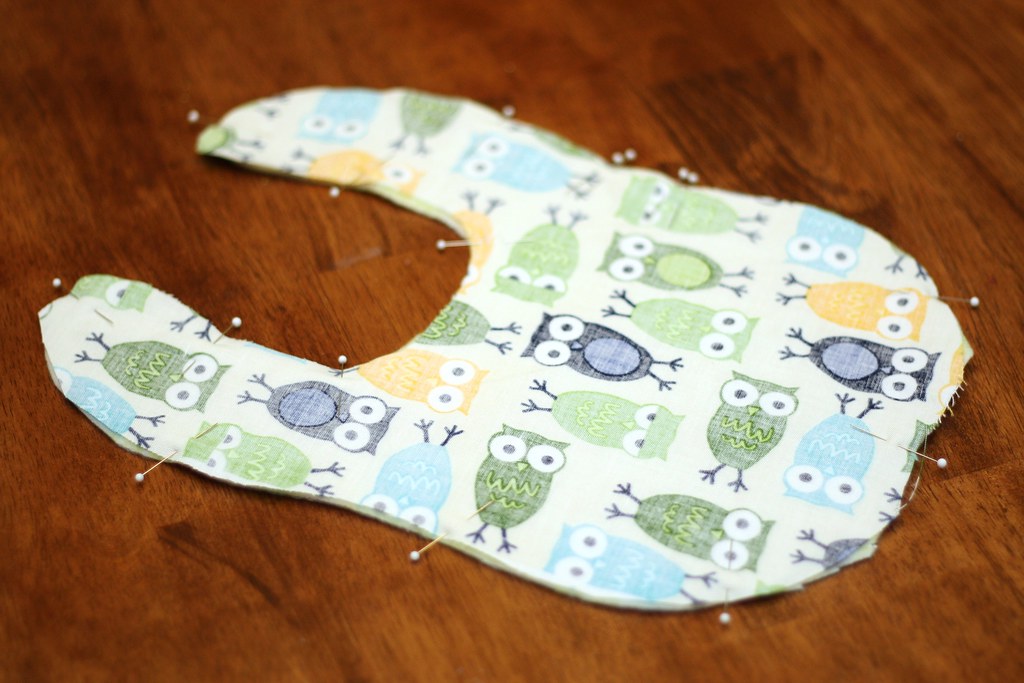
Place your 2 bib pieces right sides together and pin around the edges.
You will need to leave a small opening on the side to turn your bib right side out. I place 2 pins on either side on my opening to remind myself to stop when I get there, sometimes I get carried away!
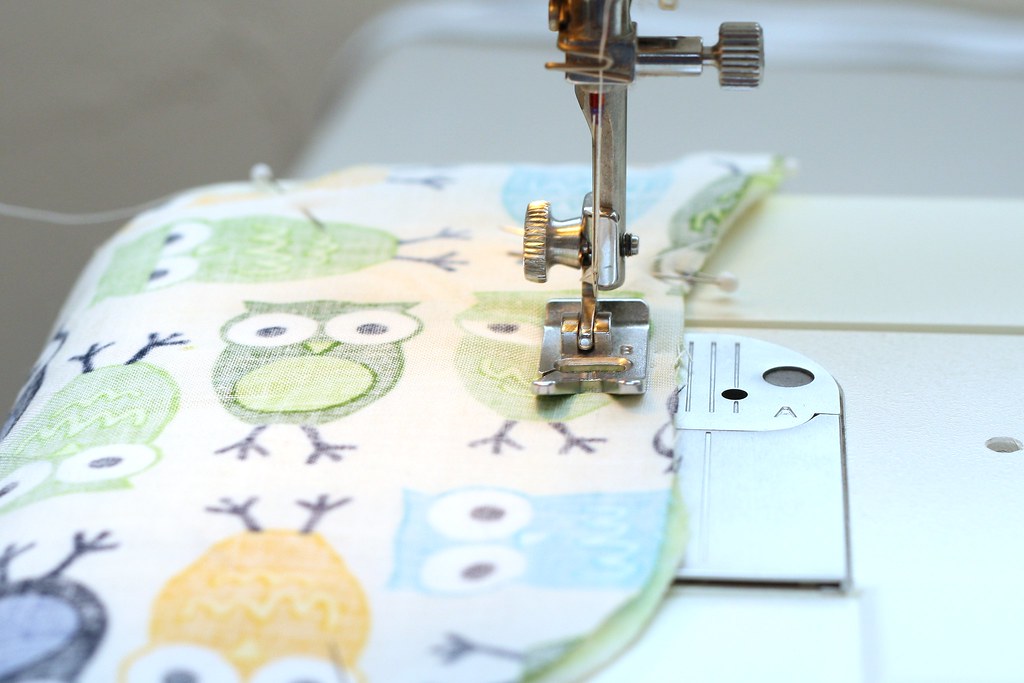
Start sewing below your opening. Start with a stay stitch (stitch backwards a few stitches before going forwards so your thread doesn't unravel). Sew all the way around until you get back to the top of your opening and end with another stay stitch.
Trim the seam allowance at the top of the straps to reduce the bulk when you turn it right side out.
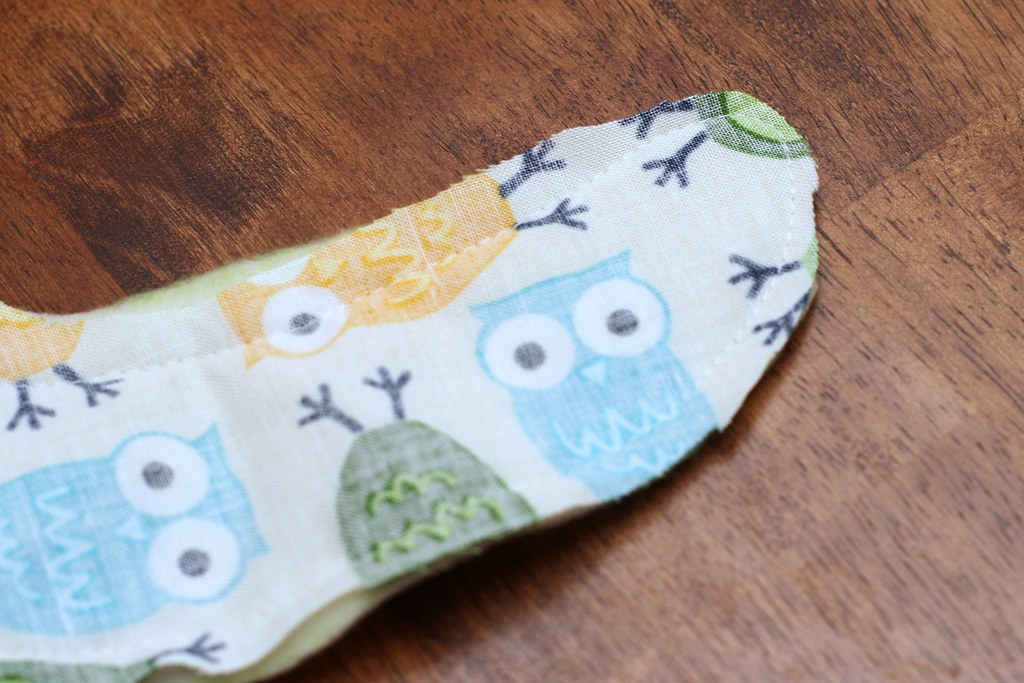
Along the neckline, cut small slits. Cut close to the seam but make sure you don't snip your stitches!
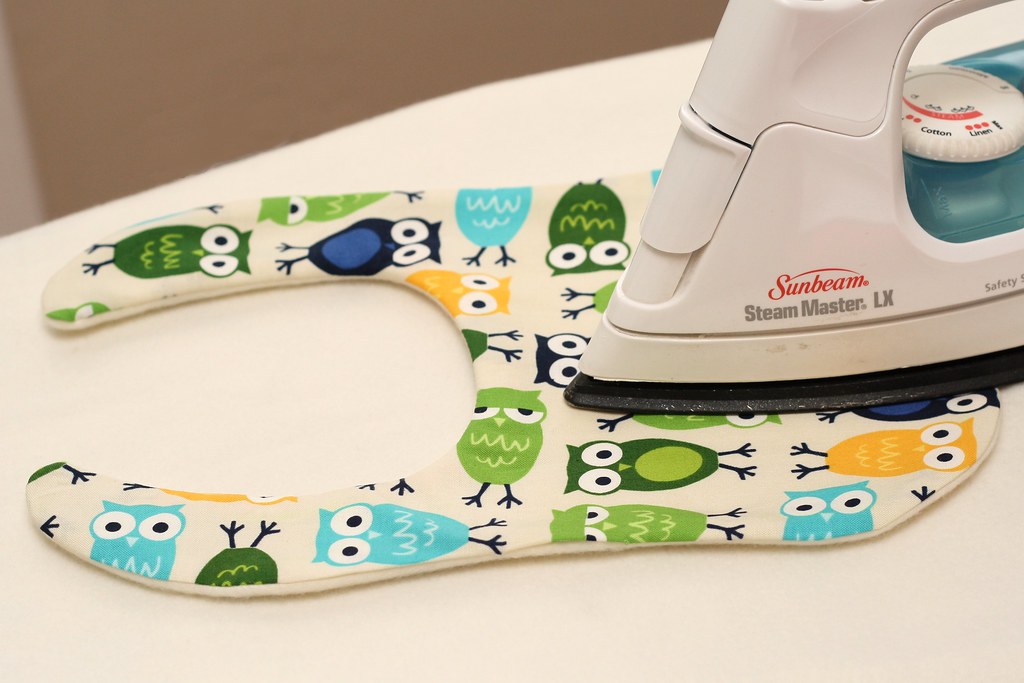
Turn your bib right side out through the hole you left in the side. Iron it nice and flat.
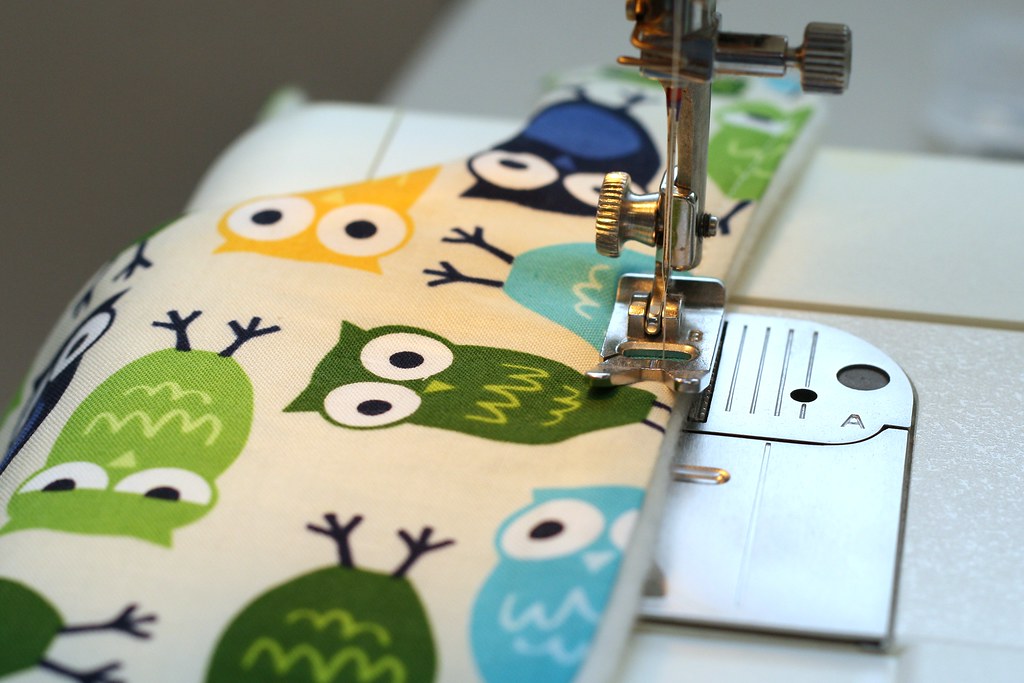
Next, top stitch around the bib. I like to start at the top of one of the straps. Make sure your top stitching is closer to the edge of the bib than your seam allowance so you close up your opening and the raw edges are inside your top stitch.
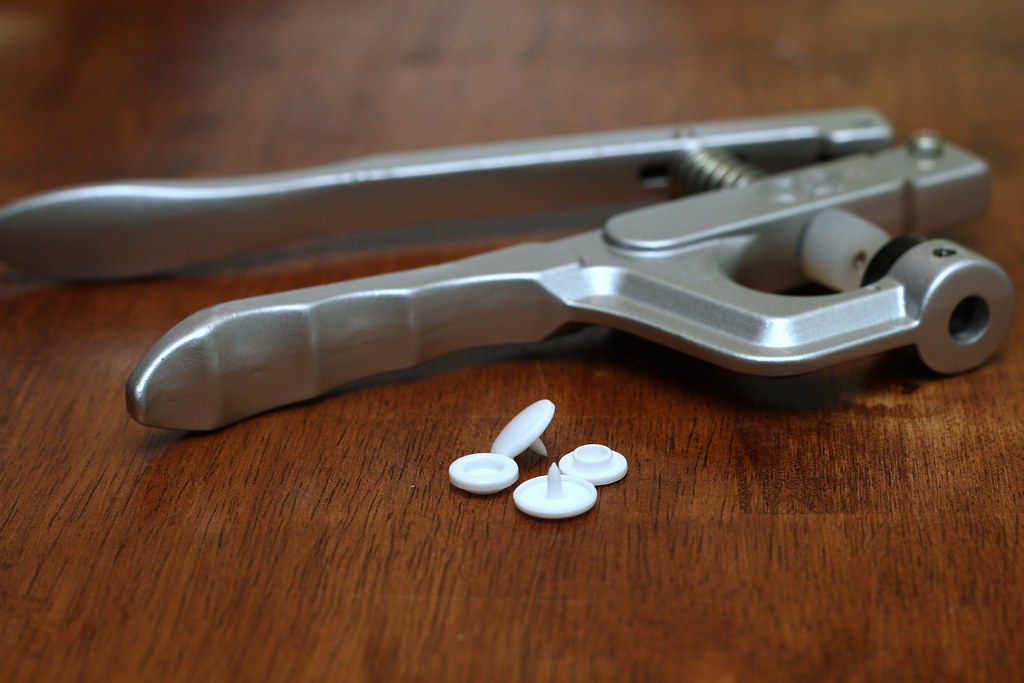
Now add your fastener. I like to use snaps because they are easy to put on and they don't stick to everything in the dryer like Velcro does. My favorite are these plastic snaps that you put on with a snap press.
I also like to put on 2 snaps to add a bit of growing room for my little guy.
These bibs are so easy to make! Once you get the hang of it, it will only take about 10-15 min to make one, you will want to make piles of them! Be sure to take a picture of your bib and share it in my flickr group, I would love to see it!
I love reading all of your comments! Please make sure your blogger profile is linked to your email, so I can respond to your questions via email, otherwise I won't be able to email you back!
Please feel free to email me(stitchedbycrystal@gmail.com).
Thank you so much for reading! I If you like what you have seen here make sure become a follower of my blog so you can catch all my updates!!