Showing posts with label Blanket. Show all posts

Apr 3, 2014

Tutorial - Patchwork and minky baby blanket

I made this blanket last month and shared it over at icandy handmade as part of their DIY babies series.  In case you missed it over there, I am sharing it here today!


Blankets are my go-to handmade gifts for any baby shower.  A baby can never have too many blankets!  


This blanket is a quick sew with a great finished look.  The blanket measures just over 20" x 20" so it is a great size to roll up and throw in the diaper bag, it also makes a great blanket for the car seat or stroller.


The front of the blanket has a fun patchwork design and the back is a super soft minky that is extra cuddly for baby.  This is a great blanket to use up some fabric scraps, or you can use a charm pack of 5" x 5" squares.


I made this exact same blanket a few years back and it was a gift for a sweet baby boy.  He loved it! In fact, he loved it to pieces....literally.  His mom sent me a photo of his blanket that was all tattered and stained from the past few years of going with him everywhere.  So I sewed up another and mom replaced the new one with the tattered old one when he wasn't looking!


Want to make your own blanket? Here's how!...

Materials:
  • 25 5"x5" squares for the front
  • 2/3 yard of minky for the back
  • Thread
  • LOTS of pins
  • Sewing machine

Place two squares right sides together and sew along one side with a ¼” seam allowance.  Continue adding squares to the row until you have a row of 5 squares.


Press the seams open. 


Repeat with your other squares to make 5 rows of 5 squares each.


Place two rows right sides together, line up the seams and pin in place.  Sew them with a ¼” seam allowance.


Continue adding rows until all 5 rows are sewn together, press the seams open.


Carefully cut your minky so it is the same size at your patchwork top.  Place your blanket top and minky right sides together and pin around the edges.  Use lots of pins to prevent the minky from slipping as you sew.


Sew around the edge with ¼” seam allowance, leaving a small opening about 2”-3” on one side.  A walking foot is helpful for sewing the two layers together, if you don’t have a walking foot, don’t worry!  Just take your time and sew slowly to make sure the fabrics stay lined up. 


Clip the corners close to the seam to reduce the bulk.


Turn your blanket right side out through the hole you left.  Press the blanket on the fabric side.  Tuck the raw edge of the hole in and pin in place.


Top stitch around the blanket close to the edge making sure to sew the opening closed.  Again, I find a walking foot helpful for this step, if you don't have one just take your time.


I added an extra row of topstitching about 3/8” from my first row. 


Now you can stop here, or you can quilt  along the seams of the patchwork if you would like.  
Then fold it up and it is ready for gifting!


This post is linked over at Make it & Love it

Apr 4, 2013

Hexagon Quilt

When I first saw a quilt like this over at hobby mommy creations all I could see was those annoying Y seams where the hexagons meet.  No thank you! But I was completely blown away when I realized this quilt was made without sewing any Y seams at all.  I had to try it!


I used the fabric I had left over from the quilt I made for my grandpa.  I love the grey (or is it gray? I can't ever decide), blue, green, and orange combo.


For the quilting, I just machine quilted some horizontal lines.  It was pretty easy, I used my walking foot and just went back and forth across the quilt.  


The quilt ended up being smaller then I expected and I ran out of fabric so I couldn't make it bigger...oops.  But is is a good size for a car seat or stroller.  It now has a new home with a friend of a friend who is expecting a baby boy.

To make this quilt, I started with 2" strips.  I matched up 2 colors I liked together and sewed the 2 strips together.  Then using the 60 degree angle on my quilting ruler, I cut the strips into triangles.


I ended up with two piles of triangles.


Which make two different hexagons.


Then I sewed the hexagons into halves by sewing 3 triangles together. 


I laid out my hexagon halves into a pattern I liked and sewed them into strips.  In the picture below, you can see how I laid out my hexagons on the left, and then on the right you can see how I sewed them into strips.  I used the bottom half of some extra triangles on the end of each strip so I could cut straight across the top and bottom for binding.  


Then all the strips got sewn together.  Awesome hexagons, no annoying Y seams!


Sep 25, 2012

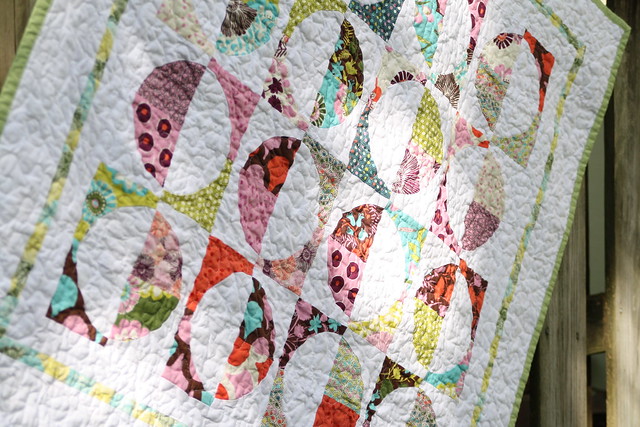
A Curvy Quilt

I have tons of fabric, huge plastic bins full of it in my craft room.  I think my husband cringes a little every time I come home with another bag from Jo-Ann's!
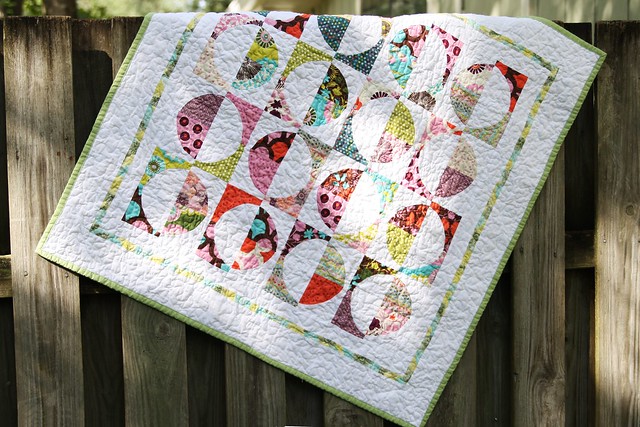
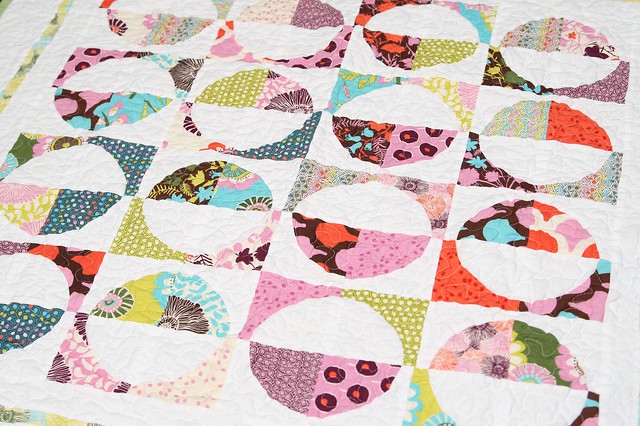
I have been making an effort to use what I already have for my projects instead of adding to my ever growing collection.  I made this quilt with some charm pack squares I have had for over a year!  They are the Sugar Pop line by Liz Scott for Moda.  


I used a drunkard's path square (more on that later) and I am really digging the modern curvy look.  It measures 40" x  40".


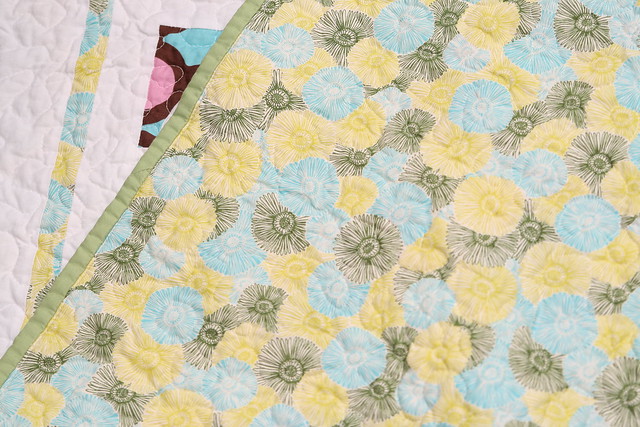
I used some Kona solids I had in my stash too, the white for the top and the green for the binding.  Its the same green I used on Emily's quilt.  The only fabric I had to buy for this one was what I used for the back and the stripe on the front, and I used every last bit of it.


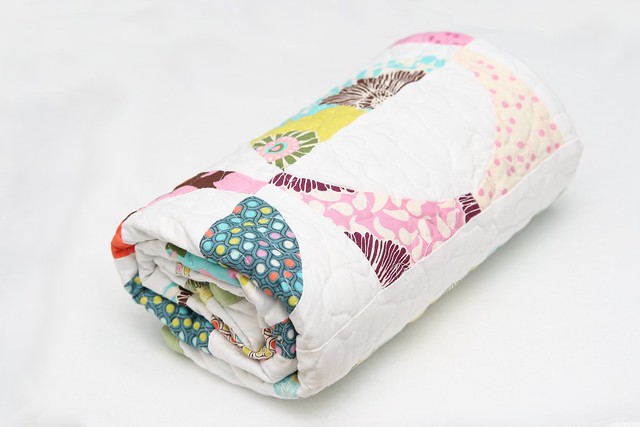
I liked this quilt so much I considered keeping it for Emily but I think I will gift it instead, I think I know of the perfect home for it!


LinkWithin

Related Posts Plugin for WordPress, Blogger...
I love reading all of your comments! Please make sure your blogger profile is linked to your email, so I can respond to your questions via email, otherwise I won't be able to email you back!

Please feel free to email me(stitchedbycrystal@gmail.com).

Thank you so much for reading! I If you like what you have seen here make sure become a follower of my blog so you can catch all my updates!!