Showing posts with label doll. Show all posts

Jan 19, 2015

Red Riding Hood Doll

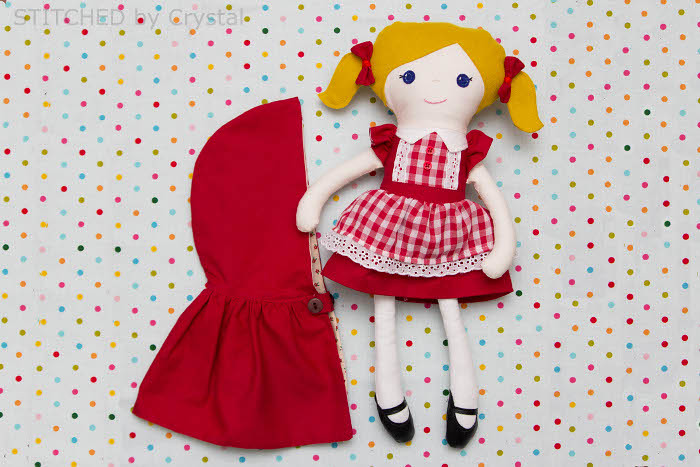
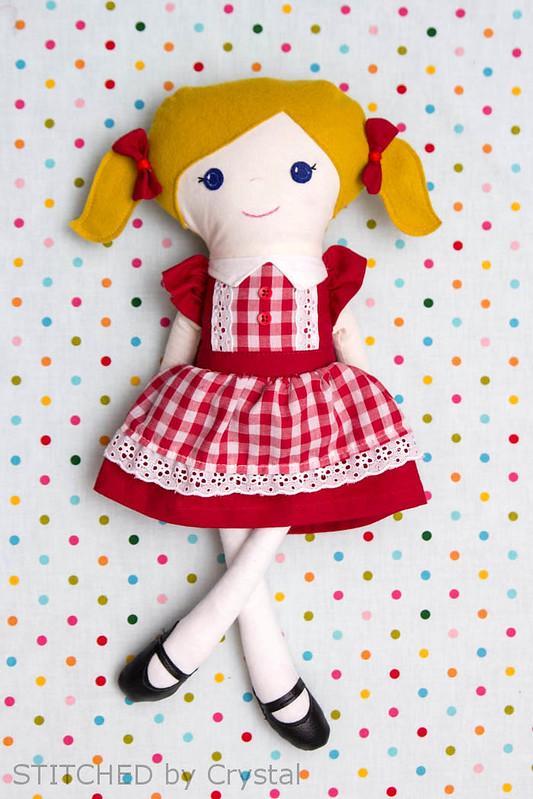
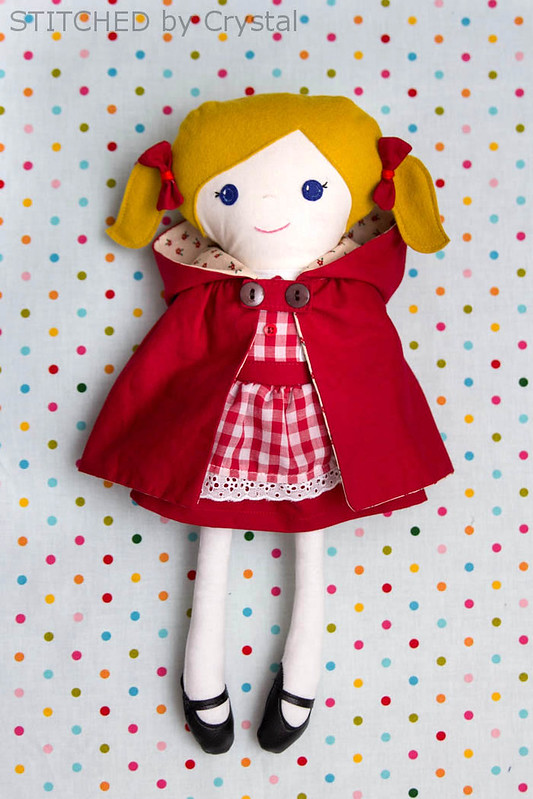
This was a really fun project for me!  Em has loved all things Little Red Riding Hood since she dressed as her for Halloween.  One day last week she asked me if I would make her a Red Riding Hood doll....um, of course!  So, I decided it would be really fun to make a doll of Em dressed as little red.


The doll's dress is a miniature version of the dress she wore for her costume, and she even has matching white tights and black leather shoes.


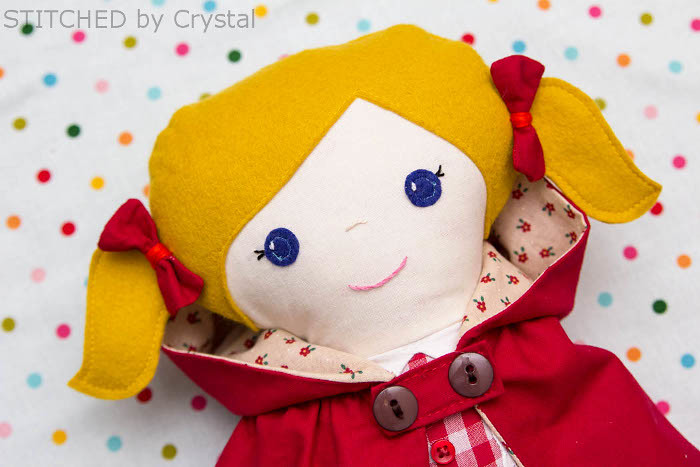
She's got a tiny little cape, just a hood (that took me three tries to get the right size, that dolls head is bigger than it looks) and gathered cape.  I used some little buttons instead of toggles like Em has on hers.  The buttons are just decorative, it closes with a little velcro on one side.


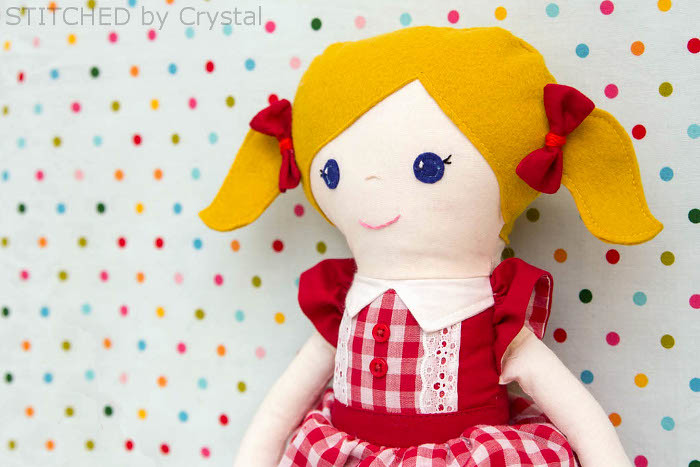
And with the blonde pigtails, blue eyes and tiny upturned nose this doll is a tiny little Em :)


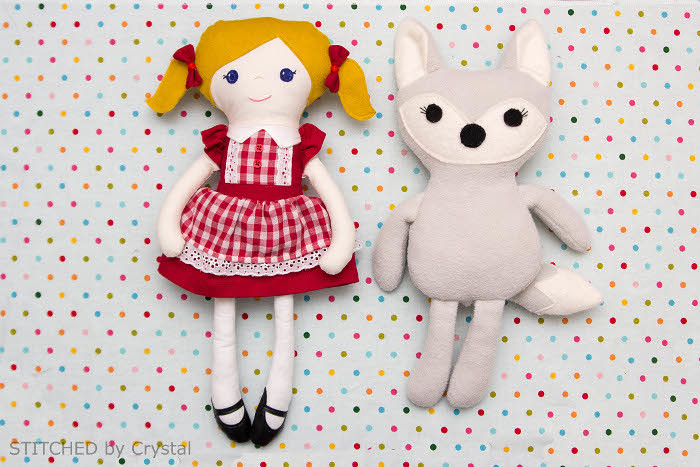
To make the doll, I started with my stuffed fox pattern...who actually doesn't make a half bad wicked wolf.  Then I made the body and head a bit skinnier and the legs and arms longer and skinnier (and obviously eliminated the ears and tail...and added a dress)


I made the hair out eyes out of a wool blend felt and hand embroidered the face details.


This little doll took me almost 5 hours to sew, but part of that was working out the pattern and sewing a muslin doll.  She is so worth all the time and effort though, both Em and I love her :)


As soon as I finished her brother asked me "are you making superman next?"

Oct 20, 2014

Marissa Mermaid and a giveaway!

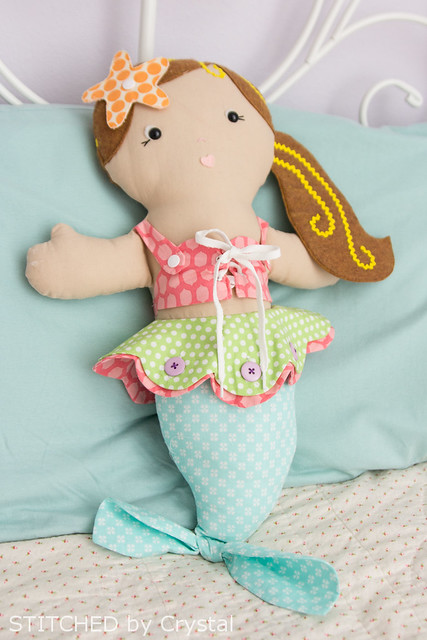
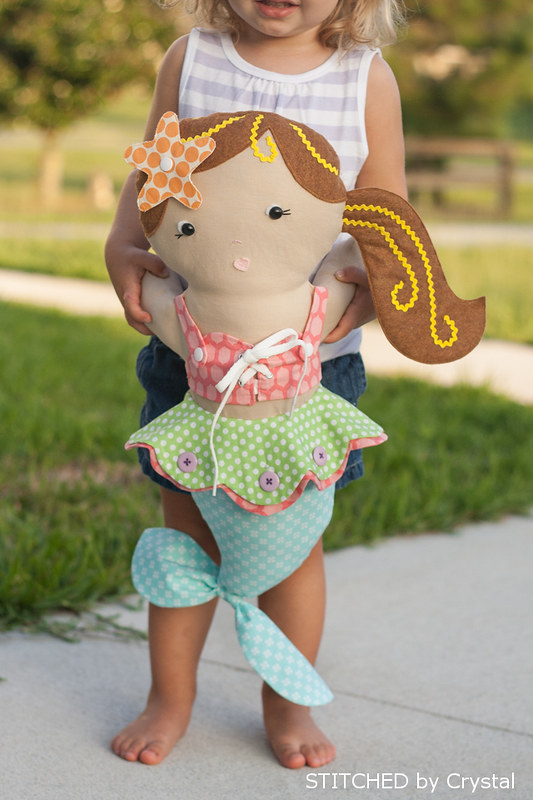
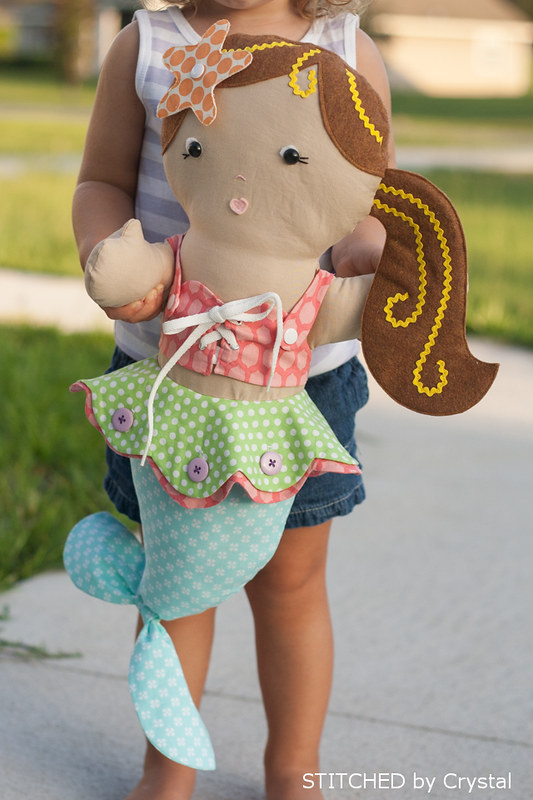
If there was ever a perfect sewing pattern for me to sew I think the Marissa Mermaid Doll by Ruby Jean's Closet has be it!  Seriously, it's got my name written all over it! I love sewing dolls, I have loved mermaids since I was a little girl (maybe an embarrassing fact about me...my room in college was decorated with mermaids everywhere :) ), and I am an occupational therapist so I get excited about things the work on fine motor skills.  This adorable doll combines all of those loves for me!


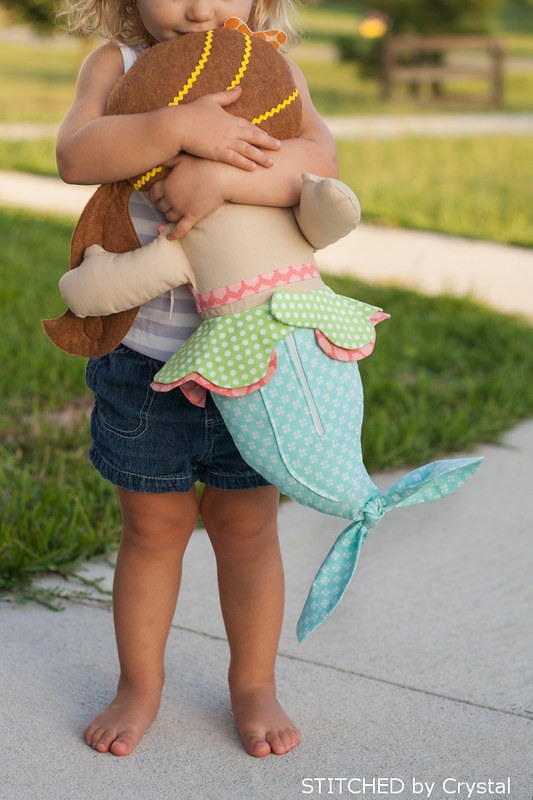
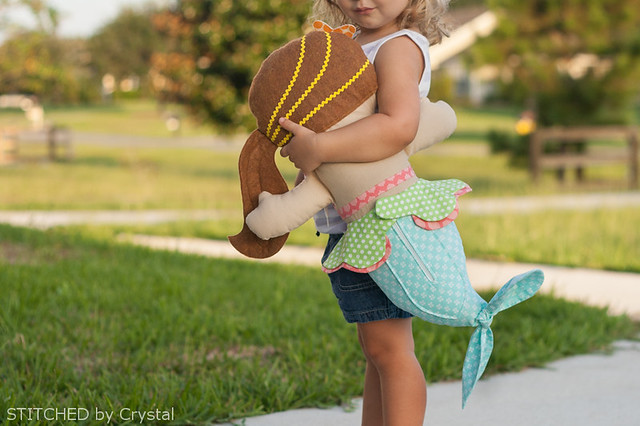
And a bonus....my daughter loves her too!


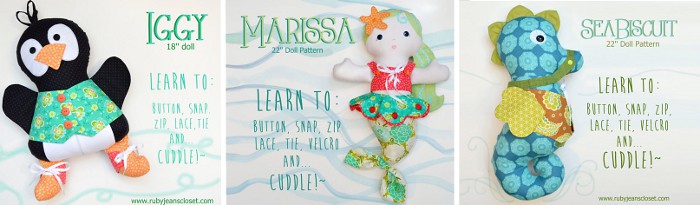
Marissa measures 22" tall and she's got snaps, buttons, velcro, a zipper, and a tie to help your little one improve their fine motor skills while they play.  


Sewing this mermaid was such a fun change from all the clothing I have been sewing lately.  She has lots of pieces, so she takes a bit of time to make, I had mine done in a little over three hours.  


Looking for a doll like this for a boy? Check out her shop! She has SeaBiscuit the seahorse and Iggy the penguin too!


Want to sew up one of these adorable dolls too? Ruby Jean's Closet is going to give one lucky winner all three of the fine motor skills dolls! To enter, just fill out the rafflecopter below!


a Rafflecopter giveaway

Mar 21, 2013

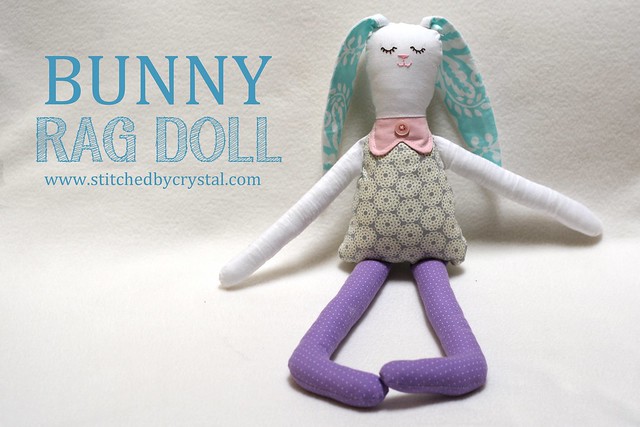
Tutorial: Bunny Rag Doll with Free Pattern

I have been wanting to make my daughter a doll for a while.  It was on my list of things to make before Christmas but I never got around to it. We were out shopping for little gifts for their Easter baskets last night and I thought a bunny rag doll would be perfect!
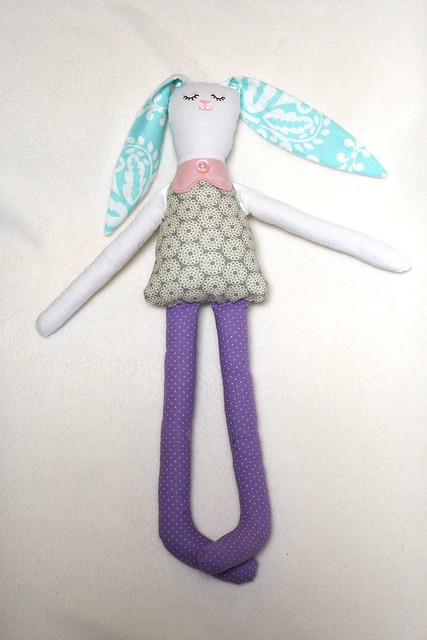
Enter this little gal....


Are you looking for a quick project for your little ones Easter basket?  This bunny was easy and a ton of fun to make.


I love seeing things I dream up come to life.  I get so excited when it actually works, and even more excited when it looks like what I was imagining in my head!
She is about 18" tall from her toes to the top of her head.


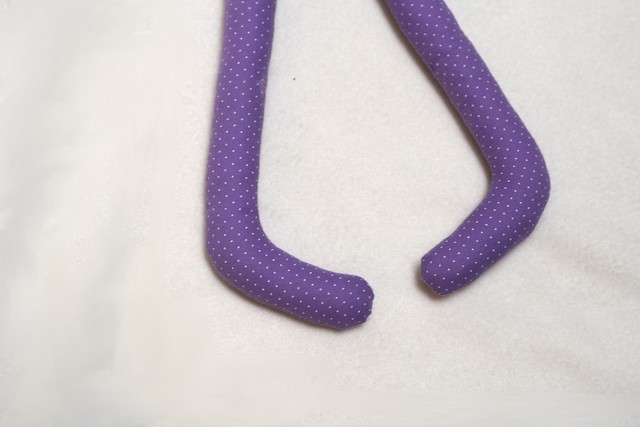
I love her giant bunny feet!


To make a bunny, you need:
  • Some fabric, this is a great pattern to use up some scraps.
  • Poly-fil
  • Embroidery thread
  • Sewing machine
  • Needle and thread
  • The pattern found HERE
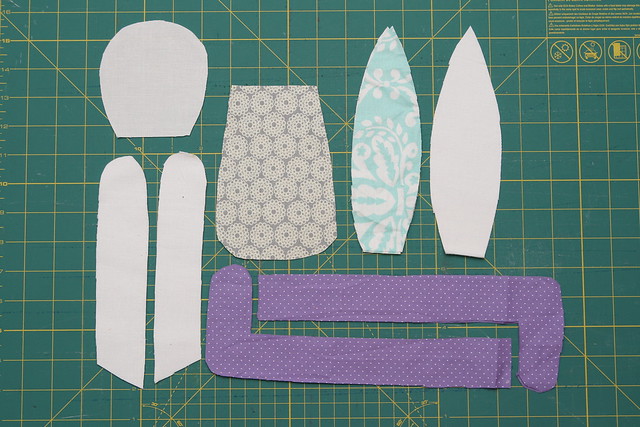
First use the pattern to cut out your pieces (you probably noticed your feet look a bit different than the ones pictured, I didn't like the way they looked at first, you will notice them change about half way through)


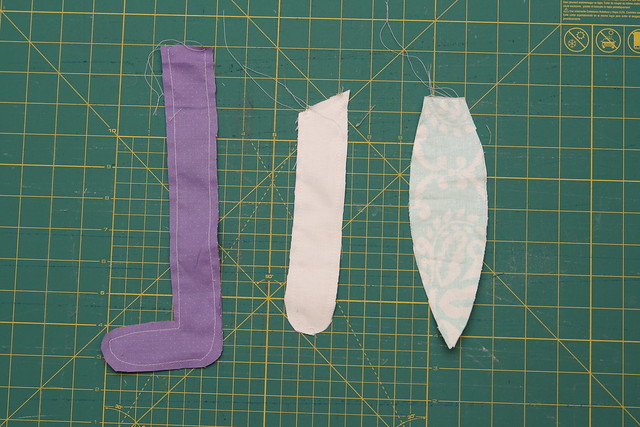
Sew your ears, arms and legs right sides together.


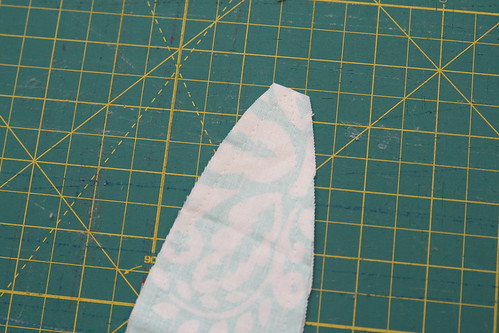
Trim off the tips of the ears and snip inside of the curve on the feet close to the seam.


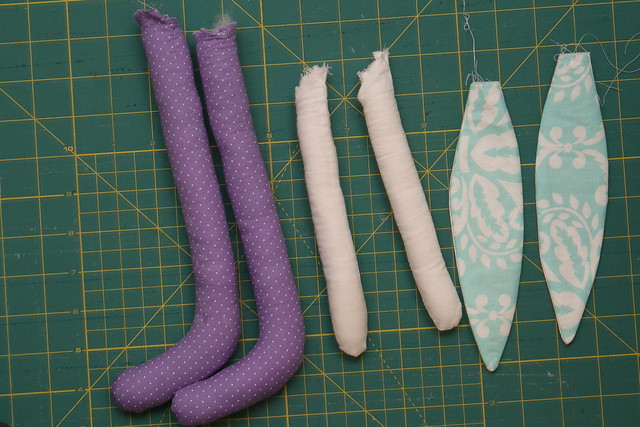
Turn them right side out.  Stuff the arms and legs and press the ears flat.


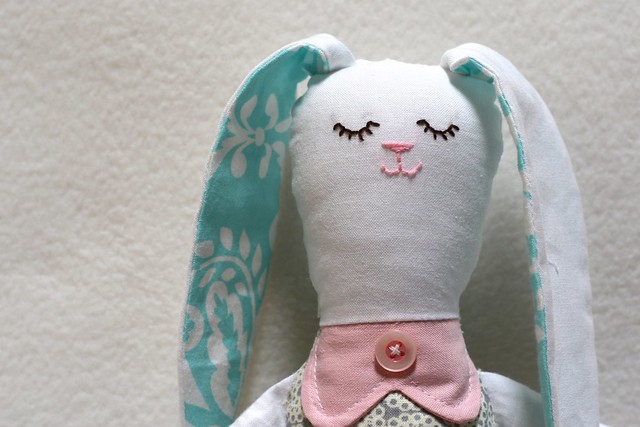
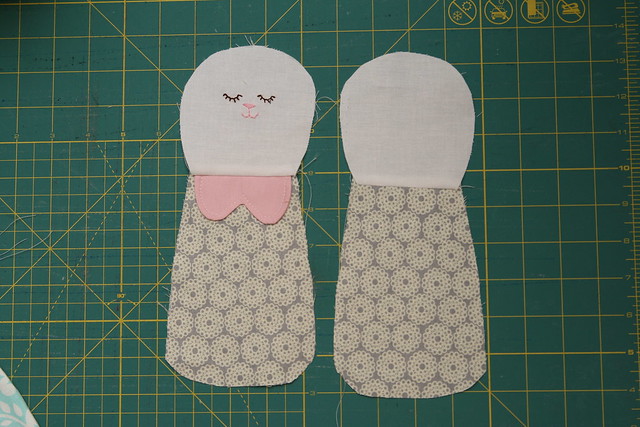
Sew the heads to the bodies.  I added a little collar to the front.  I also embroidered the face before sewing it on, you can do that now or wait until it is stuffed.  


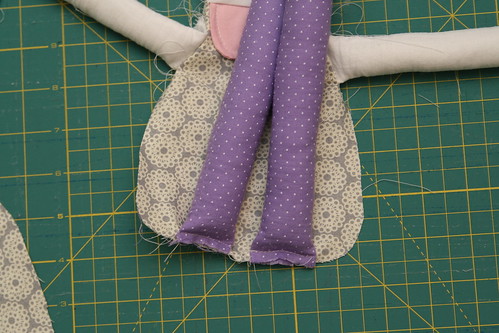
Baste your arms and legs in place on the front body of the bunny.


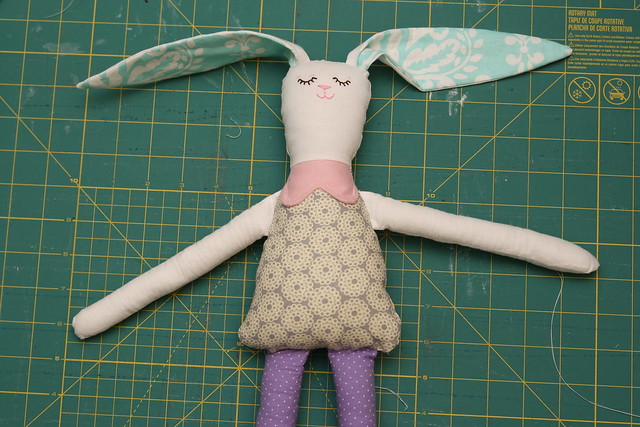
Baste the ears to the back of the head.


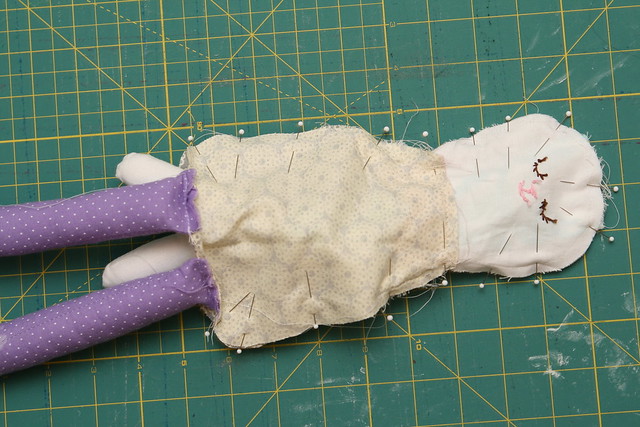
Pin the two halves together, make sure the arms and ears are tucked inside, the legs can stick out the bottom.  


Sew around the bunny starting next to one leg and ending at the other.  
Turn the bunny right side out, stuff him, then hand stitch her hiney closed. 


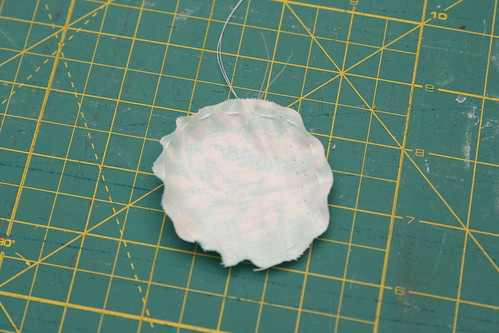
To make a tail, cut a 2" circle and sew a running stitch around the edge.


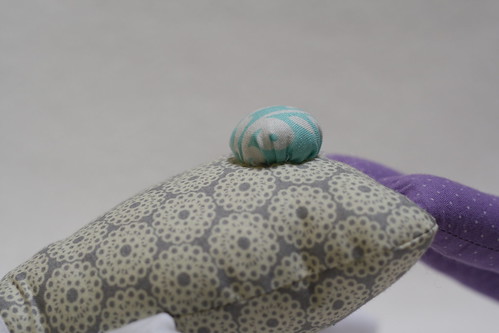
Pull the string tight and stuff some poly-fil inside.


Stitch the tail on the back of the bunny.


I added a little button on her collar and she is all done!



LinkWithin

Related Posts Plugin for WordPress, Blogger...
I love reading all of your comments! Please make sure your blogger profile is linked to your email, so I can respond to your questions via email, otherwise I won't be able to email you back!

Please feel free to email me(stitchedbycrystal@gmail.com).

Thank you so much for reading! I If you like what you have seen here make sure become a follower of my blog so you can catch all my updates!!