Showing posts with label Tutorial. Show all posts

Mar 14, 2016

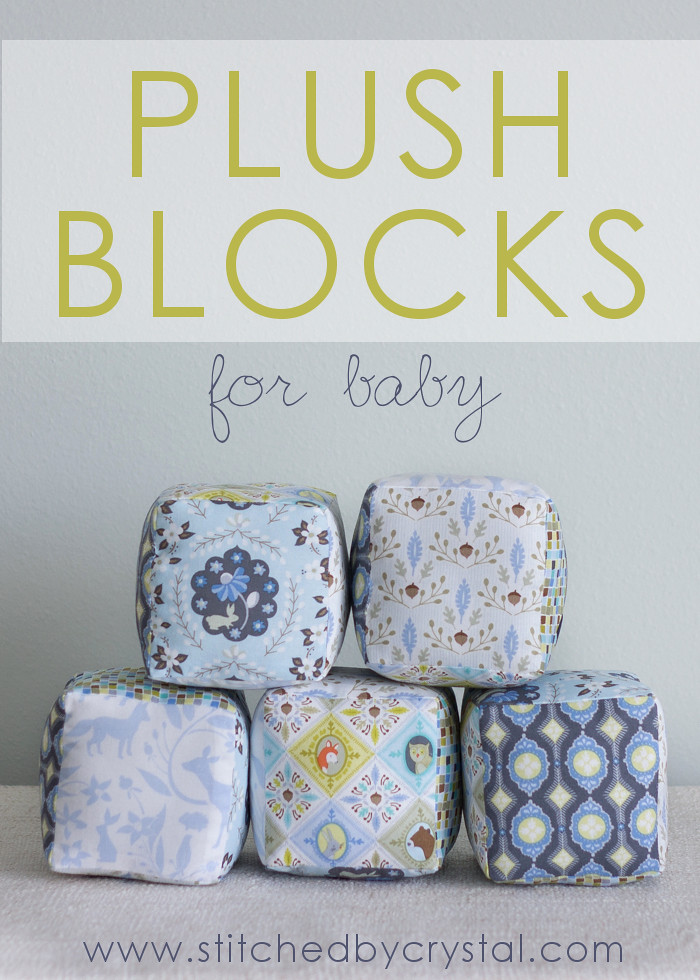
Plush Blocks for Baby

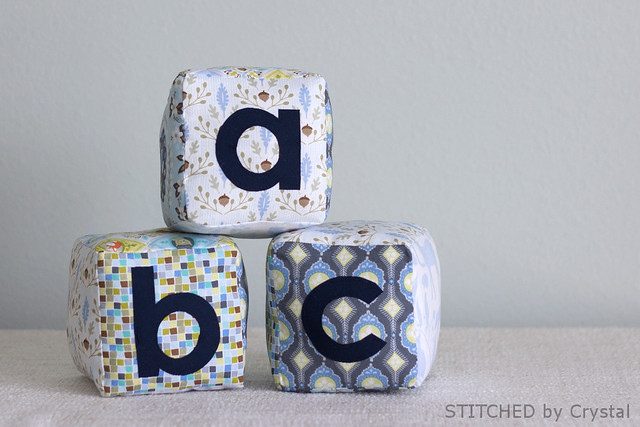
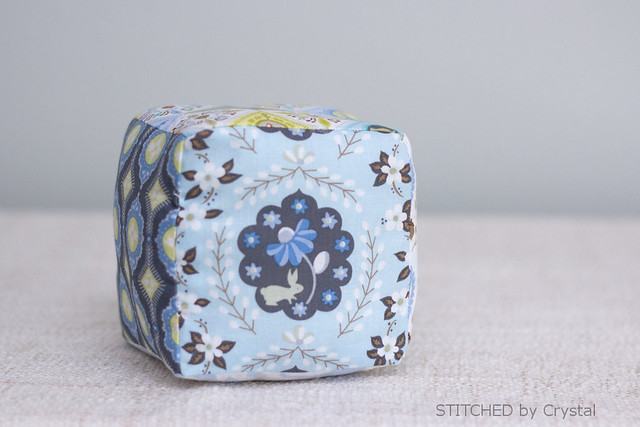
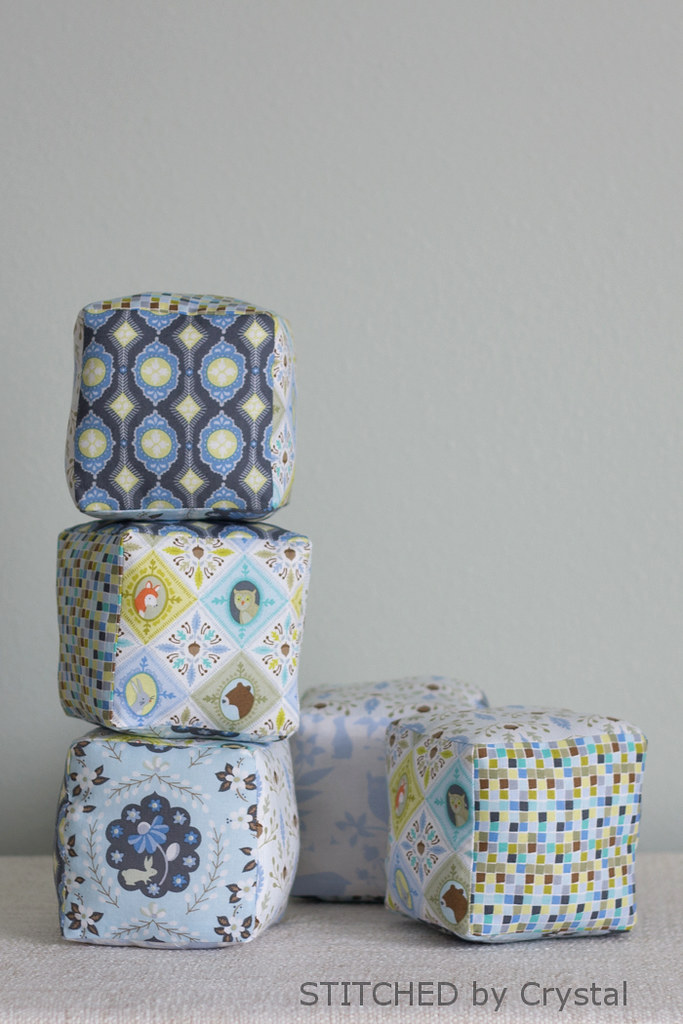
When I received some beautiful fabric in the mail last week I was excited to finally sew some for my new little guy! The Born Wild collection by Ana Davis for Blend Fabrics has both blue and pink color ways featuring adorable woodland creatures.  The blue colorway is perfect for baby boy!  I used all six of the blue prints for these six sided plush blocks.


These soft 4" blocks are great for snuggling, tossing, and stacking.  Baby J is still too small for them, but he will be playing with them in just a few short weeks and they make an adorable nursery decoration in the meantime!
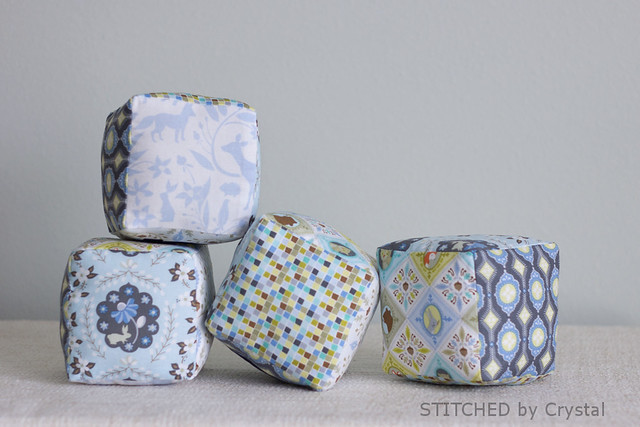

The blocks sew up fast and easy and would make a really fun baby shower gift!
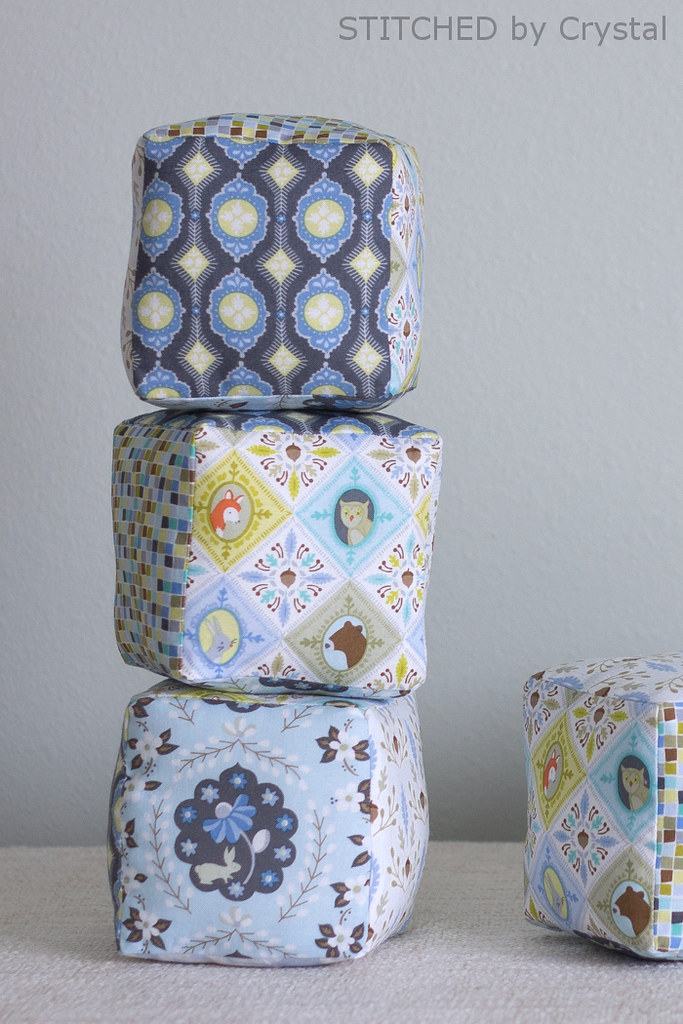

I just love these whimsical woodland creatures on the sides of these blocks!

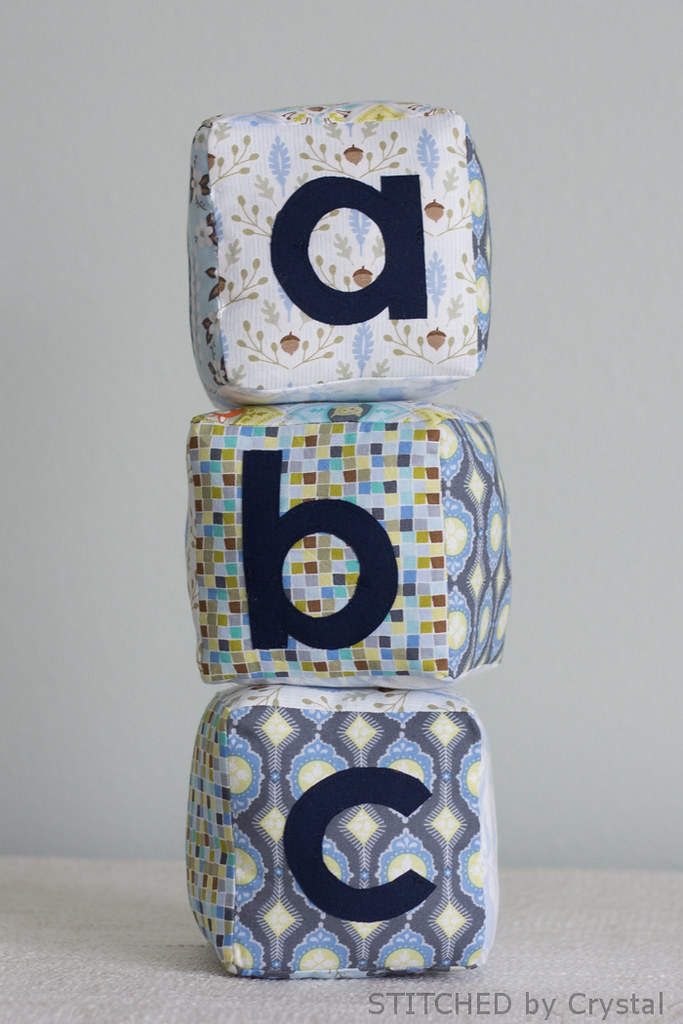
Some letters are a fun addition to the side of the blocks.  You can do a simple "a b c" or maybe spell out your little ones name. 

Want to make some plush blocks? Let me show you how!
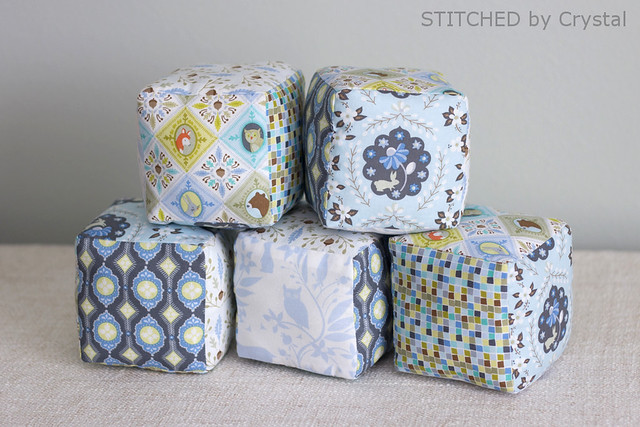

You will need...
If you want to add the letters you will also need...
  • coordinating fabric scraps
  • heat n bond
  • iron
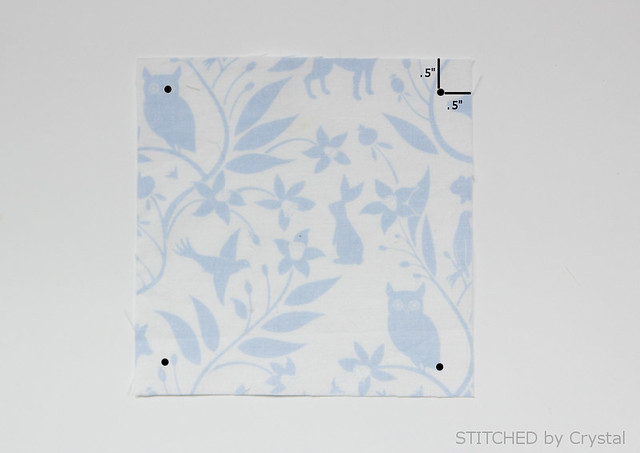
For each block, cut six 5" x 5" squares.  Mark the corners of each square 1/2" from the sides as shown below.

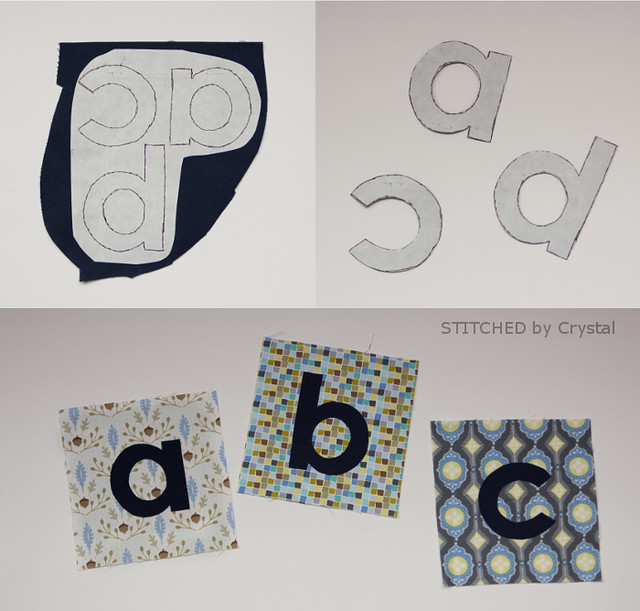
If you want to add letters to your blocks, draw or trace the letters to the paper side of the heat n bond.  The letters need to be backwards when drawn on the heat n bond.  Iron the heat n bond to the back side of the letter fabric.  Cut out the letters.  Remove the paper backing and iron the letters to the middle of the block squares.  sew around the letters with a straight or zig zag stitch.

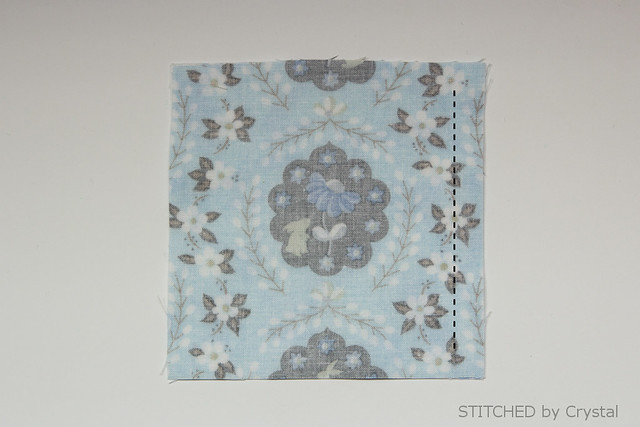
Place 2 squares right sides together and sew along one side starting and stopping at the corner marks, 1/2" from the edges.  Make sure you back stitch at both ends to prevent your thread from unraveling.


Press the seam open.
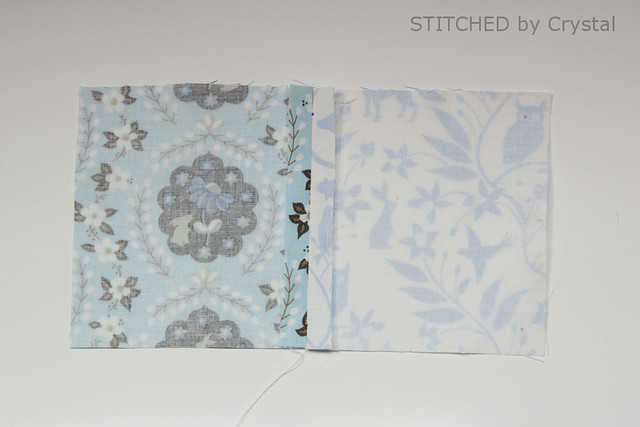

Repeat those steps to sew a row of four squares together.
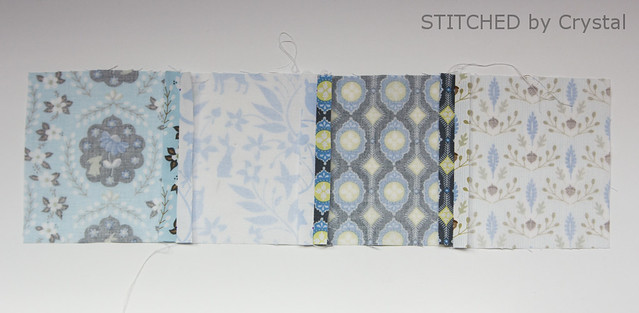

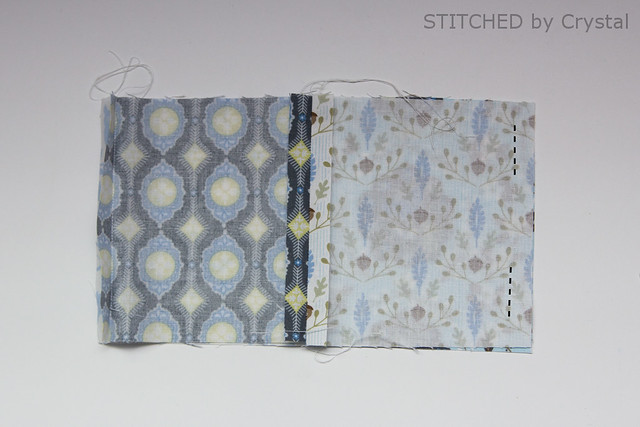
Fold the row to sew the 2 end blocks together.  Sew from the 1/2" marks about 1", leaving a 2" opening in the middle as shown below.  Again make sure you back stitch at the start and end of each stitch.

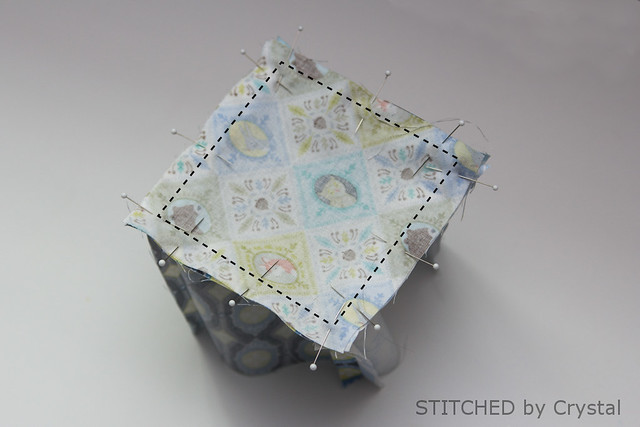
Pin one of the remaining squares to the top, lining up the corner marks with the seams.  sew all the way around the top of the cube.  Repeat to add the final square to the bottom.

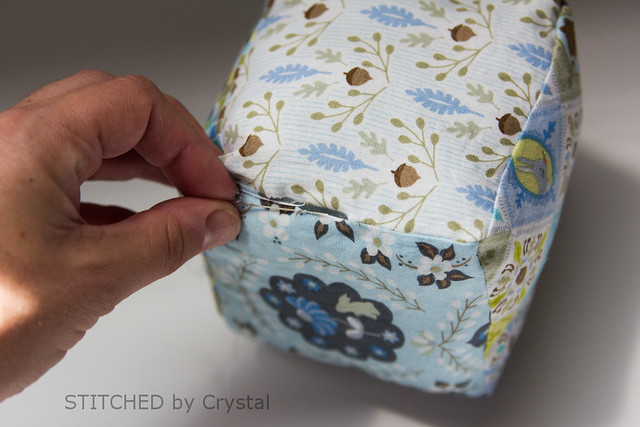
Turn the block right side out through the hole left in the side and stiff the block.
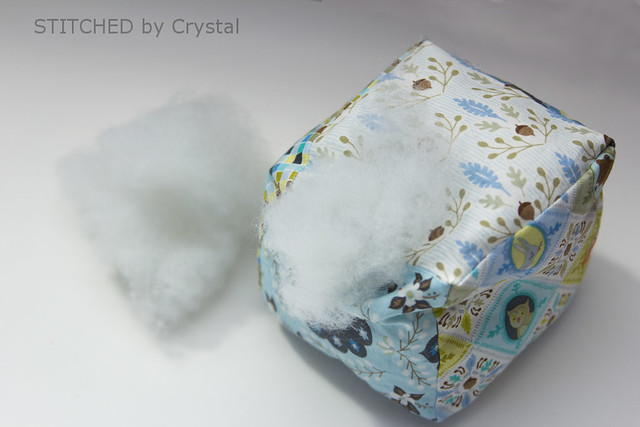

Hand stitch the hole closed with a ladder stitch.

Your blocks are ready for stacking!


Dec 8, 2015

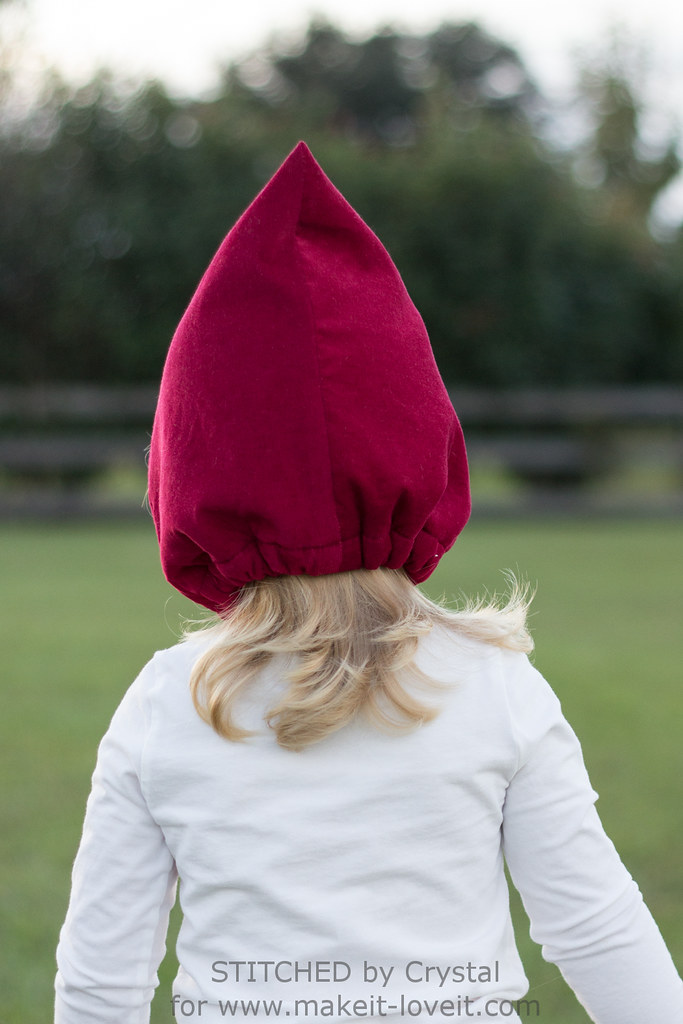
Pixie Hat Tutorial


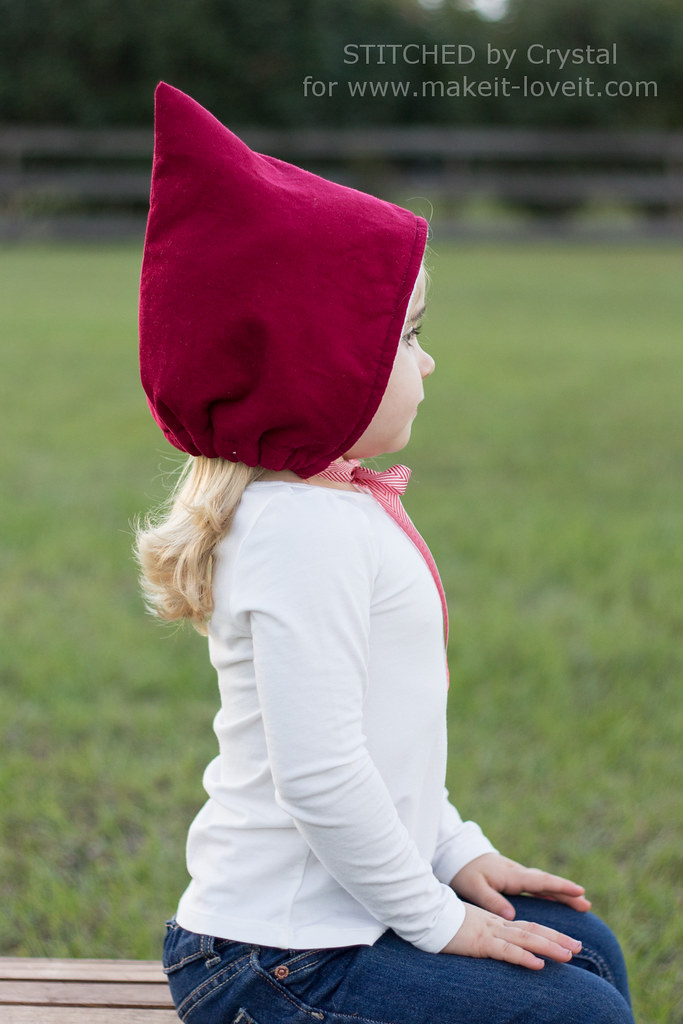
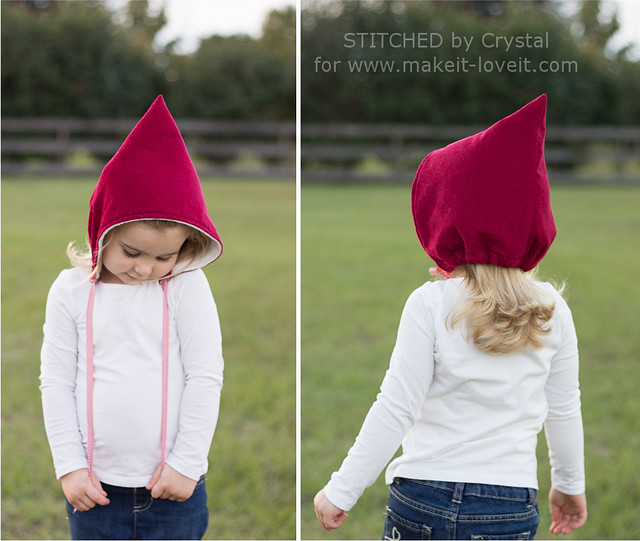
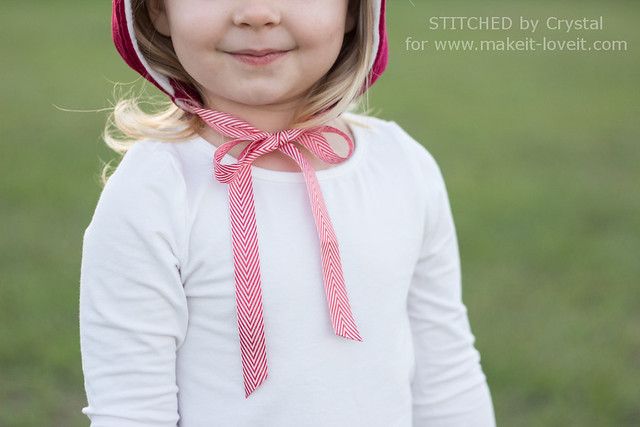
Looking for a quick, easy and adorable hat to sew for your little one this winter?  I am over at Make it & Love it today with a super simple pixie hat tutorial to share!


This hat such an easy sew, you can can finish one in under 30 minutes!  It only takes a couple of straight seams and a hem, so it is perfect for beginners too!


In my tutorial, I show you how to measure your little one and make a hat to fit any size head.  This little whimsical hat is perfect for the holidays...and all winter too!  It can be made with an extra warm lining to keep little heads warm.


Oct 12, 2015

Little Bandit Costume

Are your kids Halloween costumes trick-or-treat ready or are you still looking for costume ideas?  I am just putting the finishing touches on my kids costumes and will hopefully be sharing some pictures of them soon!  In the meantime, I have a really quick easy costume idea that you can throw together and it is something that will work for boys or girls of any age!


This little bandit costume is half handmade and half store bought.  I made the hat, mask, money bag, and striped shirt (but you could buy the shirt too!) and added some black shoes and pants.  And the best part is it is really quick to make and cheap too!


My daughter has different plans for her Halloween costume this year, but she has been having a blast playing dress up with this costume and sneaking around the house.  Wouldn't this make for a really fun game of cops and robbers?!


You can find all the details on this costume and how to make the hat, mask, and money bag over at Make it & Love it today!

Sep 8, 2015

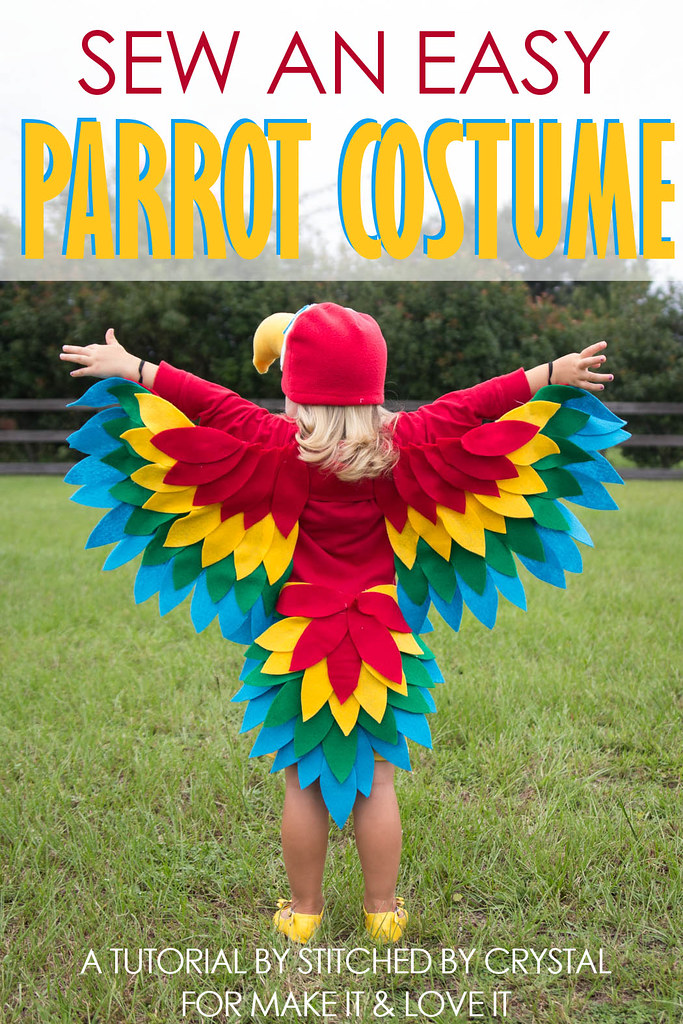
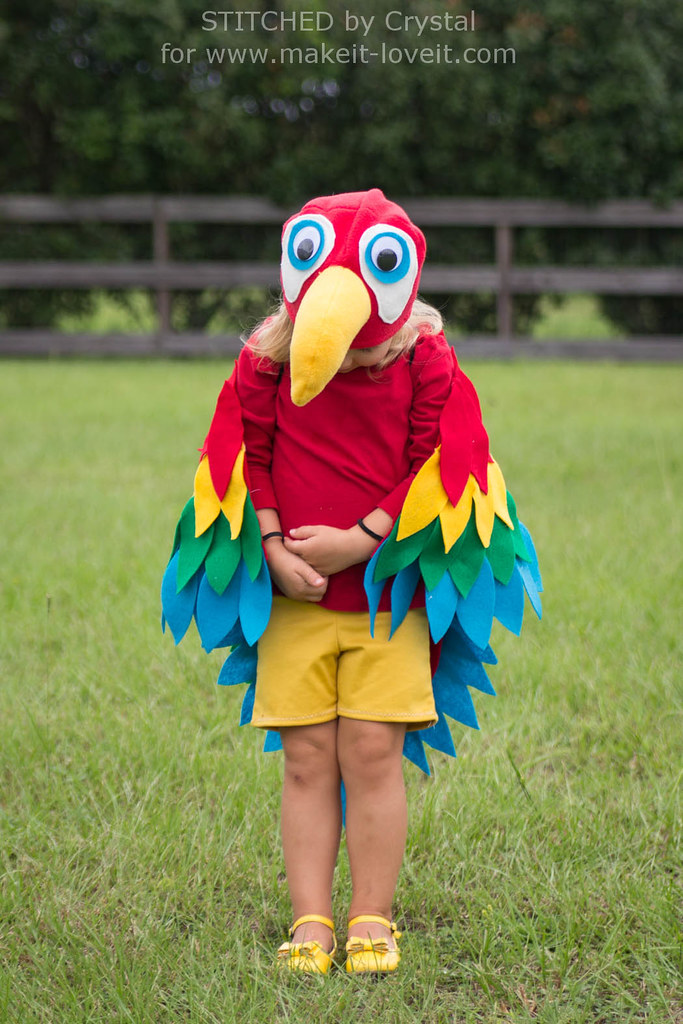
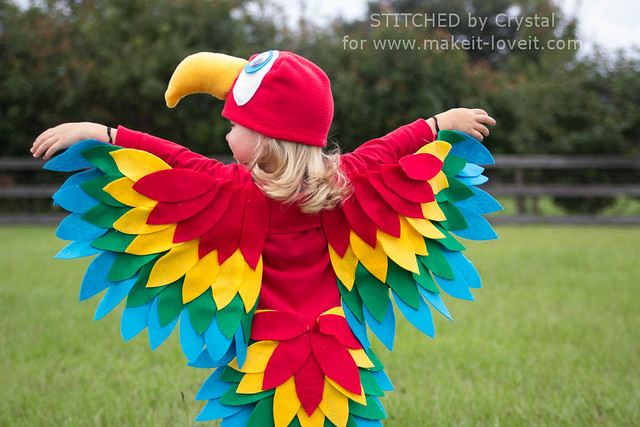
Easy Parrot Costume

Looking for some Halloween costume inspiration? I am over at Make it & Love it today sharing a fun and simple parrot costume!


The costume is felt wings and a felt tail with a fleece hat.  It is easy to sew, a great project for beginners!  And could be easily adapted by changing the feather colors to make just about any bird your little one wants to be!


You can find the full tutorial for the parrot costume HERE!

Aug 14, 2015

Big Bow Bookmark Tutorial

I was over at Make it & Love it again this week sharing a fun back to school tutorial.  I wanted to share it here to in case you missed it!


I made these cute bow bookmarks out of some scrap fabrics and you can whip them up in less than 30 minutes, my kind of project!


They are perfect for gifts for teachers or book lovers.  I am bringing a couple on my beach trip coming up, I am hoping to get a lot of reading in!


The simple project is a pretty fabric bow sewn to some elastic.  The elastic holds your page and the bow makes your book look cute :)  You can find the whole tutorial to make your own bookmarks HERE!

Aug 4, 2015

T-shirt dress tutorial

I love simple, comfortable dresses for my girl for summertime.  T-shirt dresses are great...knit on top, woven on the bottom, she can easily dress her self and be comfortable for hot summer play all day long!  

Today I am sharing a tutorial for sewing a T-shirt dress over on Pattern Revolution.  I used the Fiddlehead pattern by Lilygiggle of my t-shirt, it is a really cute flutter sleeved to that can be made sleeveless or with sleeves (so it would be great in the fall/winter too).  But you can use this same technique with any knit shirt pattern, or even a store bought tee.


The dress is so simple, make a shirt and attach a skirt!  I even provide a chart with some length measurements to take out all the guess work.  


You can check out the full tutorial for making a t-shirt dress over at Pattern Revolution today!


Jun 21, 2015

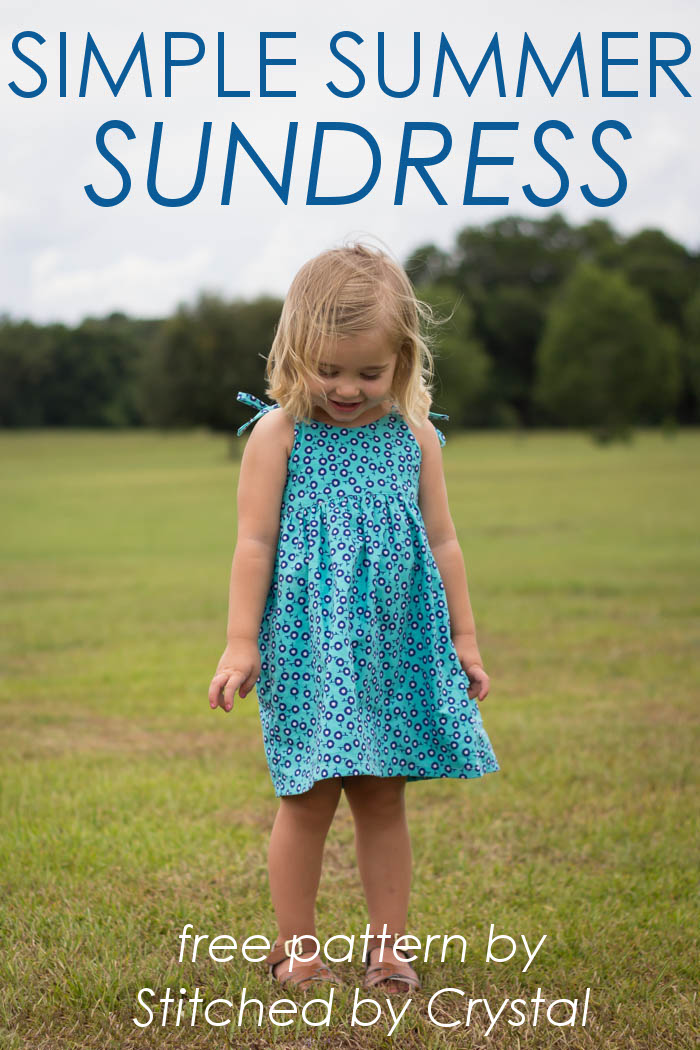
Simple Summer Sundress - 30 Days of Sundresses

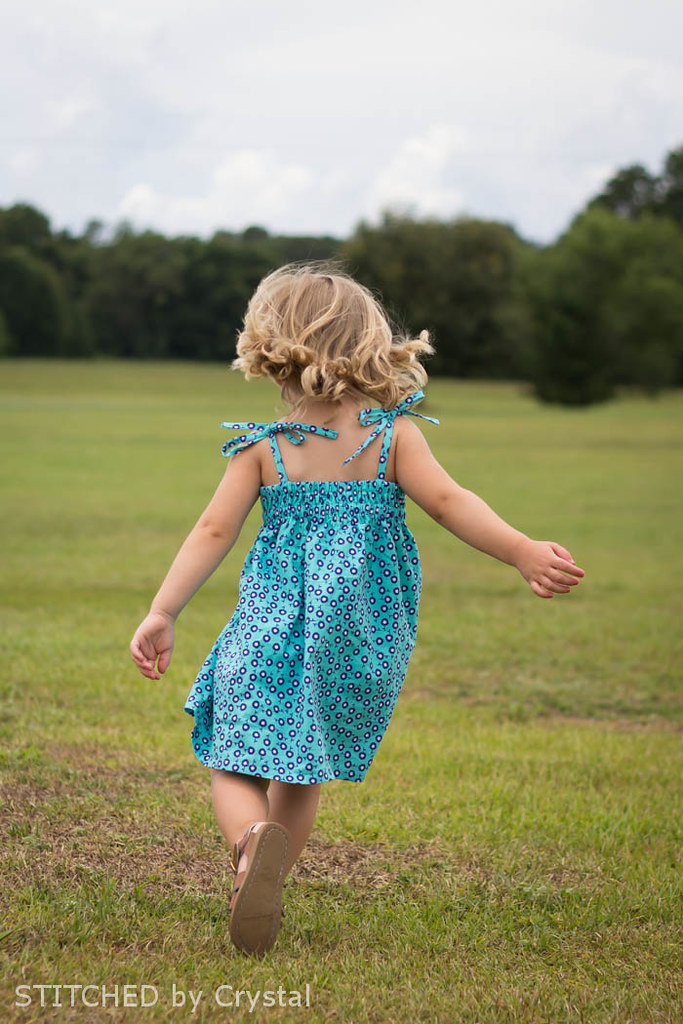
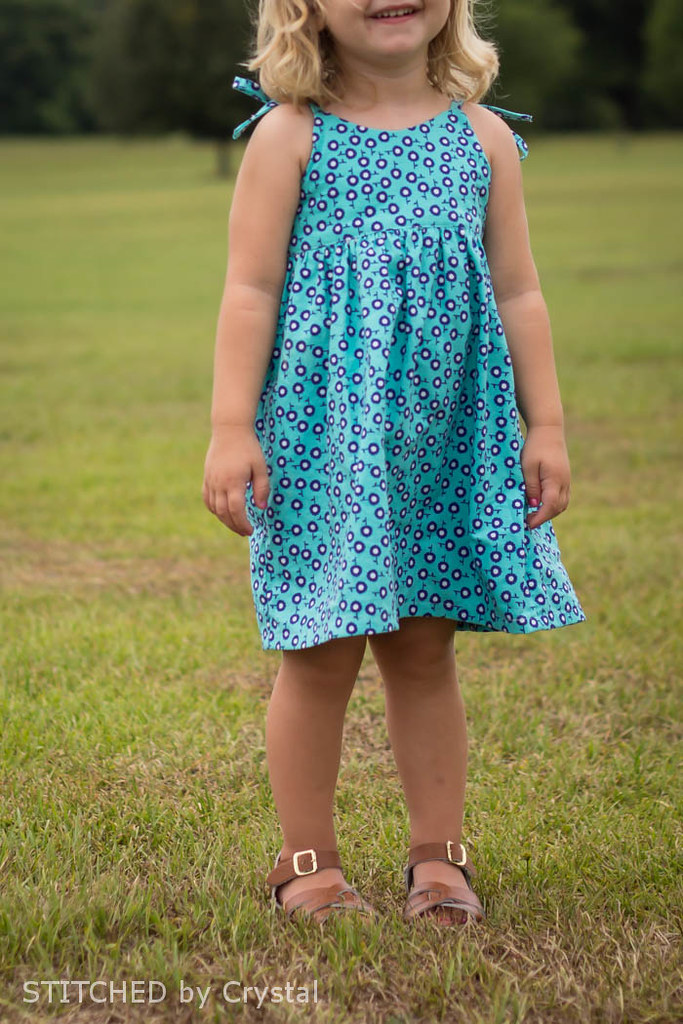
I am so excited to participate in Melly Sews 30 Days of Sundresses!  For the series, I decided to sew a girls sundress and came up with a really simple little dress.  And I have a free pattern in sizes 2-6 to share with you!


Curious about the 30 days of Sundresses?  Every year, Melissa, of Melly Sews, hosts this incredible series for the entire month of June.  It is 30 days of free sundress patterns and tutorials for both girls and women, 30 DAYS!  She also has some great giveaways going on all month, this week she has a mystery box full of sewing goodies up for grabs, make sure you go enter!


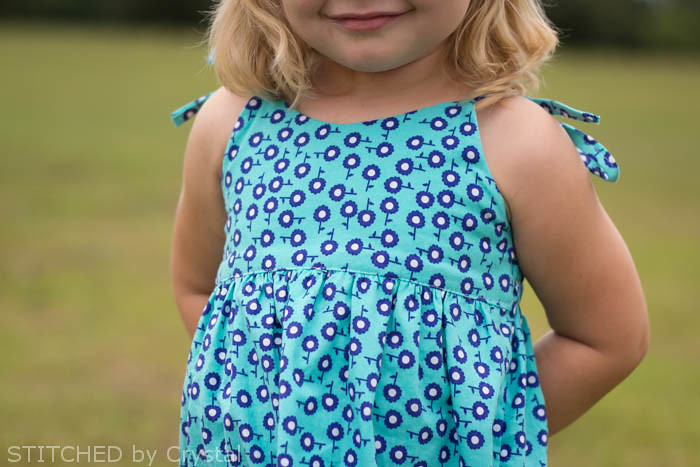
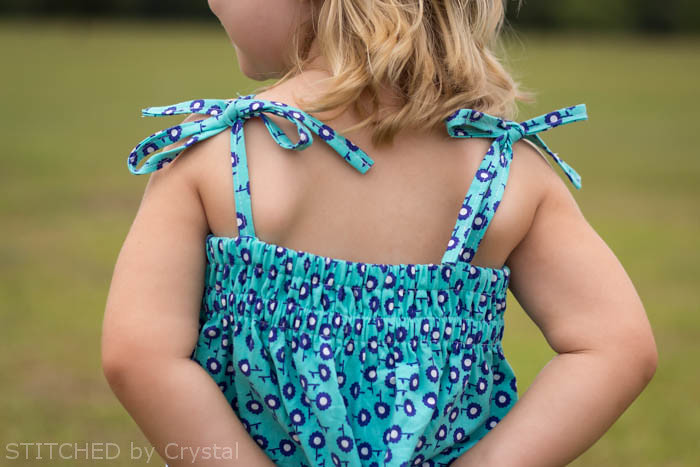
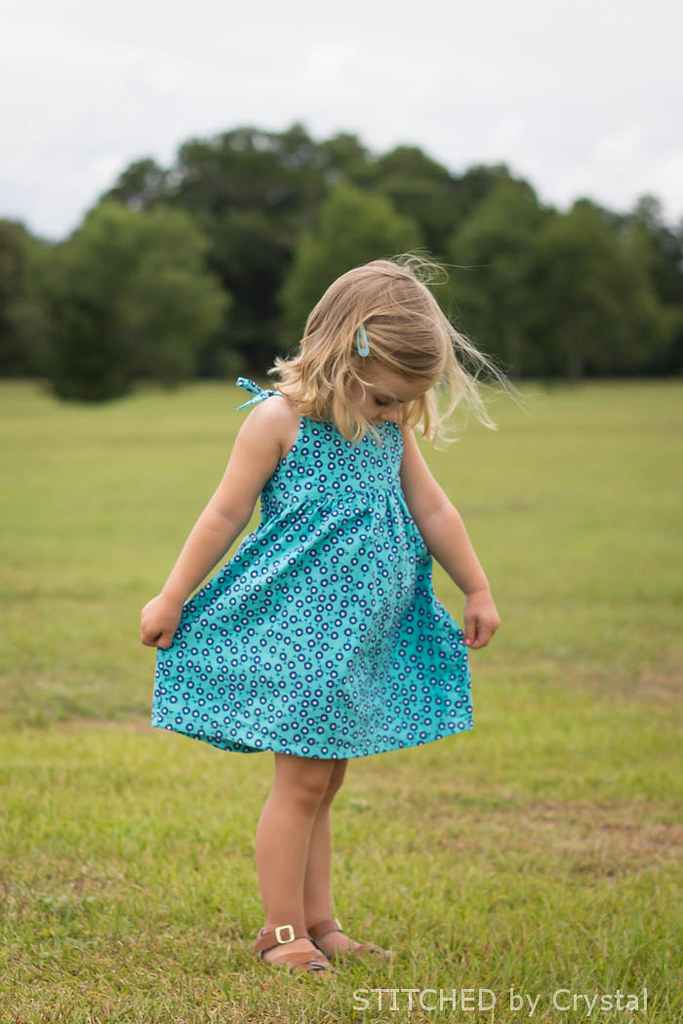
This little dress I am sharing is a really quick, easy sew.  It features a slightly curved V neckline in the front, and an elastic back with straps that tie at the shoulders.


The skirt is not too full and it hits right about the knee.  It is easy to throw on and perfect for summer play!


This dress is a really quick sew and takes just over 1 yard of fabric!  In just a few days, you could have a whole wardrobe of summer dresses for your girl!


Want to make a sundress? Great! Here is how....

You will need:
  • 1.25 yard of fabric.  Anything lightweight works, quilting cottons are great...or try something like voile, seersucker, lined eyelet, or lawn.  
  • 1/4 yard of lining fabric.
  • 1 yard of 1/2" elastic.
  • Basic sewing supplies.
  • The dress pattern that you can download in sizes 2-6 HERE.

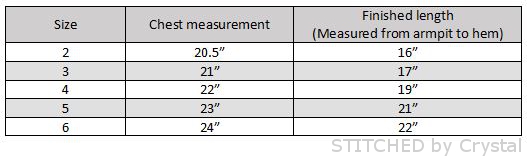
Use the size chart below to determine which size to sew.


 Use your pattern to cut one main bodice piece and one bodice lining piece on the fold.  Then cut the other pieces according to the chart below. (All measurements are in inches and are width x length)


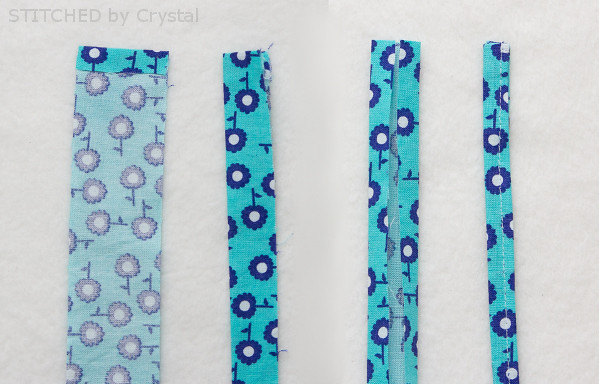
Start by sewing your straps.  First, fold one end down 1/2" towards the wrong side.  Next fold the strap in half wrong sides together and press.  Unfold and then fold the raw edges into the crease.  Refold on the center crease and sew along the edge to create your strap.  Repeat with the other 3 straps.  Place your two back straps aside (the longer ones).


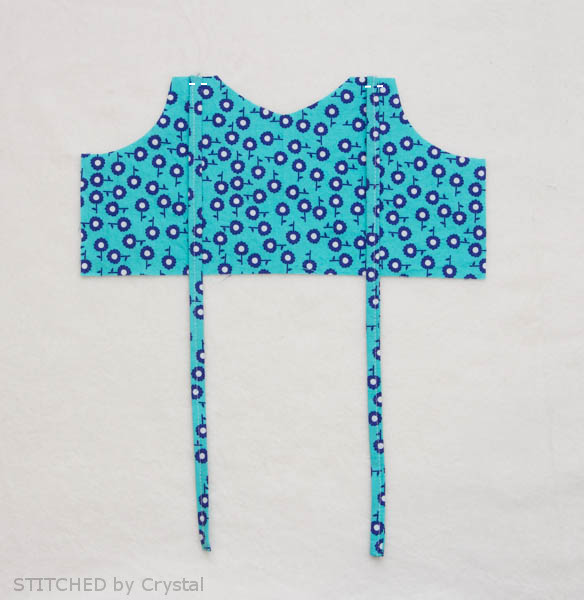
Pin your front straps in place on the right side of your bodice between the strap markings on the pattern piece.  Baste the straps in place.


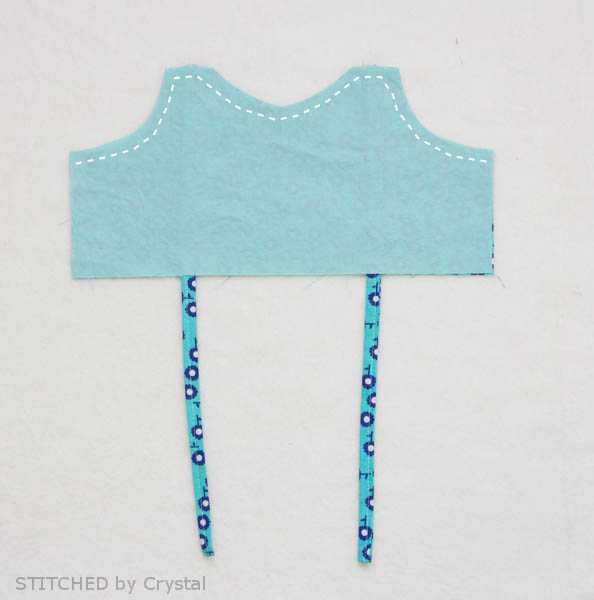
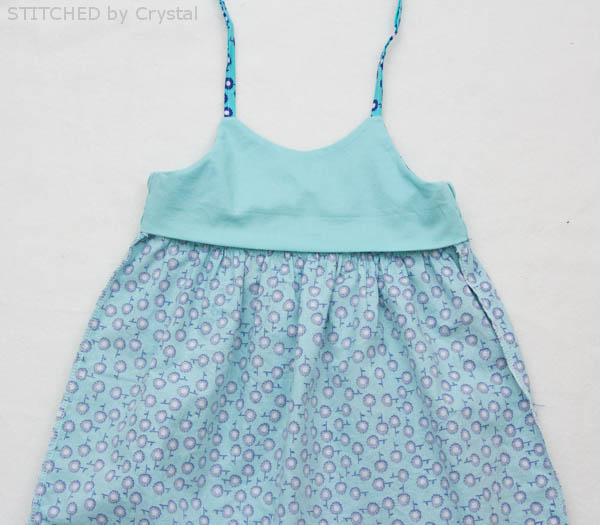
Place your lining on top of your main bodice (right sides together), the straps should be sandwiched in between.  Sew along the top with a 1/2" seam allowance as shown below.  


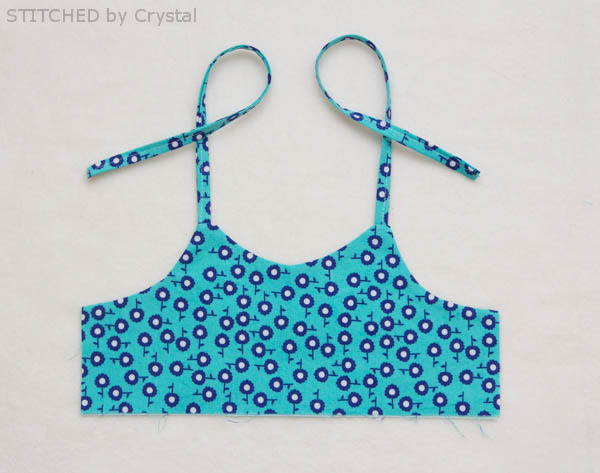
Clip the corners and notch the curves.  Turn the bodice right sides out and press.  


Gather the top edge of your front skirt piece do it is the same width as your bodice.


Move your lining out of the way and and sew the bottom of the main bodice to the gathered skirt, right sides together, with a 1/2" seam allowance.


Press the seam towards the bodice.


Fold the bottom of the bodice lining up 1/2" towards the wrong side.  Set this dress front aside.


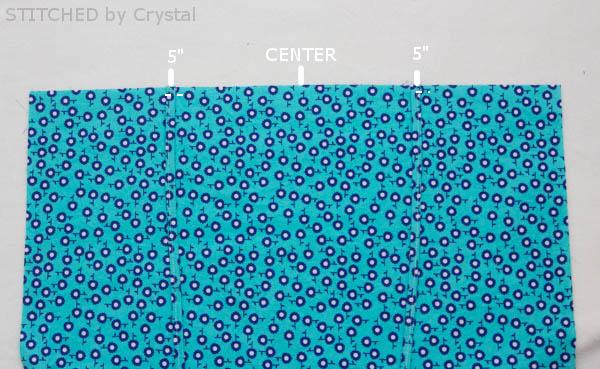
Find the center of your skirt back.  Place your back straps 5" from the center on each side.  Baste the straps in place on the right side of the fabric.


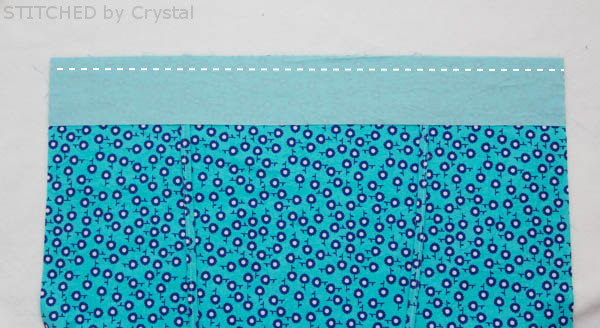
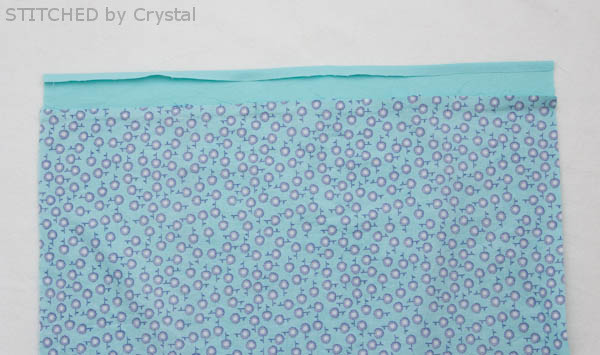
Place the back lining along top of the skirt back, right sides together.  Sew with a 1/2" seam allowance.


Press the lining up and press the bottom of the lining 1/2" towards the wrong side.


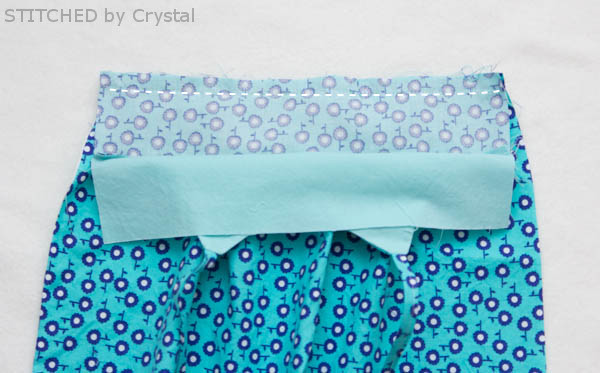
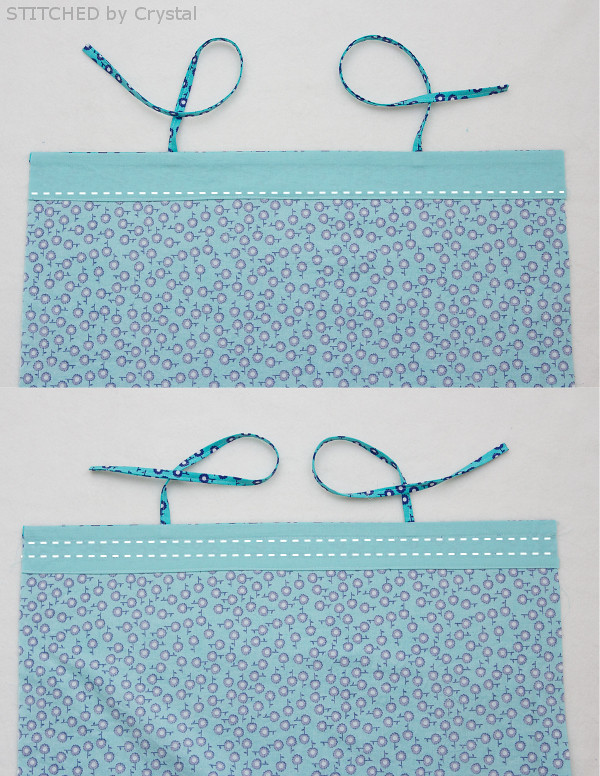
Press the lining down and sew along the folded edge.  Then create 2 channels for your elastic by sewing 5/8" from the line you just sewed and 5/8" from the top edge.


Using a safety pin, guide your elastic through your casings, sewing the ends in place on both sides.


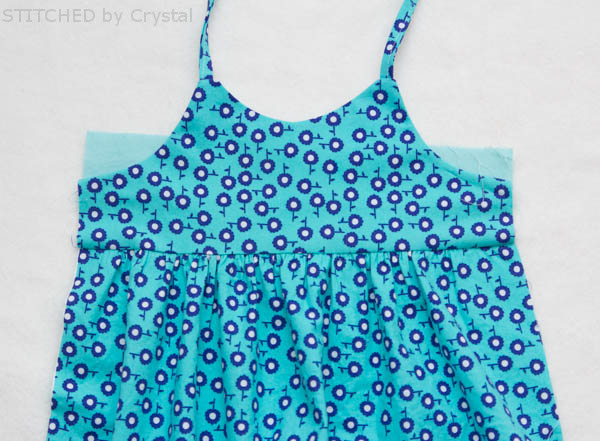
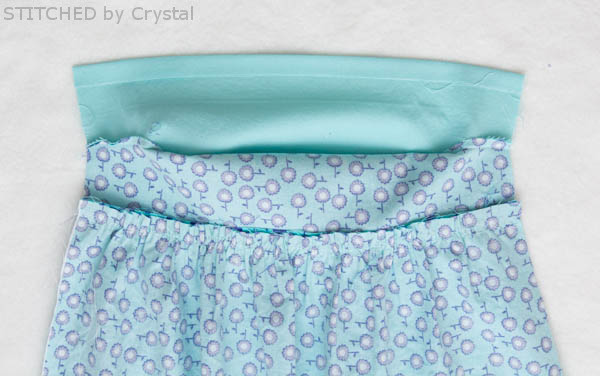
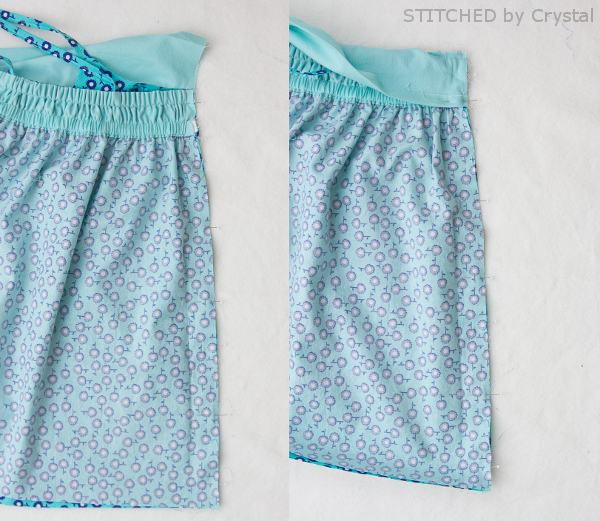
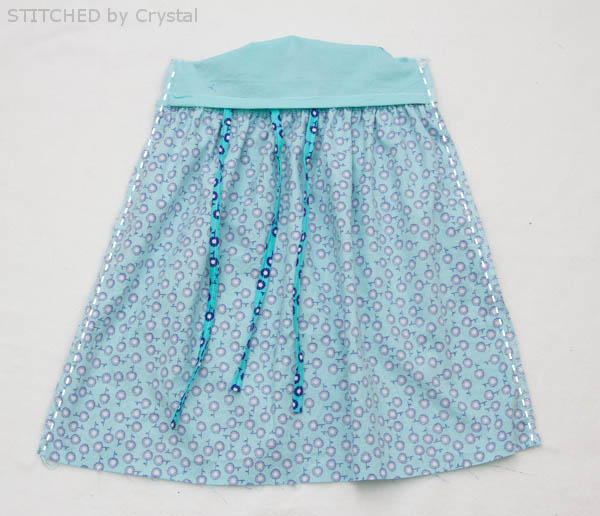
Lift your front bodice lining out of the way and pin your dress front and back together.  The top of the dress back should line up with the top of the main bodice front and the bottom of the back lining should ling up with the front dress seam.  The skirt bottoms should line up.  Fold the front bodice lining down over the top of the dress back, keeping the lining bottom folded up.  Sew the side together with a 1/2" seam allowance, finish the seam with a serger or zig zag stitch.


Repeat the previous step to sew the other side of the dress.


Flip the front bodice right side out.  Stitch the front lining down either by hand or machine.  Hem the dress with a 1" hem allowance.


Woohoo!  Your dress is done!  


Thanks for stopping by! And don't forget to swing by Melly Sews to enter the giveaway and check all the great stuff going on for 30 days of sundresses!

LinkWithin

Related Posts Plugin for WordPress, Blogger...
I love reading all of your comments! Please make sure your blogger profile is linked to your email, so I can respond to your questions via email, otherwise I won't be able to email you back!

Please feel free to email me(stitchedbycrystal@gmail.com).

Thank you so much for reading! I If you like what you have seen here make sure become a follower of my blog so you can catch all my updates!!