

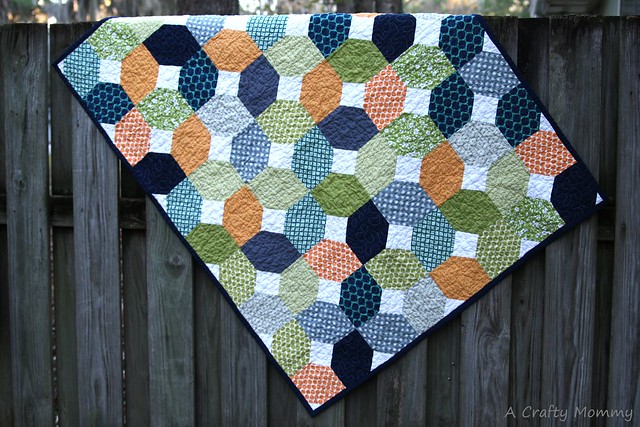
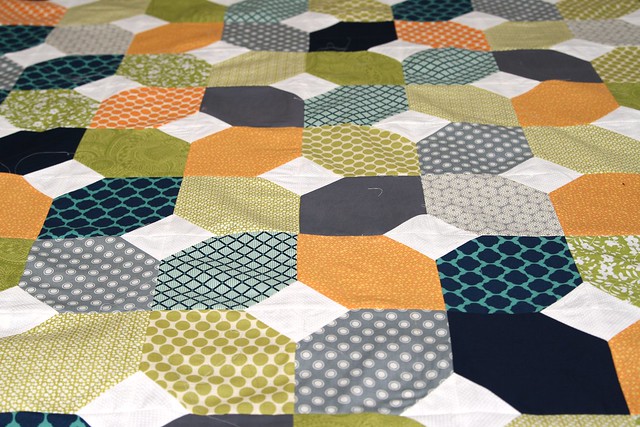
This quilt was my Grandparents Christmas gift. It almost didn't even get made. I had decided that I wanted to make a quilt for my grandparents way back in September. But, I didn't get around to starting even starting it until a week before Christmas, and it had to go all the way across the country. This quilt is pattern pretty simple so I was able to get it done and in the mail and it arrived just in time on Christmas eve!
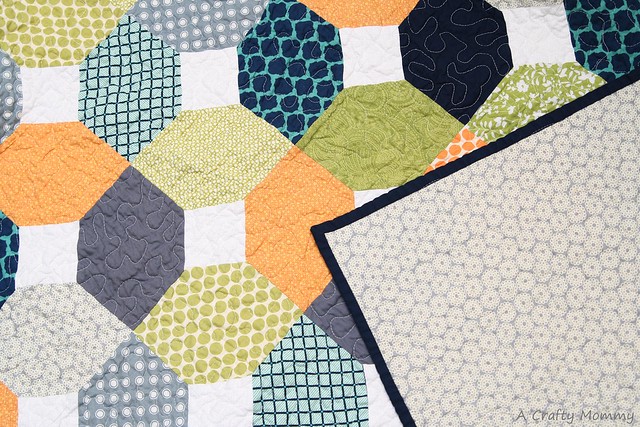
Most of the fabrics came from JoAnn's with the exception of the green dot and orange dot fabrics, those are Amy Bulter Full Moon fabrics from her Lotus line.

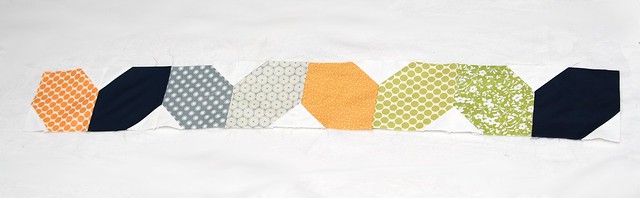
I swear picking fabrics is the hardest part of quilting for me. I must have stood in the store staring at quilting fabric for about an hour pulling bolts off the shelf and putting them back. I really like the green, gray, orange, and blue color combination that I ended up with and was excited to see it all come together.
Want make a lattice quilt? It is pretty simple.
To make a finished quilt measuring 45" x 55" you will need:
- 3/4 yard white fabric for small squares
- about 2 yards of fabric for big squares, you could use 1/3 yard of 6 different fabrics OR 9 fat quarters
- 1 and 3/4 yard fabric for back of quilt that is at least 45" wide
- 1/2 yard fabric for binding
- quilt batting
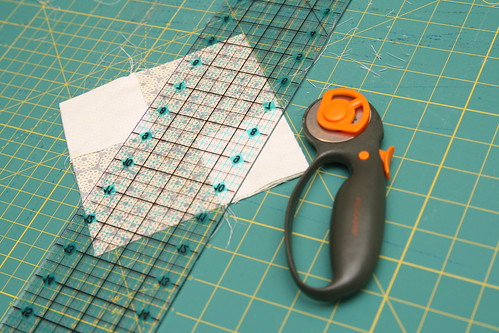
Start by cutting your squares, you will need 80 colored squares that are 6" x 6" and 160 white squares that are 2.5" x 2.5"

Place 2 white squares right side down on top of one colored square, lining them up with opposite corners.
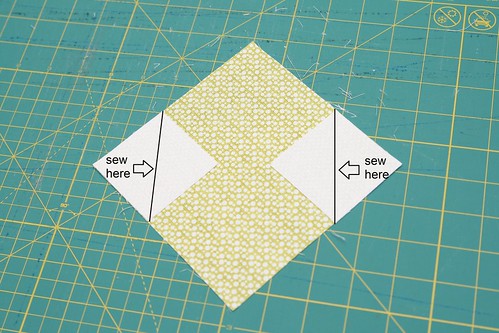
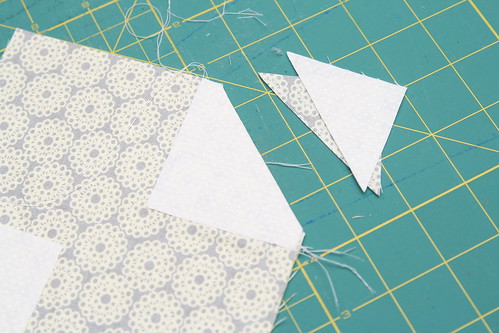
Sew from corner to corner diagonally across each small square.
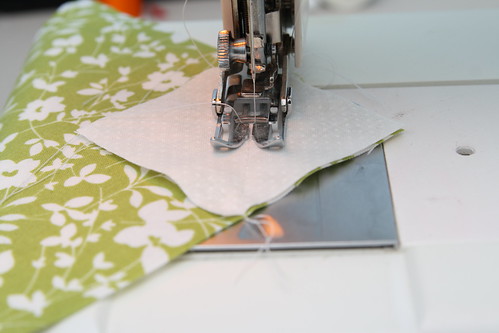
Cut off the extra 1/4" away from the seam.
Press the seams open.
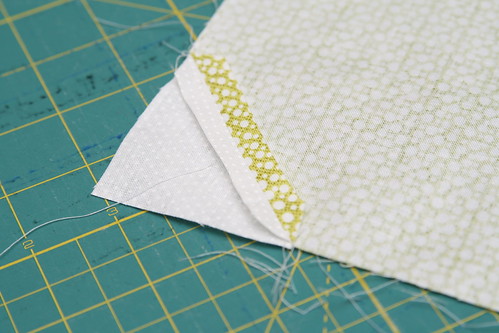
Line up the seams on two of your squares and sew them together.
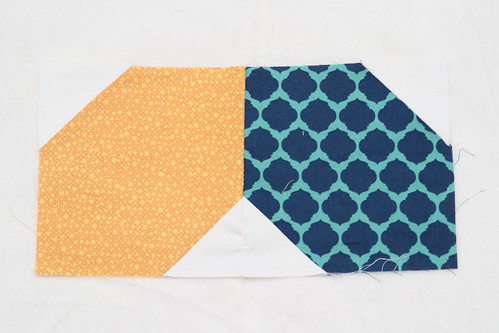
Keep adding squares to make a zig zag pattern. Sew all your squares into rows of 8 squares. You should end up with 10 rows of 8 squares.
Sew 2 rows together, lining up the white parts.
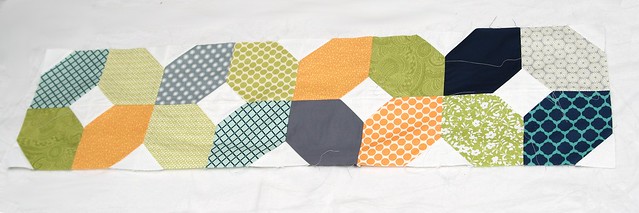
Continue adding rows until all 10 rows are sewn together in a lattice pattern.
For tips on quilting and binding, check out my tutorials:


Thank you for the great tutorial! I have been looking for a cute but no too complicated pattern to make a quilt for my best friend's baby. This is perfect!
ReplyDeleteThis isn't something I have ever tried before but your clear and simple looking instructions make me think that I might give it a go. It looks like fun as well as being practical
ReplyDeleteLove this idea....gonna try it today....ty so much for sharing
ReplyDeleteLove the quilt. Beginner quilter here so I wondering why you choose to press the seams open instead of both to one side? Thank you
ReplyDeleteThanks Jenniffer! I press the seams open because it makes the seams a little less bulky, I find it easier to quilt that way.
ReplyDeleteLove this design. I think I will use this tutorial and cut it down to make a quilted bag. I love the fabrics you chose to use. Thanks for sharing the tutorial!
ReplyDeleteMelissa
I le this very much, a confident beginner here. My husband asks me, "why do you do such difficult blocks?" Now I can have a nice quilt and not fret. Thank you
ReplyDeleteI like this. Looks like it would be easy to do,but still has wow factor.
ReplyDeleteI'm glad to have read such a great writing. Keep up the good job! Visit Lawrence Todd Maxwell on Scoop.it for interesting topics about real estate.
ReplyDeleteI m very happy that i have read this blog,this is really interesting,To get the best security for your device,install webroot antivirus
ReplyDeleteI have a stack of 5-inch squares, any idea how I would scale this pattern down slightly? Thank you very much, I love this pattern.
ReplyDeleteOf course, we understand that these us.masterpapers.com thoughts can push you to seek an essay writing service, but we know that we are not the only ones, but you should choose us.
ReplyDeleteРозпочніть шлях до одужання від мефедронової залежності з центром «Еволюція» за адресою https://evolution.org.ua/vidy-narkotikov/mefedron/. Реабілітаційний центр у Києві спеціалізується на лікуванні залежності від мефедрону, небезпечного психостимулятора, що викликає ейфорію, але спричиняє безсоння, тривожність і серцево-судинні проблеми, як зазначено в даних 2025 року. Комплексна програма включає детоксикацію, медикаментозну терапію та психотерапію для подолання фізичної та психологічної залежності. Команда фахівців, таких як Дмитро Татаринцев, використовує сучасні методи, включаючи групові заняття та кризову інтервенцію, для ефективного відновлення, згідно з сайтом. Анонімна діагностика гарантує конфіденційність і точний план лікування. «Еволюція» пропонує індивідуальні програми, адаптовані до стану кожного клієнта. Щоденні заняття з психологами та аддиктологами допомагають сформувати стійкість до рецидивів. Центр має 20 років досвіду в реабілітації залежних. Зателефонуйте за номером +380 (98) 561 81 00, щоб почати терапію. Довіртеся «Еволюції», щоб повернутися до здорового життя без наркотиків
ReplyDelete