
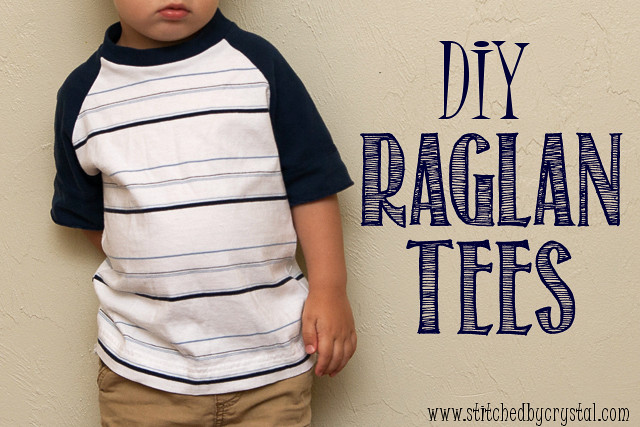
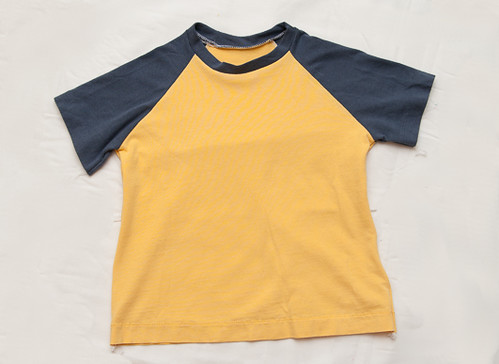
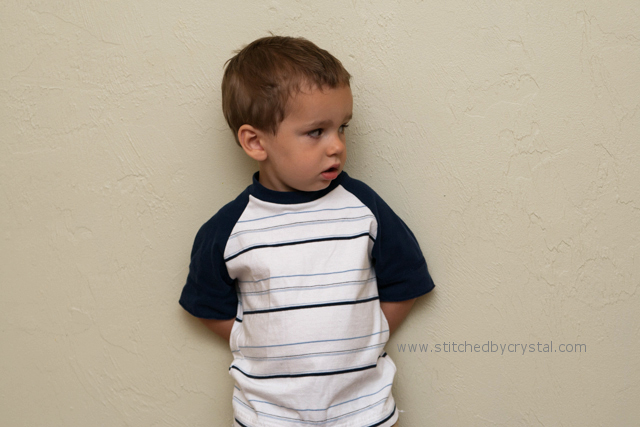
I love the look of raglan shirts, such a cute boy look, but they are totally cute on girls too. And they are really easy to sew.
To make a raglan shirt you need some knit fabric. Old t-shirts work great. I like to sew knit fabric with my seger but you can use a regular sewing machine. On a sewing machine, you will need to use a ball point needle. Also, make sure you sew with a zig zag stitch so your seams have some stretch and won't rip.
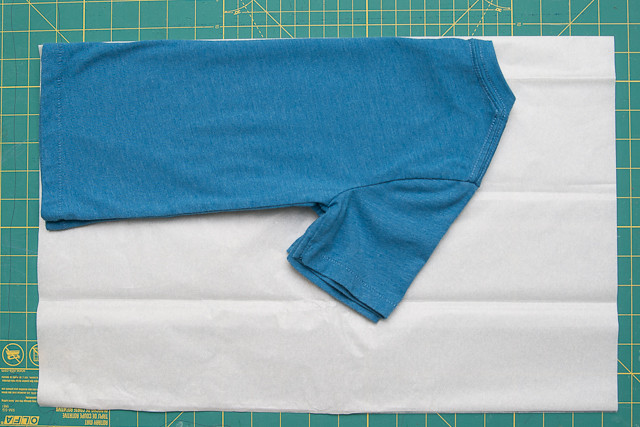
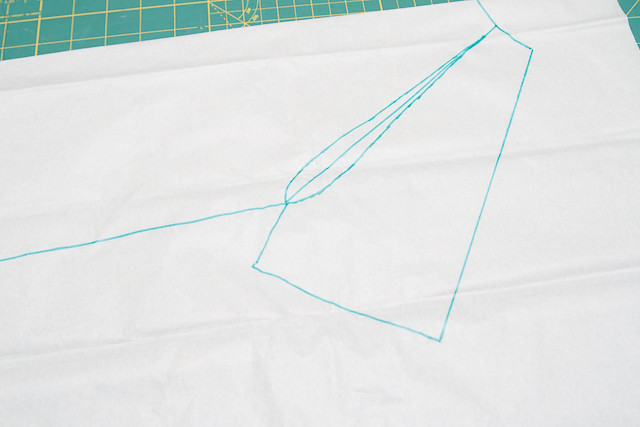
I made my raglan shirt pattern by tracing a t-shirt that fits Andrew well. With the shirt folded in half, I traced around it.
Then I picked a spot I wanted my sleeve to start along the neck line and drew a line from there to the armpit.
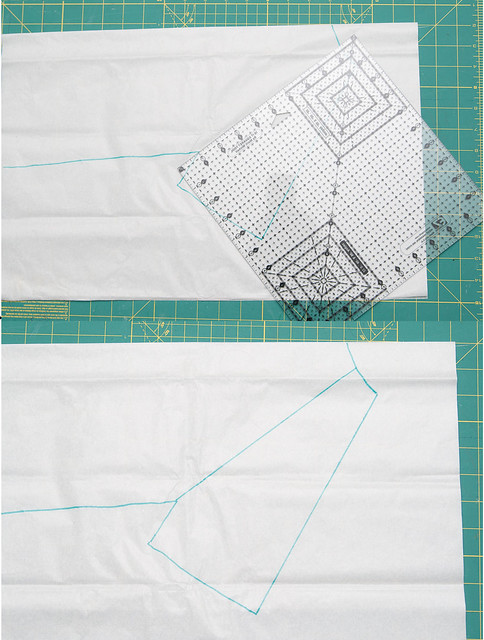
I curved my seam line just slightly at the armpit on both sides to give a little wearing ease.
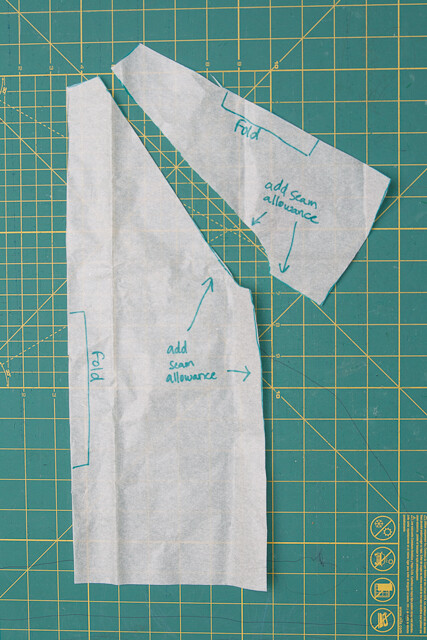
Then cut out the pattern pieces and use them to cut the fabric. I had to add a little extra along the seams for seam allowance because I didn't draw that into my pattern. I used the old hem lines on the shirts, it's a big time saver.

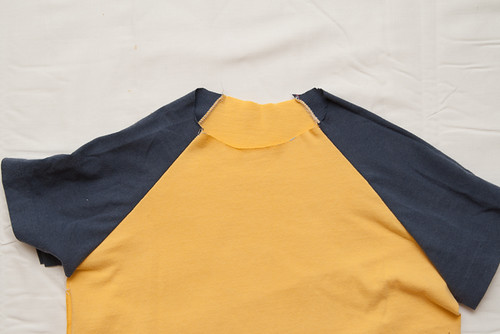
Pin one sleeve to one side of the shirt, right sides together. Sew along the edge.
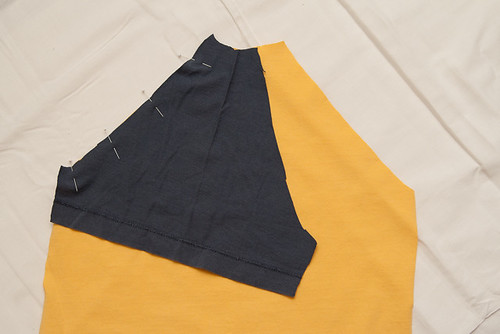
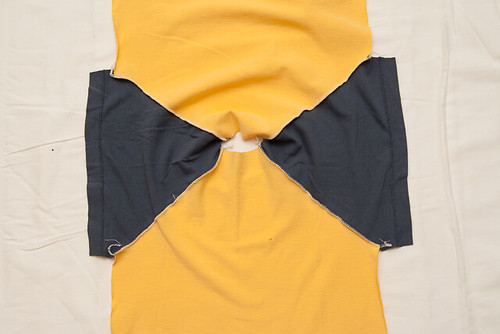
Repeat until your sleeves and shirt pieces are all connected like in the picture below.
Next, because the front and back of my shirt were cut from the same pattern piece, I cut a little bit off the front neckline of the shirt so it doesn't sit too high on his neck.
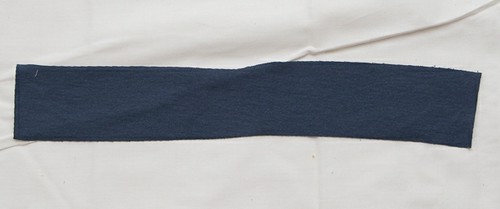
Measure around your neck hole and cut a strip for the neck that is about 1" shorter than your measurement and 2" wide.
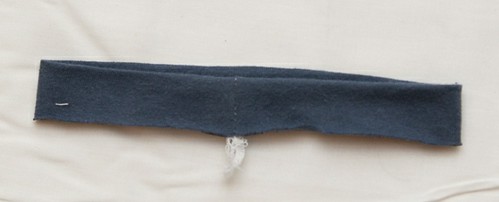
Pin the raw edge to the right side of your neck hole, stretching it to fit as needed. Sew in place.

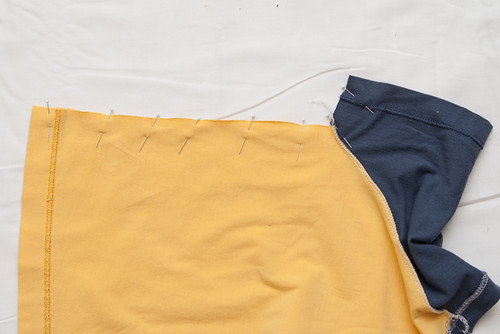
Pin up the sides and down the sleeves of the shirt, lining up the seams at the arm pit, and sew them closed.
If you didn't use the hemlines from old shirts, hem your sleeves and shirt bottom and you're done!
Those are fantastic!!!
ReplyDeleteThanks so much for this tutorial - whipped up two tops for my son today as part of kids clothes week:) Need to work on the neckline but otherwise very pleased with the result:)
ReplyDeleteI seem to have a problem getting the neckline right. It always ends up a stretched out mess... any idea what I might be doing wrong?
ReplyDeleteIts an amazing post and one of the creative post, I have seen till now. Get such type of creative design of t-shirts from Textual Tees. The store is having the Gaming T Shirts, Team Rocket Shirt, Funny Shirts and many more t-shits.
ReplyDeleteThese are really great hacks of designing the t-shirts. Explore the Drag Queen Tees to get the good collection of t-shirts and exclusive brand of t-shirts in the reasonable cost.
ReplyDeleteThanks for sharing such an informative blog that explains the importance of using stitched by Crystal. You can Buy Japanese Street Wear Jackets at great prices.
ReplyDeleteSo from this article it is possible to see the main reasons why it is financially better to shop online for T Shirts online rather than going to your local store. Fake Supreme Hoodie
ReplyDeleteThis comment has been removed by the author.
ReplyDelete