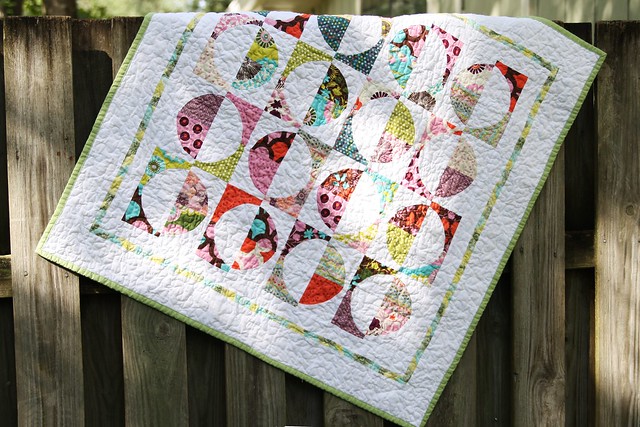
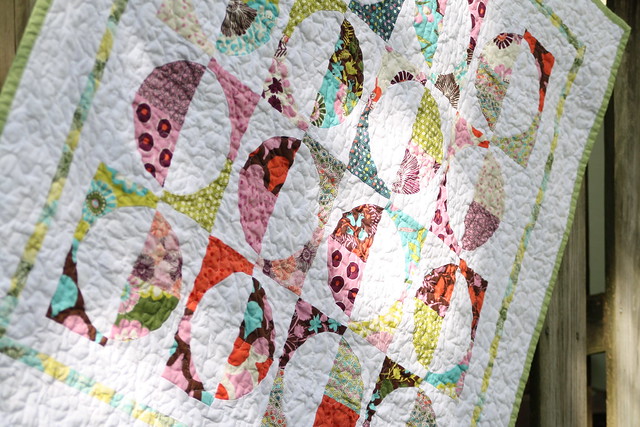
Mitered corners give a quilt a polished, classic look.
Adding sashing to the edge of your quilt top is also a quick way to make it bigger. I use that trick a lot when I don't have quite enough fabric to make my quilt as big as I want it.
To make your mitered corners, first you need to cut your strips of fabric.
The strips need to be longer than your quilt top. To figure out how long they need to be use this equation:
Length of quilt top + width of strip x 2 + extra for seam allowance
I use at least one inch extra for seam allowance, that gives a bit of wiggle room. So if your quilt top is 36" and your strip is 2" wide your equation will look like this:
36" + 2"x2 + 1" = 41"
If you are doing more than one strip like I did, use the same equation only instead of the "length of quilt top" use the length of your last strip.
If your quilt is square, all 4 of your strips will be the same length. If it is rectangular, they will be two different sizes.
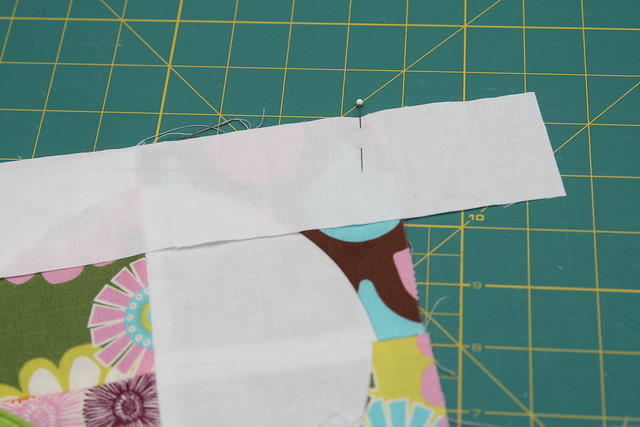
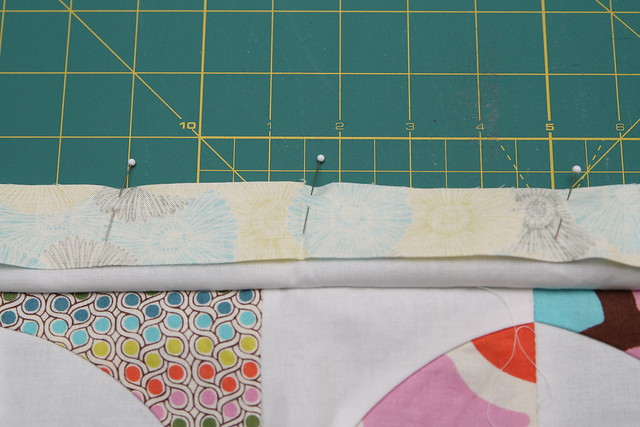
Pin the center of the first strip to the center of your quilt top, right sides together.
Then pin along the edge working your way out from both sides. The strip should hang over the edge a bit.
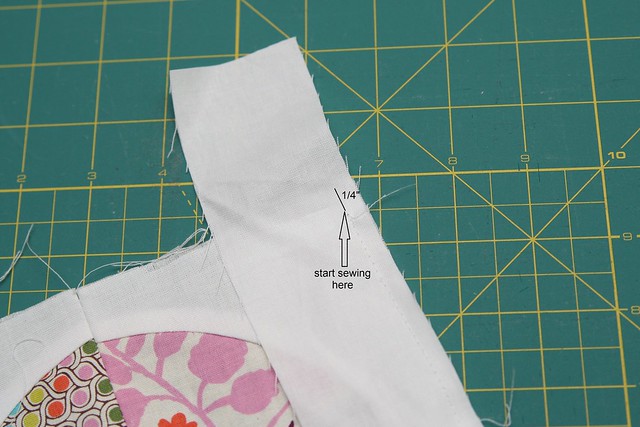
Sew the strip down, starting and stopping 1/4" from the edge of the quilt top.
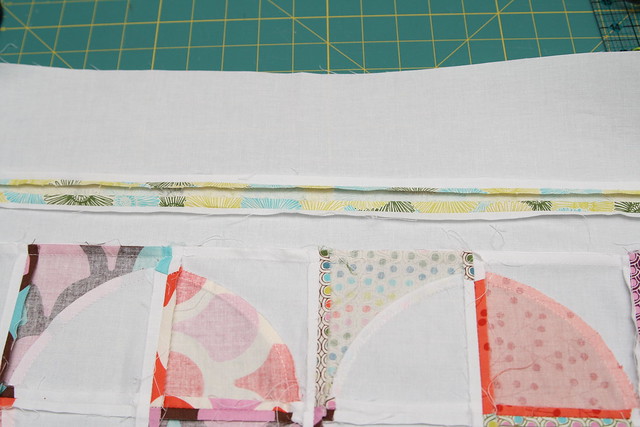
If you have more than one strip, pin them right sides together starting in middle and working your way out.
Sew them together. Repeat with any additional strips.
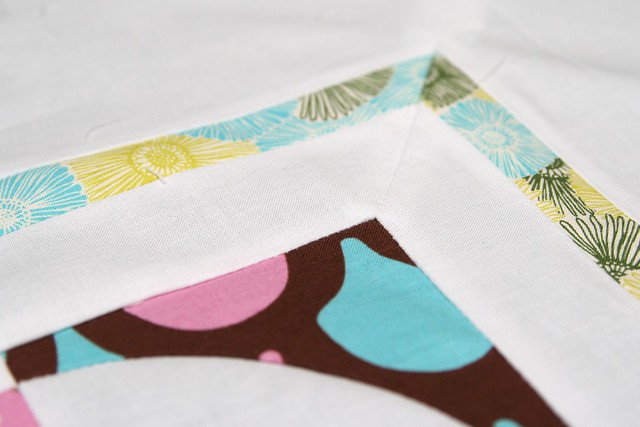
Press your seams. Press the seam at the quilt top out towards the edge of the quilt and additional seams open.
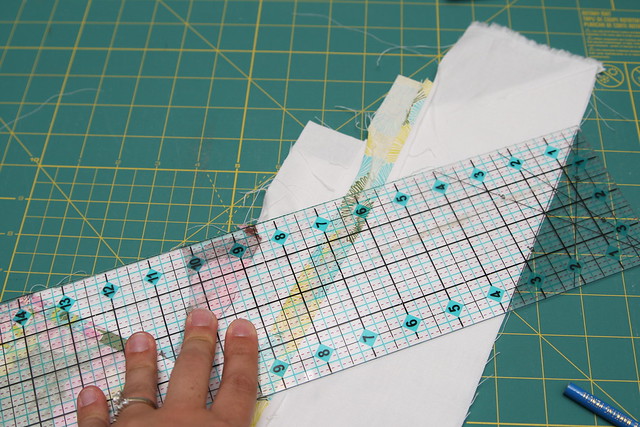
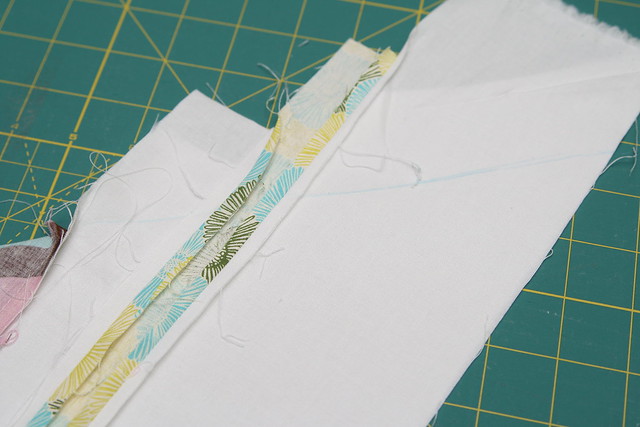
Once you have all your strips sewn on all four sides, fold your quilt on a diagonal to line up the edges.
Make sure the seams along the edge of the quilt top are lined up.
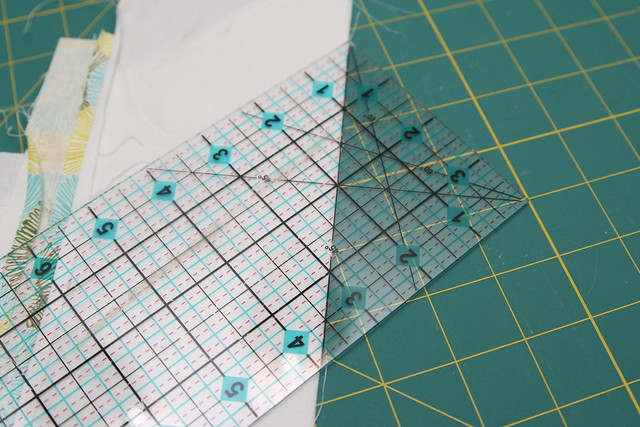
Line your ruler up with the folded edge.
Your ruler should have a 45 degree line on it, line that up with the edge of your strips.
Draw a line along the edge of the ruler.
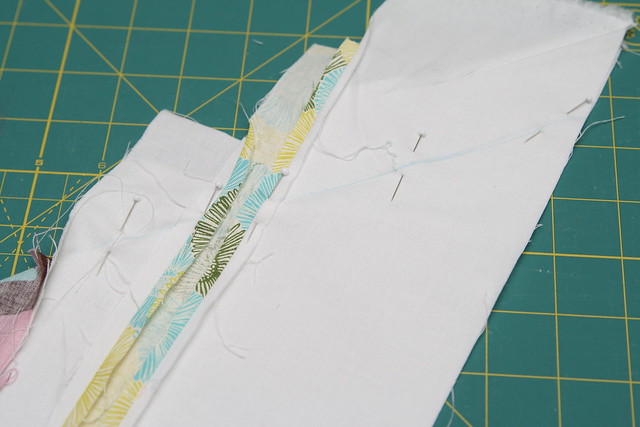
Pin the strips together along the line, making sure your seams are aligned.
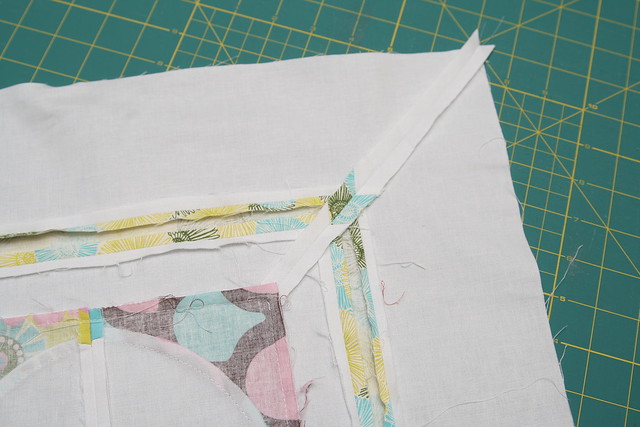
Sew along the line. Open up your quilt and make sure everything looks right. If it looks good then trim off the extra fabric about 1/4" from the seam.
Press your seam open.
Repeat with the other three corners and your done!