
We got new pillows for our bed so I used the old ones to make this big floor cushion for my son.

I added a little handle on the front so it is easy for his little hands to grab and drag around. And I actually made a pillow and zippered slip cover because I know this is going to need a few trips to the washing machine!
It makes the perfect spot to plop down and read a good foot book!

Want your own kid sized floor poof? Check out the tutorial below!
Skill Level: intermediate
Materials:
Outer fabric, pick something with some weight to it like a home decor fabric or corduroy. My fabric was 60" wide and I used a yard of it.
3 1/2 yards of piping, you can buy it at the store or make your own.
18" zipper
Fabric for inner pillow, I used muslin. It was 40" wide and I used 1 1/2 yards.
Something to stuff your pillow, I recycled some old pillows for mine but poly fiil will work too.
Sewing machine with zipper foot
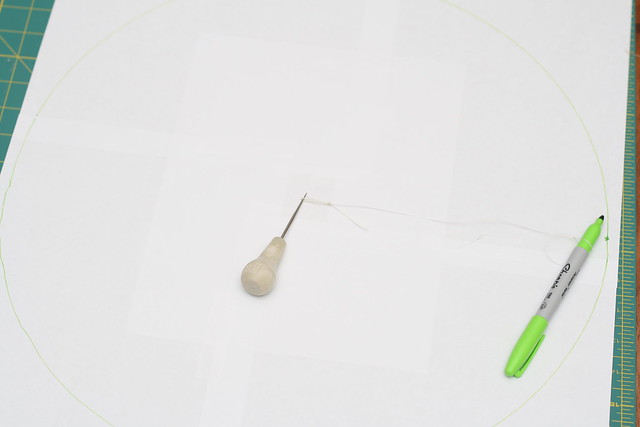
First you need to draw a circle that is 18" in diameter. I was really wishing I still had my compass from 10th grade geometry class for this! I made a make shift compass by tying a string to a marker and to an awl. I made sure the string was 9" so I would end up with 18" in diameter. Then I held the awl still in the middle of my paper and circled the marker around it.
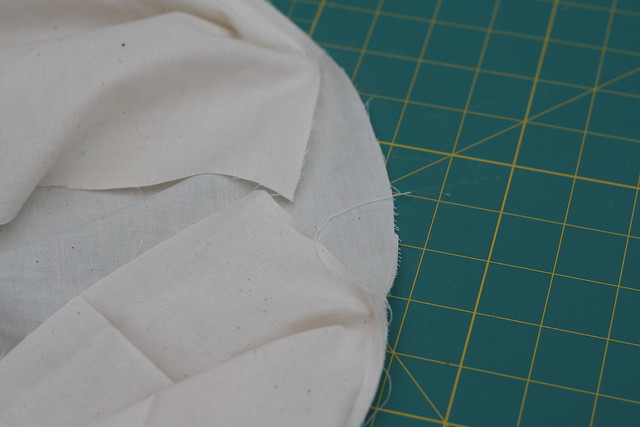
Then use the circle you drew to cut out your fabric. For the pillow you will need two 18" circles and one rectangle that is 58" long and 10.5" high (I made my rectangle by sewing three 20" x 10.5" rectangles together)
Pin your rectangle to one of your circles. Start about 3" from the end of the rectangle.

Sew around the edge starting where you started pinning and stopping about 3" from the other end of the rectangle so the ends aren't seen down yet.
Line up the parts that aren't sewn down with the edge of the circle and pin the ends of the rectangle together where they meet.
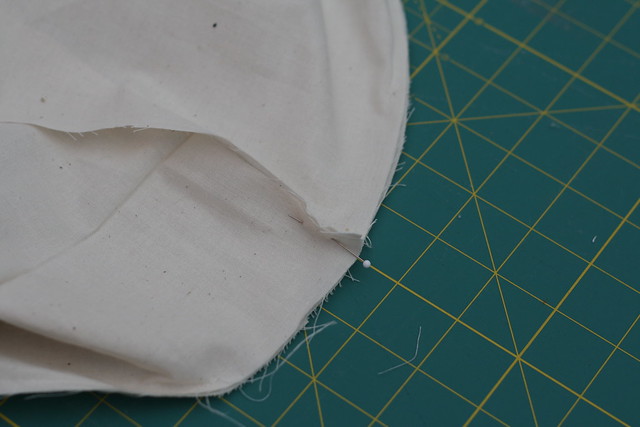
Sew the ends of the rectangle together but only sew the top 3" or so. Then pin the top to your circle and sew it down.
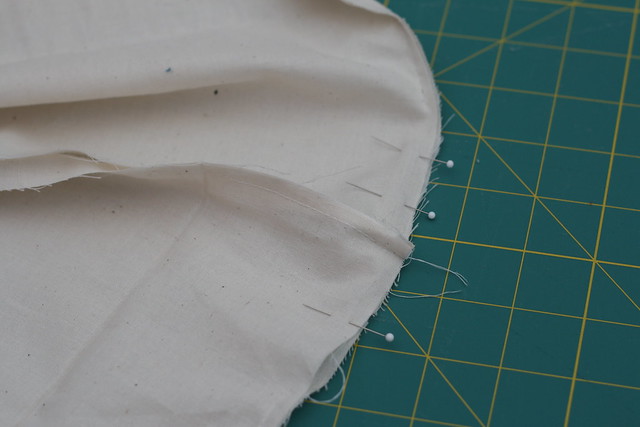
Now you should have one circle completely sewn to the rectangle. Repeat those steps to sew the other circle on the other side. When you sew the ends of the rectangle together, only sew about 3" inches, this will leave a hole in the side for you to turn your pillow right side out and stuff it.
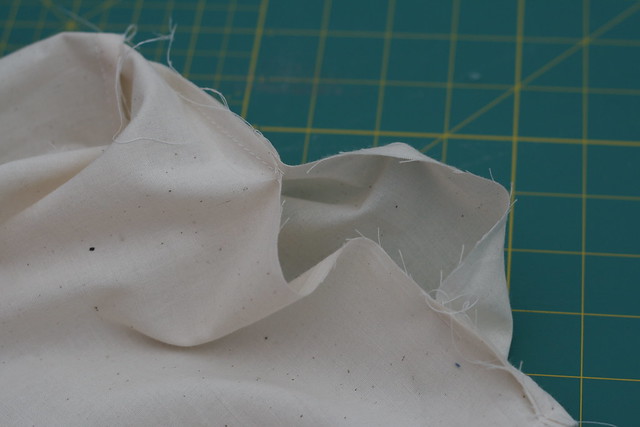
After you have turned the pillow right side out and stuffed it, sew the hole shut.
Next, cut out the pieces for your slip cover. You will need two 18" circles, two rectangles that are 6" x 18", one rectangle that is 10.5" x 41", and one rectangle that is 4" x 10.5".
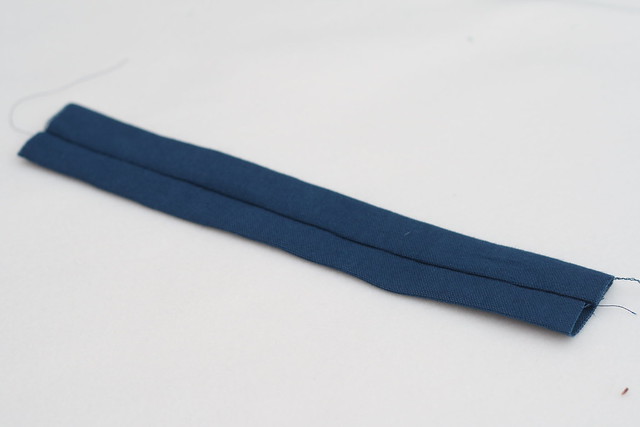
Pin your zipper to one of your 6" x 10.5" rectangles and sew it down using a zipper foot.
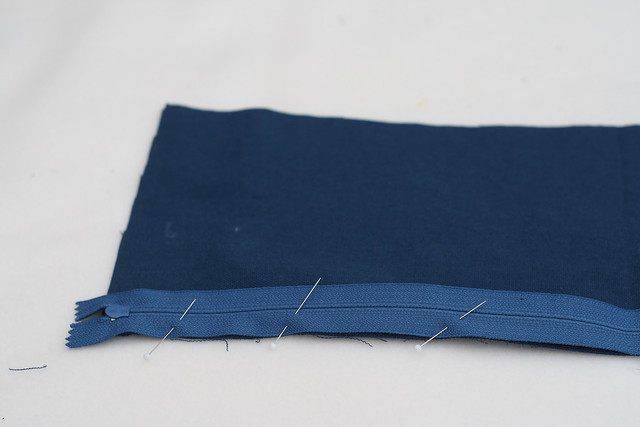
Top stitch along the zipper.
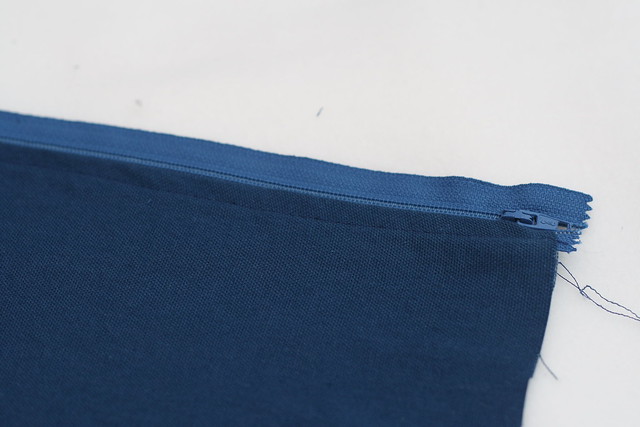
Repeat with the other side.
Fold the 4" x 10" rectangle in half, sew along the edge and turn right side out. Press with seam in the middle.
Top stitch the edges, this will be the handle. Place your handle near the middle of the 10.5" x 41" rectangle and sew it down on both ends using a box stitch so it's nice and sturdy.

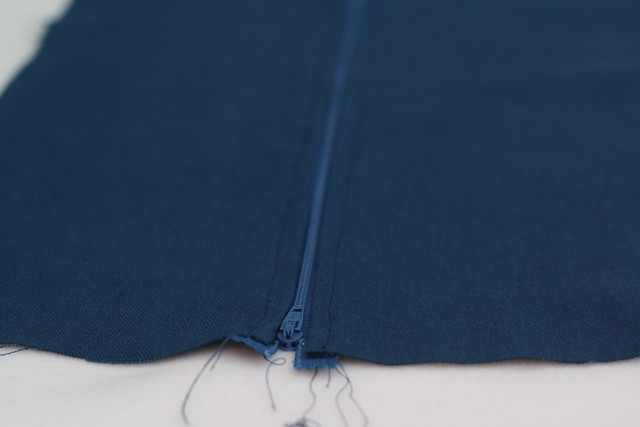
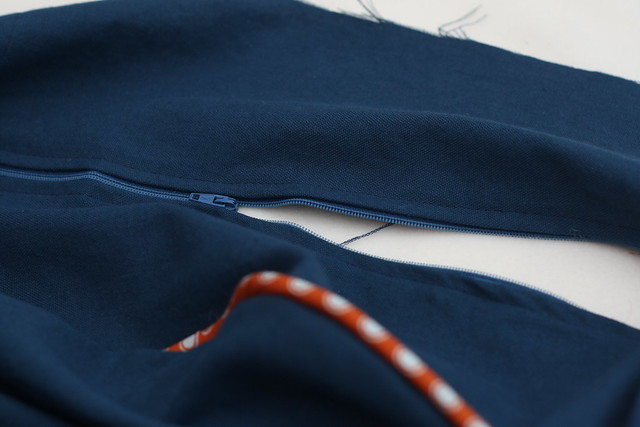
Open the zipper a little and pin the ends to the one of the ends of the 41" x 10.5" rectangle. Make sure they are right sides together (the side with zipper should be facing the side with the handle sewn on.) Sew along the edge.

Baste the piping to the edge of your circles using your zipper foot.
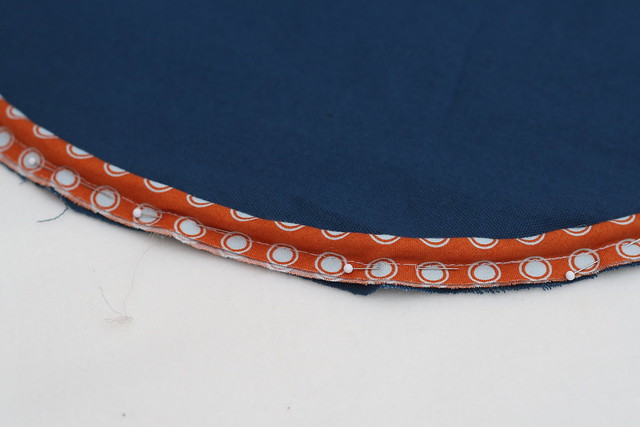
To sew the ends of the piping, just cross the ends and sew them down.

Sew the sides of the poof to the circles the same way you did on the inner pillow. Use a zipper foot and sew as close to the piping as you can.
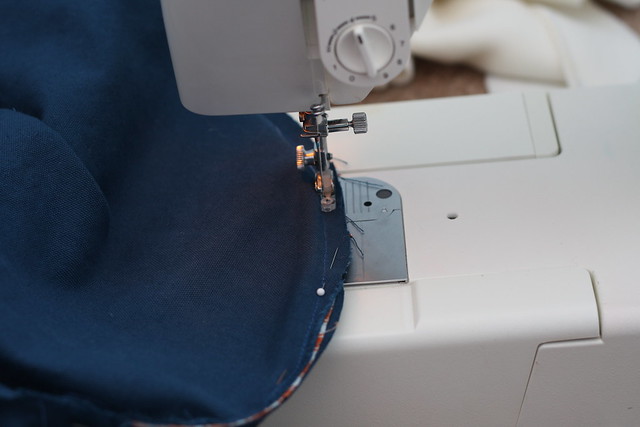
This time, don't leave an opening in the side, sew it all the way shut, but make sure you open the zipper a bit before you close it so you can turn it right side out.
Stuff your pillow inside your slip cover and you're done!
I LOVE LOVE LOVE this adorable project!! I am a beginner/intermediate seamstress so I always read a pattern numerous times so that I only have to sew once. I noticed that you have an 18" zipper listed on the materials needed. Would that not be a 10" zipper or one close to that size? Your clarification on this will help greatly. I so enjoy your tutorials and the detail that you give in them because I always learn something new as you are all always so thorough and descriptive. Thank you again for this tutorial and for helping me with this particular issue. Keep up the great work!
ReplyDeleteNope Patty, a 10 " zipper won't work. The 18 " zipper goes in around the pouf so it opens wide enough to get the inner pillow inside.
ReplyDeleteAhhhh and I read it so carefully but that makes perfect sense! Thank you for setting me straight! 8 )
ReplyDelete"Pin your zipper to one of your 6" x 10.5" rectangles and sew it down using a zipper foot."
ReplyDeleteShould that be one of 6" x 18" rectangles perhaps?
Best regards, Teja
Learn how your can increase your home's safety by using rubber non-skid ... Anti fatigue mats for kitchen provide comfort best anti fatigue mat for standing desk
ReplyDelete"Pin your zipper to one of your 6" x 10.5" rectangles and sew it down using a zipper foot." What do you do with the leftover part of the zipper? I'm an experienced seamstress and this does not make sense to me at all. Could you clarify?
ReplyDeleteThat is obviously on the off chance that they have still kept their stunning looking sparkle and are not dull and exhausted looking. flooring contractor in grants pass oregon
ReplyDeleteWe are really grateful for your blog post. You will find a lot of approaches after visiting your post. Great work Chapewerken
ReplyDeleteYou have outdone yourself this time. It is probably the best, most short step by step guide that I have ever seen. Installation
ReplyDeleteConcrete comes pre-introduced in for all intents and purposes each home. Chape
ReplyDeleteReally I enjoy your site with effective and useful information. It is included very nice post with a lot of our resources.thanks for share. i enjoy this post. Baby Floor Mats
ReplyDeleteHello! Great article and thank You for Providing Such a Unique and valuable information for your readers. I really appreciate it. You can also visit Pillow For Stomach for more related information and knowledge.
ReplyDeleteCheck for launderability, and these mats regularly can be hosed down. solid rubber bumper
ReplyDeleteThis should be possible utilizing a nail punch. On the off chance that this isn't done appropriately the sandpaper will get torn. Floor sanding
ReplyDeleteIt is named as huge board because of width of the real boards. These enormous boards were broadly utilized before as the establishment was simpler as one just needed to put less boards with lower establishment costs. Still one can discover heaps of mortgage holders like having antique looking styles. Manufacturing agent
ReplyDeleteI respect this article for the well-researched substance and fabulous wording. I got so included in this fabric that I couldn’t halt perusing. I am awed together with your work and expertise. I need Exterior house Painters near me Covington, can anybody help me to find it?
ReplyDeletePg Slot เครดิตฟรี หรือ มีกิจกรรมที่แจกเครดิตฟรี PG SLOT มีโปรโมชั่นและก็ยังมีแอดมินทำงานที่จะรอเอาใจใส่ดูแลผู้เล่นตลอด 24ชั่วโมง ฝากไม่มีอย่างต่ำที่เว็บของเรา Pg-Slot.Game
ReplyDeleteI always enjoy your blogs; you put in impressive effort! Burnaby Roof Repair
ReplyDeleteI especially appreciate you thinking ahead with the zippered slipcover – kids are definitely messy! It's great you used recycled pillows for stuffing too. I can see my little one loving something like this. It would be perfect for reading, or honestly, just collapsing on after a long day of playing pretend, maybe even imagining some crazy cattle 3d adventure in their head! The handle is a great touch for easy moving. Thanks for sharing the tutorial! I might just have to give this a try.
ReplyDelete