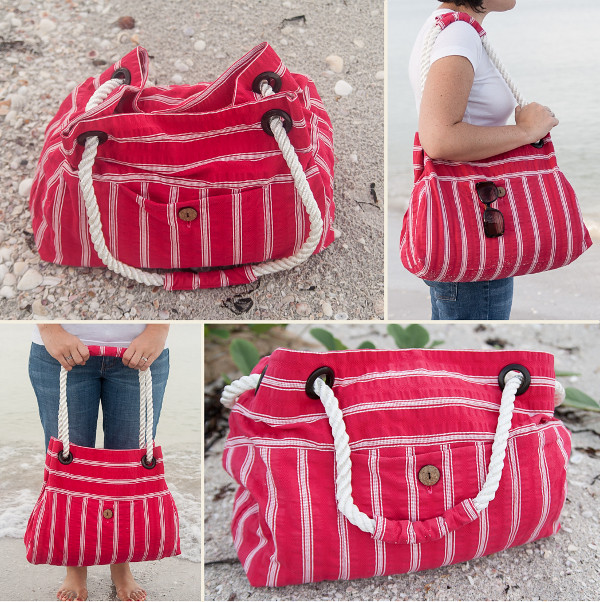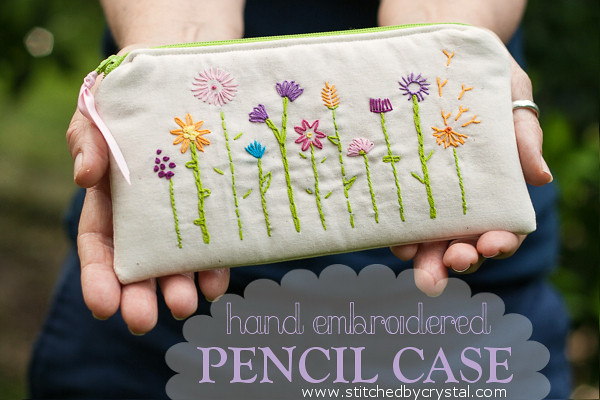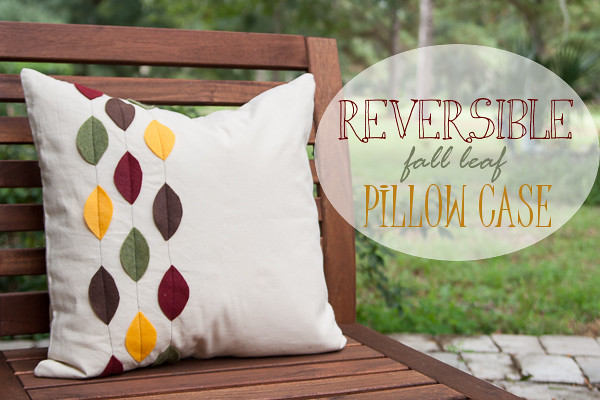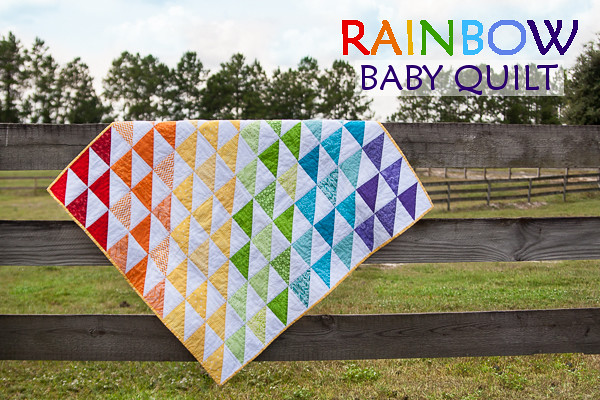
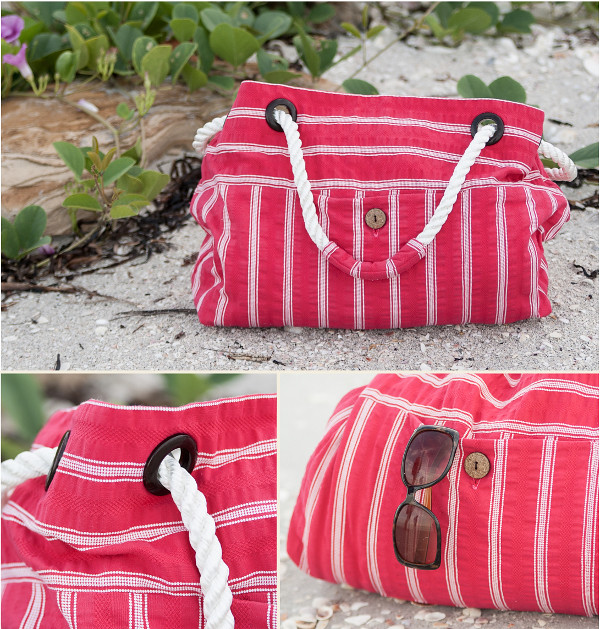
This bag was my entry for the SYTYC upcycle challenge. The challenge was conveniently scheduled for right after my annual family trip to the beach! So right after I finished the bag I hit the beach with it, it saw lots of beach time. I like that it is roomy enough for a couple beach towels and has a little pocket on the front so I can keep track of things like my phone and keys.
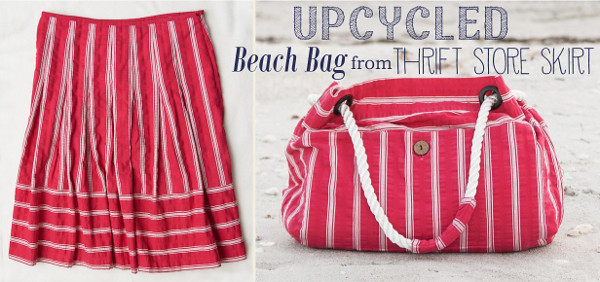
To make this bag, I started with a skirt I bought at the thrift store. I took out all the box pleats at the top f the skirt and ended up with quite a bit of fabric. You could also make this bag with 1 yard of fabric, something with a bit heavier works best. You will also need two strips of iron on interfacing that are 25” x 3”, 8 grommets, a button for the front pocket, and 5 feet of rope.
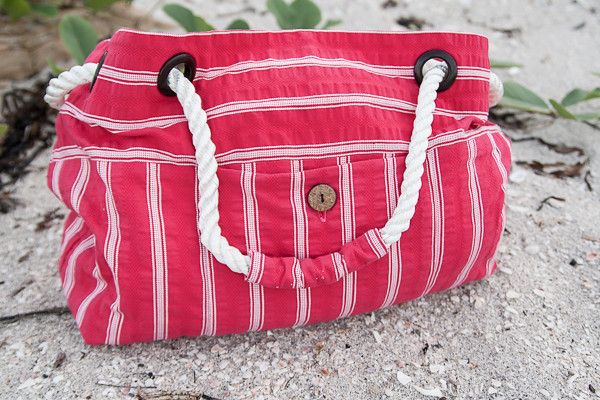
I picked my grommets up at the craft store in the home décor section; they came in a pack of 8, perfect! I got the rope at the hardware store; you can buy it there by the foot.
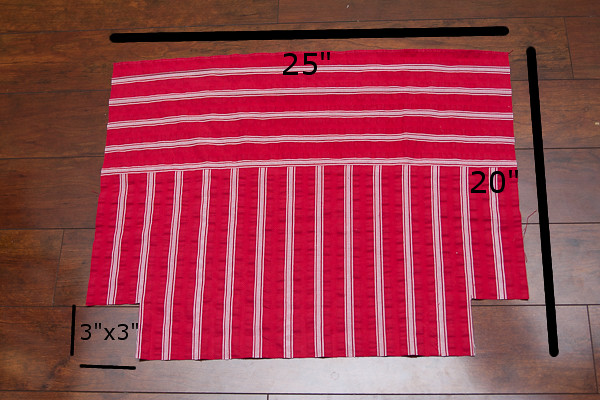
Start by cutting your fabric to two 20” x 25” rectangles. Then cut 3” x 3” squares from the bottom corners. You will also need cut two 9” x 9” squares for the pocket and two 6” x 4” rectangles for the handle covers.
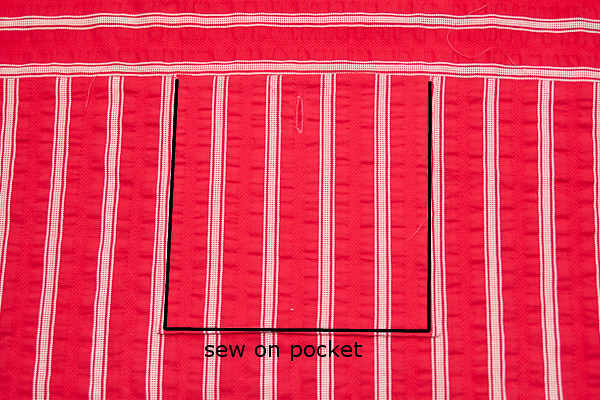
Place the 9” x 9” squares right sides together and sew around all four sides leaving a small opening on the bottom to turn it right side out. Turn the pocket through the hole you left and press it. Add a button hole to the center top of the pocket. Top stitch the pocket to the bag along the sides and bottom, make sure the opening in the bottom where you turned it gets closed when you top stitch. Sew the button to close the pocket.
Iron your 3” strips of interfacing to the top of each side of the bag. My fabric was already finished across the top from the skirt hem, but if yours isn’t you may want to leave ¼” of fabric above the interfacing to fold over when you hem so you have a finished edge.

I sewed the bag with french seams so there are no exposed seams inside the bag. To make the french seams, pin your bag wrong sides together along both sides and the bottom. Sew the sides and bottom with ¼” seam allowance, leave the top of the bag and the 3” squares in the corners open.
Turn the bag inside out and press. Sew along the sides and bottom again, encasing the raw edge inside the seam allowance.
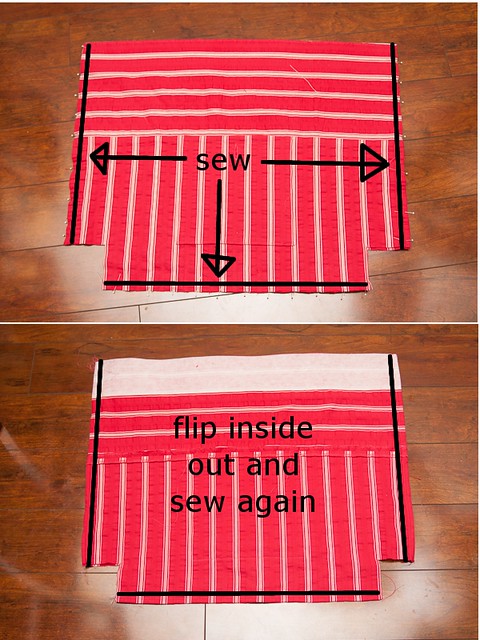
Next you will sew the bottom corners. Turn the bag right side out again; pull the top corners of the corner cut outs apart. Line up the side and bottom seams and sew along the edge with a ¼” seam allowance. Turn inside out press and sew over the corner again to make a french seam. Repeat with the other corner.

Hem the top of the bag by folding it over at the bottom of your interfacing and sewing.
Measure 3” and 6” from the side seams on all sides and make a mark for your grommets. Attach the grommets according to the instructions on the package.
Fold the short sides of your handle covers over ½” and ½” again. Press and top stitch along the folded edge. Determine how big the covers need to be by wrapping them around your rope and marking where the raw edges meet. Sew them right sides together at that point. Then trim off any extra and turn them right side out.
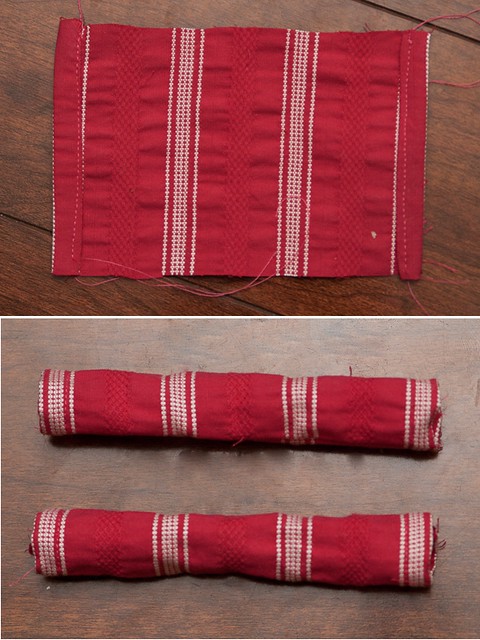
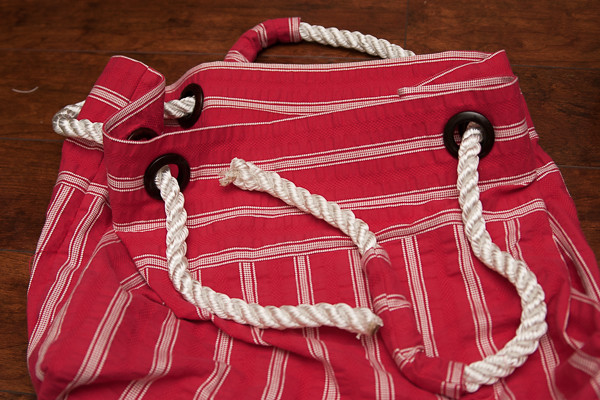
Weave your rope through the grommets starting by going in one of the middle grommets. When you get to the middle of the other side, slip one of your handle covers on. Then keep weaving until you get back where you started. Slip the other handle cover on.
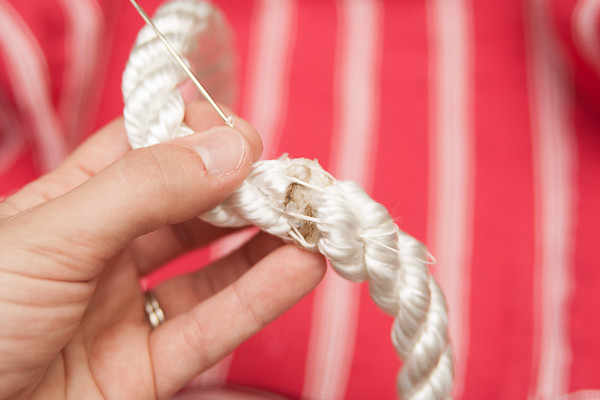
Sew the ends of the rope together by hand. I used button thread and an upholstery needle. Sew several places to make sure the handle is secure.
Then slide your handle cover to cover the seam. You can add a little craft glue under the covers so they don’t slide around if you want.
Your bag is done, go hit the beach!