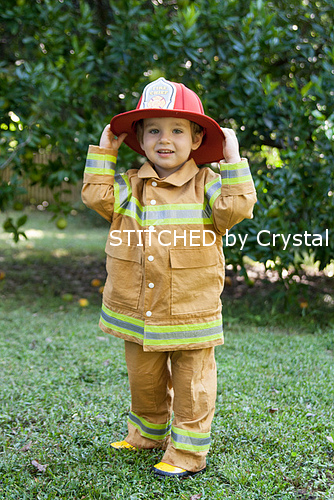
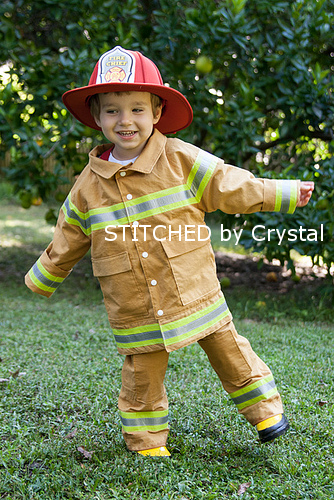
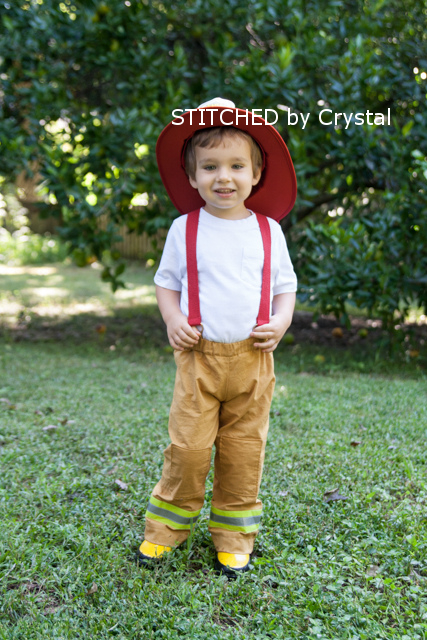
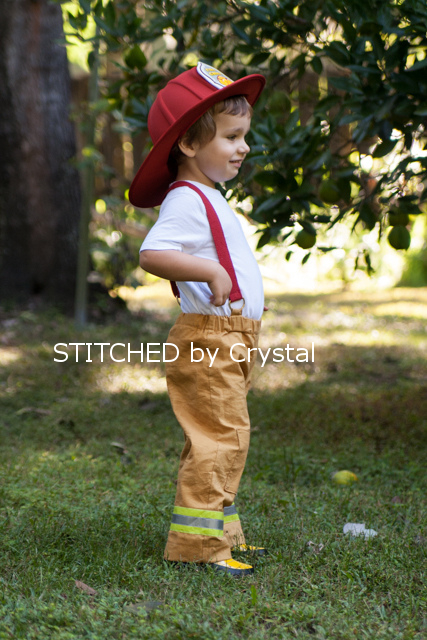
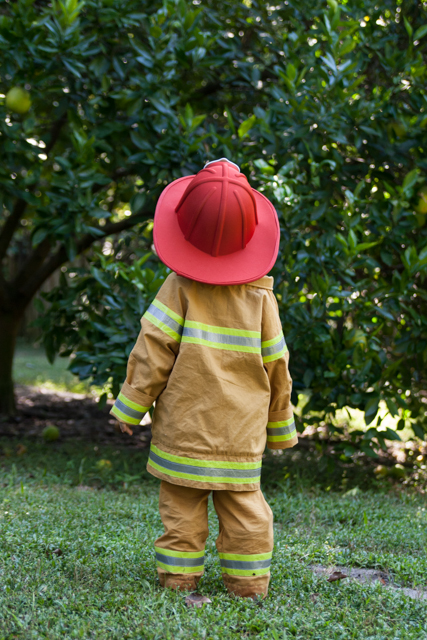
Did you see the cute fireman coat I made and shared over on
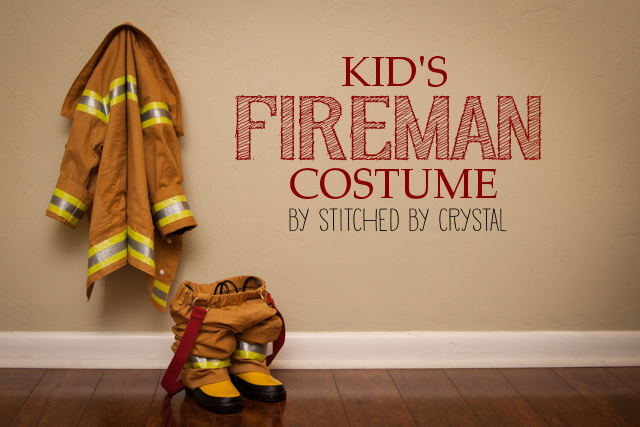
Pattern Revolution today? I am sharing the other half of that costume, the bunker pants, here today!
My son begged me to make him a fireman costume this year. At first I was bummed because I had been thinking about costumes for a while and had come up with some ideas I was so excited about. But he was pretty persistent and I am glad he was. I had so much fun with this costume and it was fun to be challenged a bit to design costume he wanted.
And boy does he love it! He is really into firemen lately and his face just lit up when he saw his new fireman suit.
The coat was made using
Peek-a-boo Pattern Shop's Puddle Jumper Rain Coat pattern, you can find instructions for modifying it over on
pattern revolution today.
I drafted a pattern for the pants using a pair of pants my son already owns. You could use any basic elastic waist pants pattern or get tips on drafting your own
HERE (that link is for shorts, but same concept, you would just make them longer).
To make these pants, you need around 1 yard of fabric, 5 D rings, 1" elastic, 1 1/2 yards of red strapping and a small piece of faux leather.
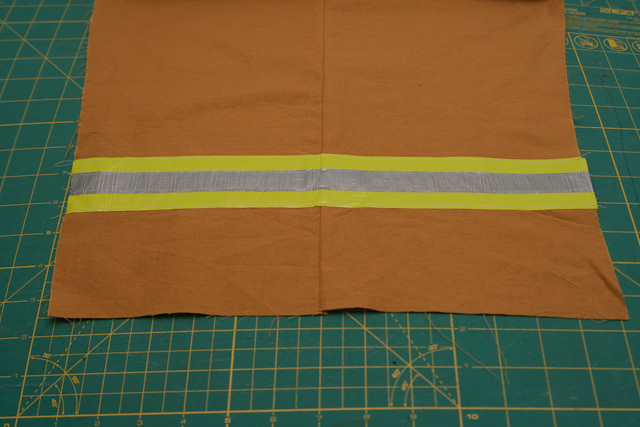
Cut out your pattern pieces and sew the pant legs together at the side seams. Add some yellow reflective tape (yellow duct tape) about 3"-4" from the bottom. Then cut a piece of silver tape so it is 3/4" wide and add the on top of the yellow.
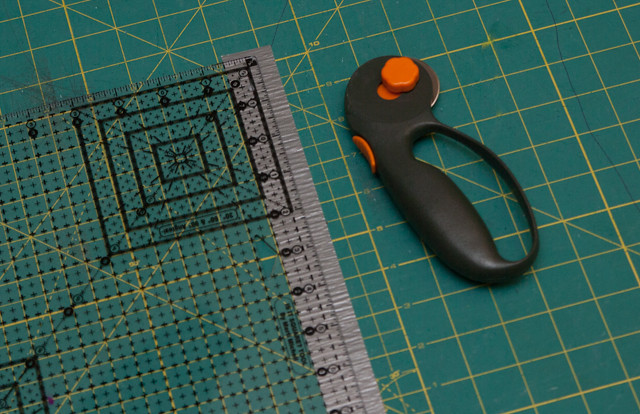
I found it was easiest to cut the tape on my self healing mat using my rotary cutter, the tape doesn't stick to the mat well so it is easy to get off. After placing your tape, sew along the edges of the tape.
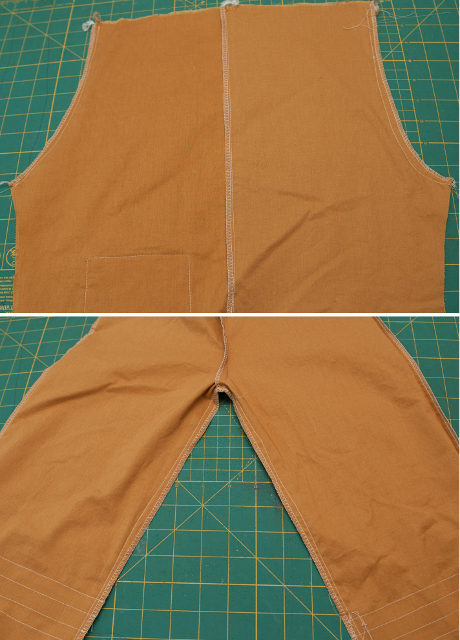
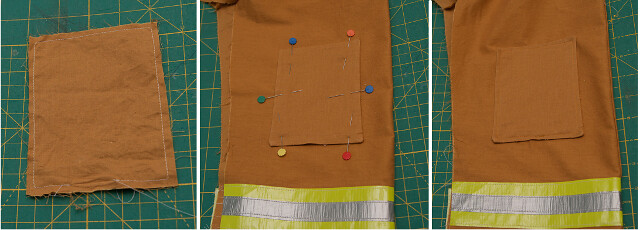
Add knee patched to the front of the pants by cutting 4 rectangles, sew two right sides together leaving a small hole for turning. Turn, press, and top stitch them to the knees of the pants.
Next sew the crotch and inseam of the pants.
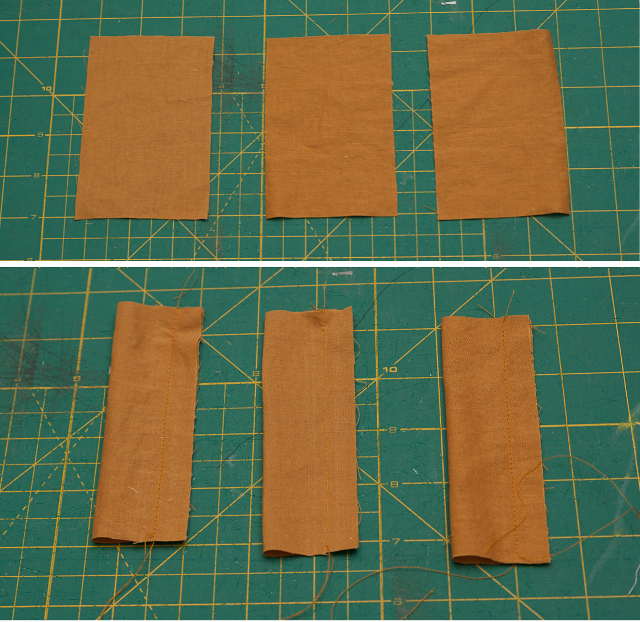
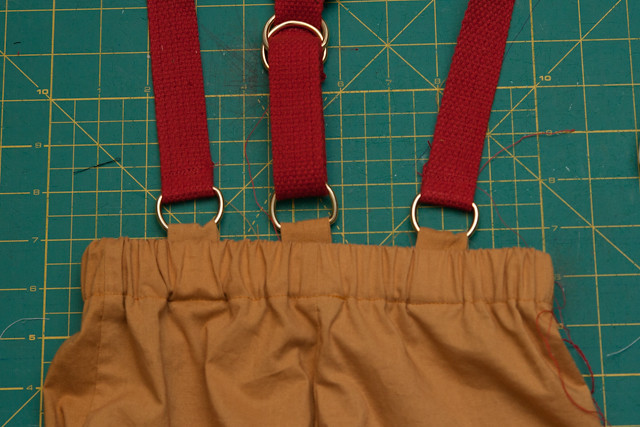
Cut 3 rectangles, fold them in half and sew along the edge. Turn them right side out.
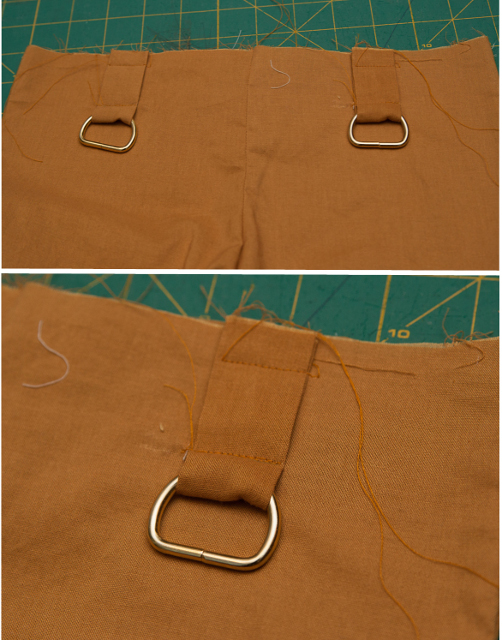
Loop them around a D ring. Sew 2 of the loops to the front and one to the center back. You want the raw edges lined up with the raw edges at the top of the pants. Stitch them down 1/2" from the edge and also 1 3/4" from the edge.
Fold the top of the pants down 1/2" then again where the loops are sewn. Sew along the folded edge to create a casing for your elastic, leaving a small opening towards the back. The raw edges of the loops should all be encased in the elastic casing.
Add your elastic and sew the hole closed and hem the pants.
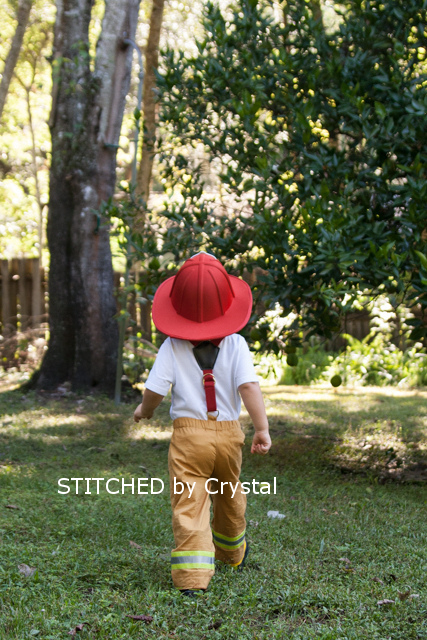
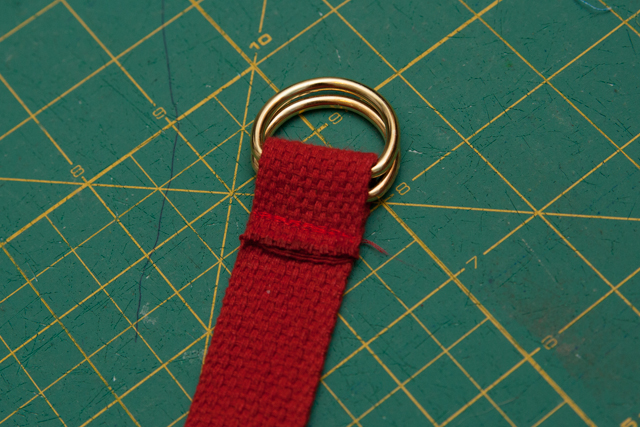
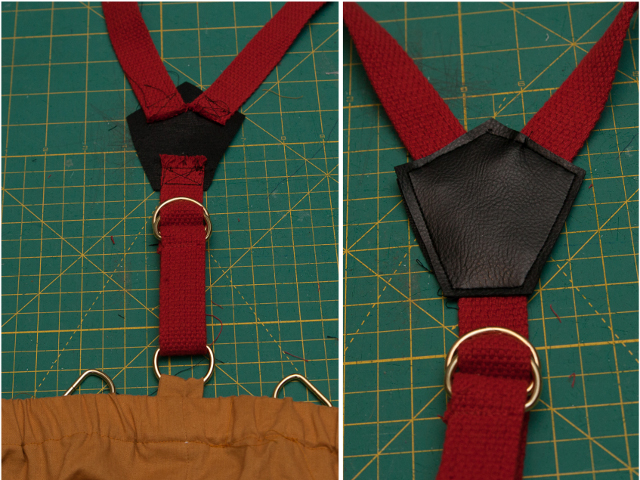
Cut about 10" of your red strap. Add fray check to one end to keep it from unraveling. Loop the end around your last 2 D rings and sew in place.
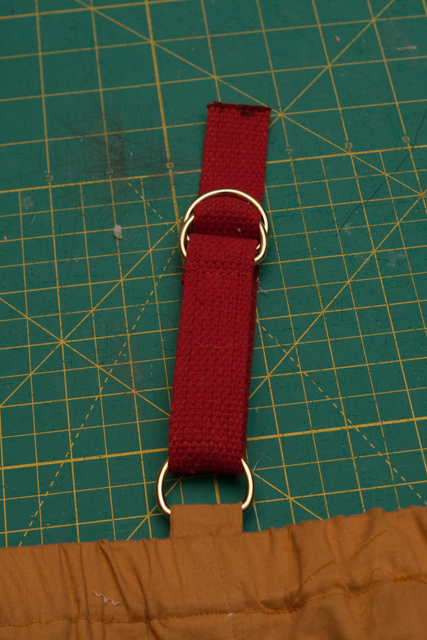
Feed the other end of the strap down through the D ring at the back of the pants and back up, through both D rings at the top then back through one D ring.
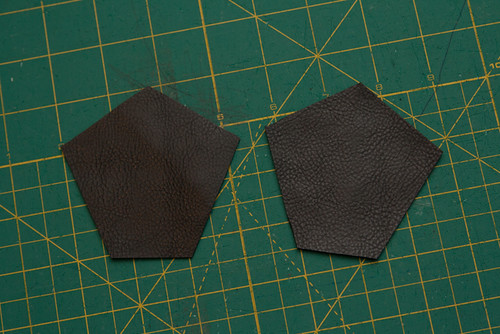
Cut the leather into 2 pentagon shapes.
Place one pentagon behind the red strap and sew the end of the strap down with a box stitch. Cut the rest of your red strap in half and attach both pieces to the top with a box stitch. Place the other pentagon on top sandwiching the raw ends in between and top stitch around the edge.
Try the pants on your child to determine how long the suspenders need to be. Make sure the back is adjusted to the smallest setting so they can be made larger as your fireman grows. Mark how long they need to be and sew them to the front D rings.
You can find all the details on the coat
HERE!

 Labels:
SYTYC
Labels:
SYTYC