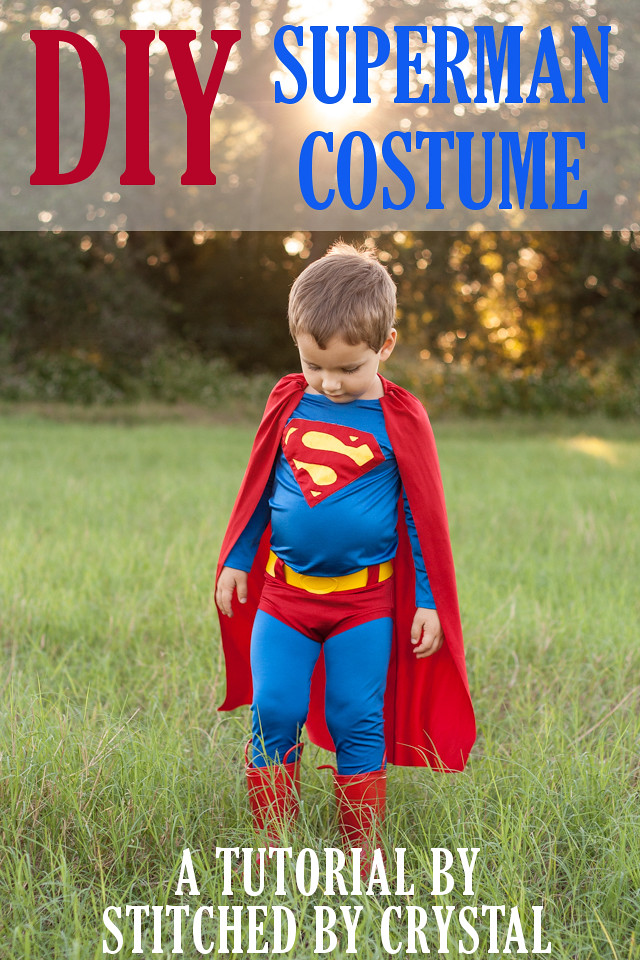
I have another overdue tutorial to share today! Although, with Halloween coming up, maybe this tutorial and
last weeks fireman coat tutorial are really right on time :) This was
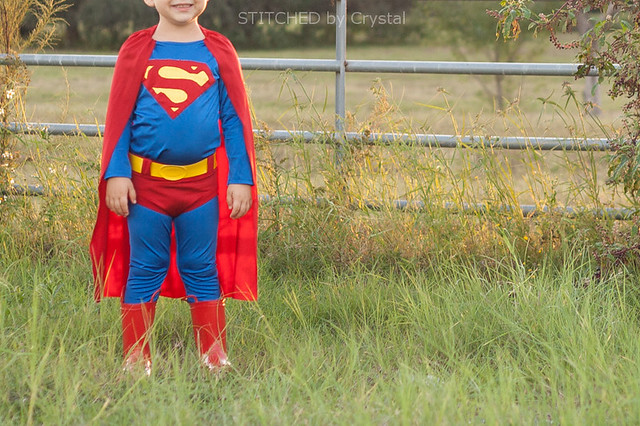
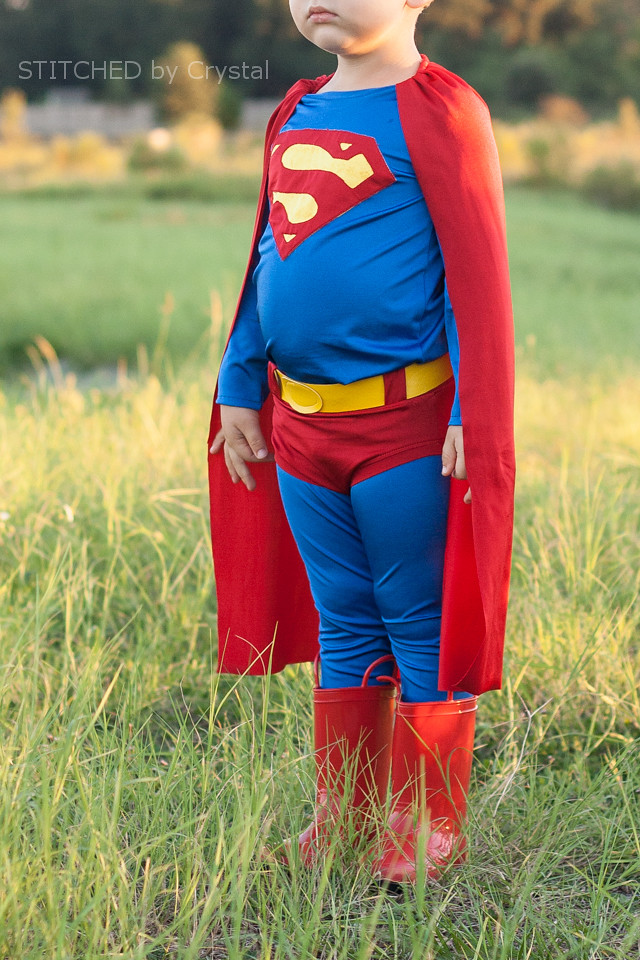
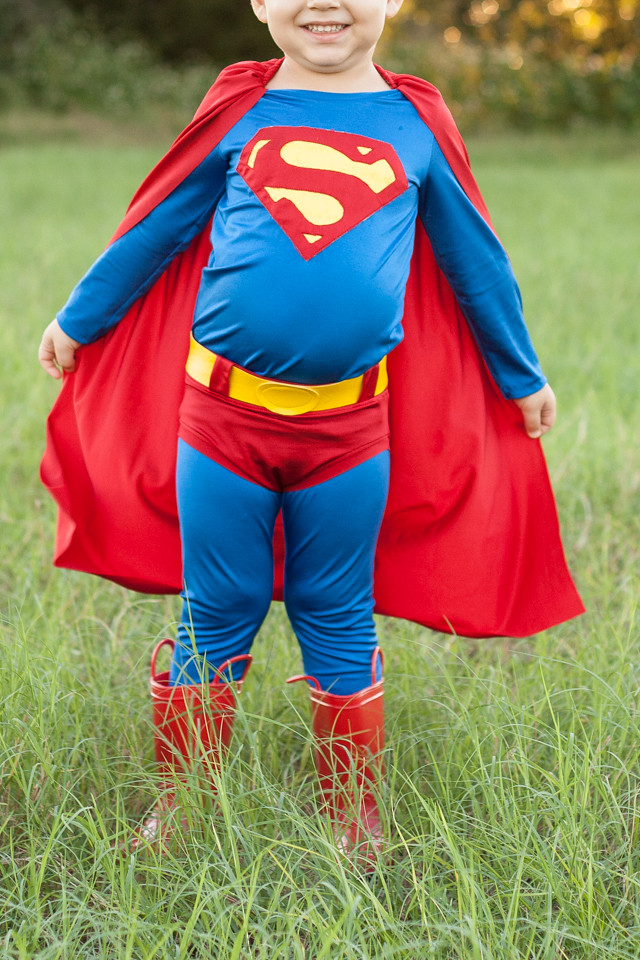
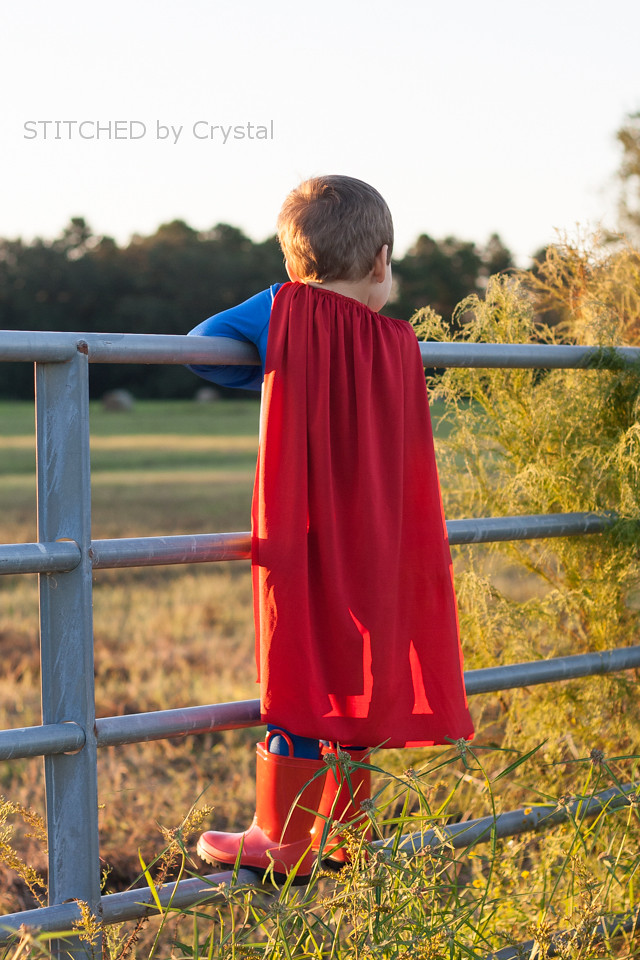
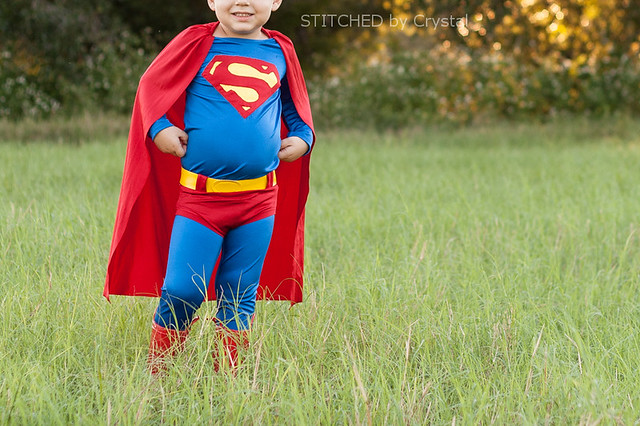
A's Superman costume from last year, probably one of my favorite things I have ever made! And his too. This costume still fits, well I should say he can still squeeze into it, and it gets worn around the house at least once a week. What little boy wouldn't want to dress like Superman every week?
The costume is really simple, leggings, shirt, undies, belt, and cape. It is all made out of nylon/lycra swimsuit material (with the exception of the belt) so it is pretty forgiving in size, my son has grown a lot in the past year and he is still wearing this same costume!
To make my costume, I used several patterns, all from Jocole...
the basic brief bottoms,
the basic knit leggings, and
the classic knit tee. But any leggings, shirt, and undies pattern will work, or you can trace clothing your child already owns and make your own patterns.
So...let me show you how I made my Superman! Let's start with the shirt, it is probably the trickiest.
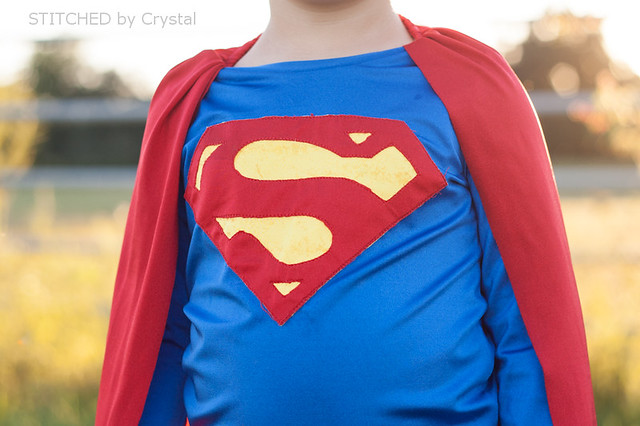
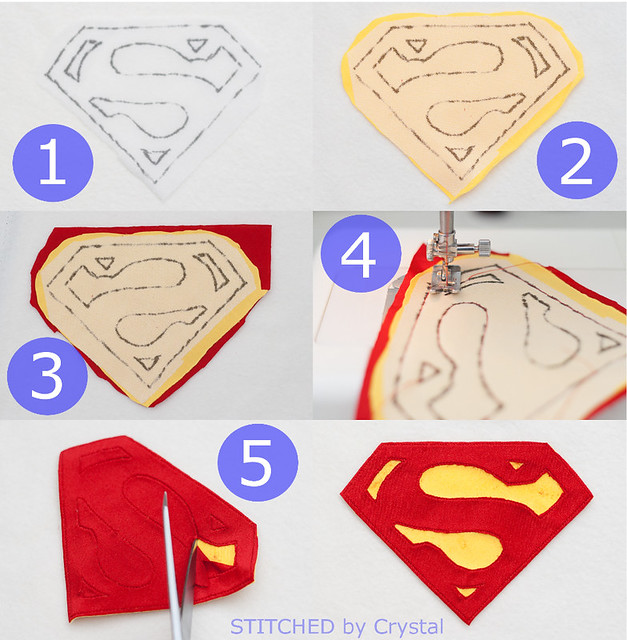
Cut out all your pattern pieces from blue lycra fabric, but before sewing the shirt, you will want to add your S applique. To add the applique, follow the steps below.
- Draw the “S” on the glue side of the interfacing. You can sketch one out or print one and put it behind the interfacing and trace it.
- Iron the interfacing to the wrong side of some yellow lycra
- Then place some red lycra on top of the yellow, I used a basting spray you can find in the quilting section of your fabric store to keep the fabric in place.
- With red thread in your sewing machine, sew around the “S” you drew on the interfacing.
- Carefully separate trim the red lycra away from the background, leaving just the yellow showing behind the “S”.
- Trim around the diamond shape.
- Pin the “S” in place on the shirt front and sew around the edge to keep it in place.
- Sew up your shirt according to the pattern instructions.
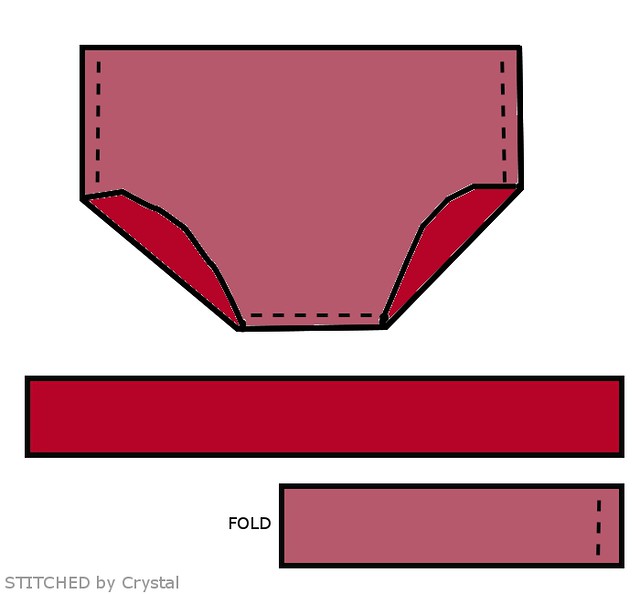
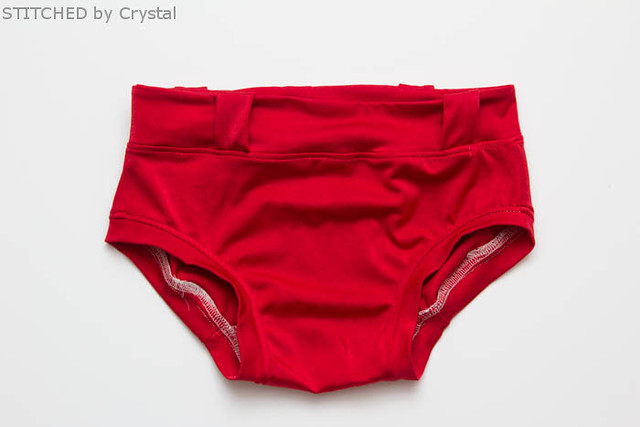
Now for the Super briefs!
I took photos of how I made these last year, but I have misplaced them...so instead you get some rough computer sketches :) For these, I sized up and I trimmed a bit of the leg and waist to make room for my bindings.
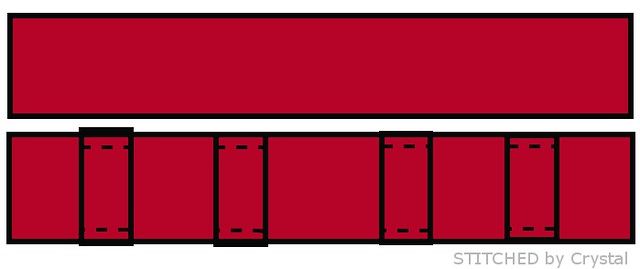
I sewed the front and back of the briefs together and instead of elastic on the legs and waist, I added some bindings. I measured the leg holes and cut binding strips that were the length of the opening and 2" wide. I sewed the short ends together to form a loop.
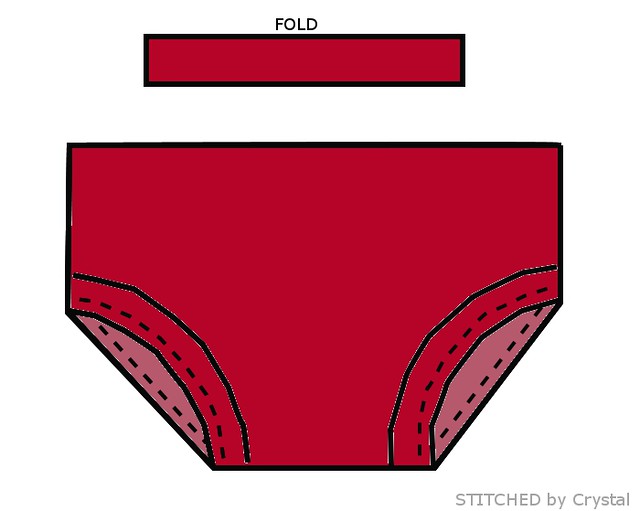
I folded the binding in half, wrong sides together. Then I sewed the binding to the right side of my briefs flipped it down and topstitched along the seam.
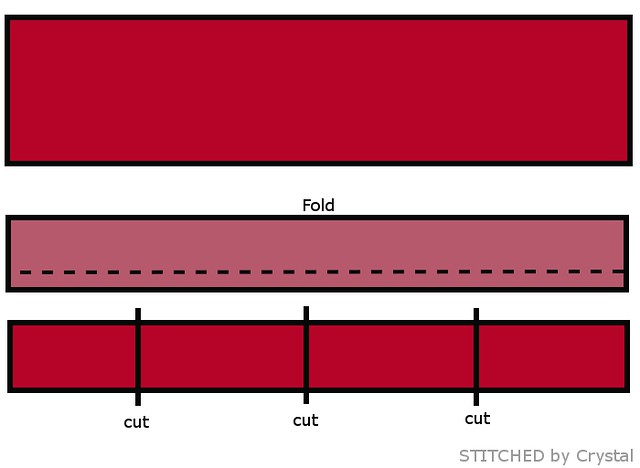
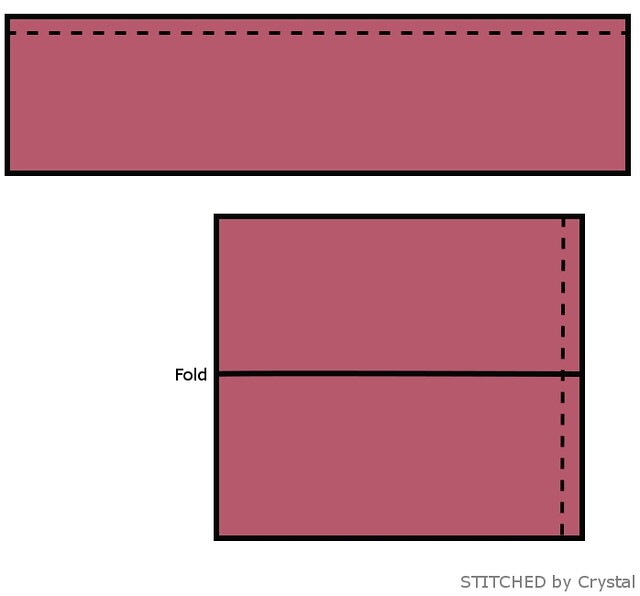
For the waistband, I made some belt loops. I started with a strip 2" x 8", folded it and sewed along one long edge. Then I turned it right side out and cut it into 4 belt loops.
I measured the waist opening and cut 2 waistband pieces the length of the opening measurement and 2" wide. I sewed the belt loops to one of my waistband pieces.
I placed the 2 waist band pieces right sides together and sewed along the top edge. Then I opened them up and folded them the other way and sewed along the edge to make a loop.
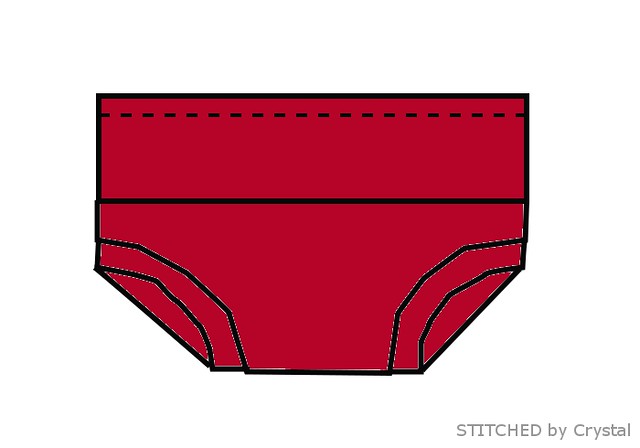
I turned the waistband right side out, folded it in half and sewed it to the top of the briefs.
Then I flipped the waist band up an topstitched.
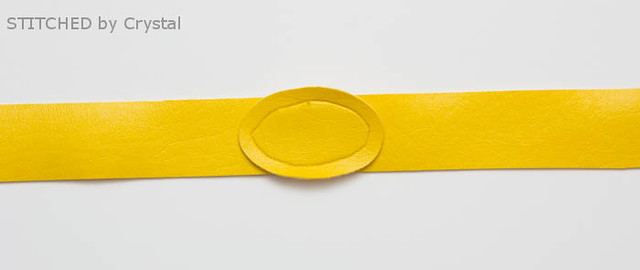
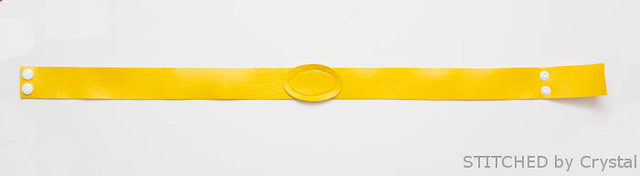
The belt is made of some yellow pleather I found in the upholstery fabrics. I cut a belt 1.25" wide x 25" long. I cut an oval an topstitched it in the center of the belt. I tried the belt on my son and marked the placement for some snaps to close it in the back (you could use velcro instead)
The pants are simple, just plain old leggings in blue lycra.
And finally, the cape!
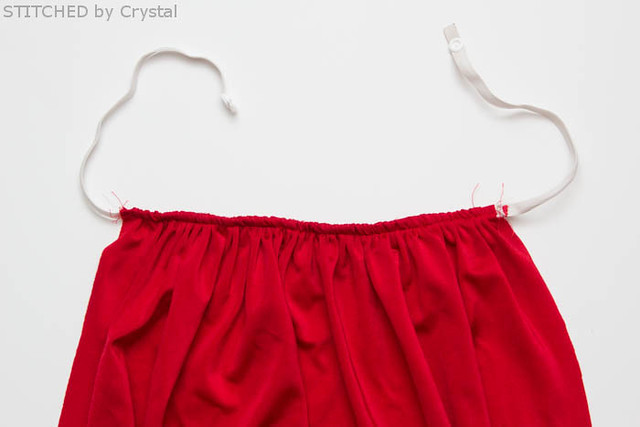
The cape is just a rectangle of lycra, I used 30" long by 27" wide for my 3.5 year old, gathered at the top and sewn to a piece of 3/8" elastic.
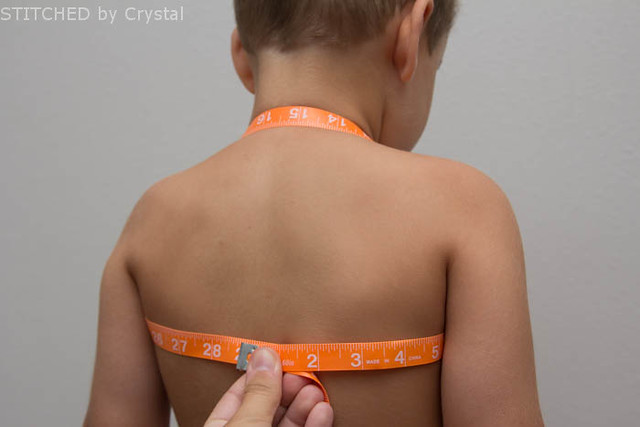
Measure how much elastic you need for your child, the elastic is worn across the top of the shoulders behind the neck, then goes in front of the shoulders and under the arms, it connects behind the back. You don't want the elastic too tight that it rubs in the armpits, I used about 30" for my son.
Gather the top of the cape and sew it to the middle of the elastic. Then flip the elastic towards the wrong side of the cape and topstitch to create a finished look. I added a snap to connect the ends of my elastic. Because the cape does not go around the neck there is no risk for strangulation and you could simply sew the ends together. The elastic goes under the shirt so I like the snap for easy cape removal, without it you have to take the shirt off to get the cape off.
To put the costume on, put the cape on first, then put the shirt over it and pull the cape out the top of the shirt.
You can find even more Halloween ideas and inspiration
HERE!