Apr 23, 2014

Tutorial: Continuous Bound Plackets (and how to sew buttons instead a zipper)


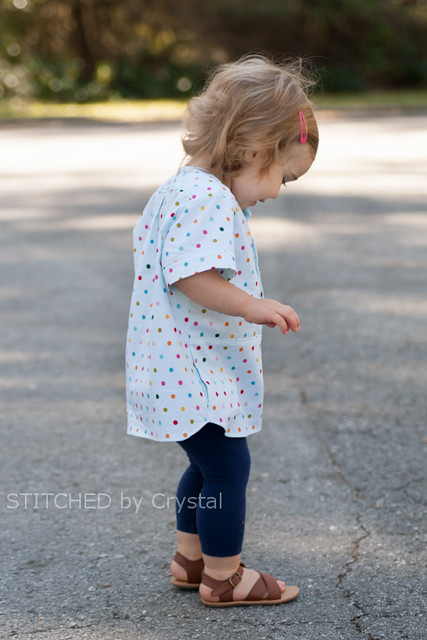
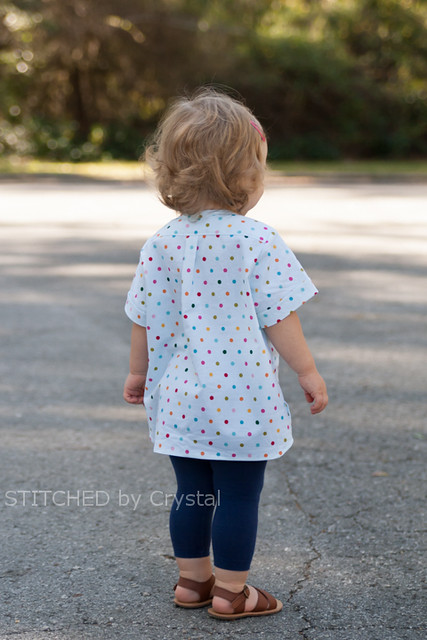
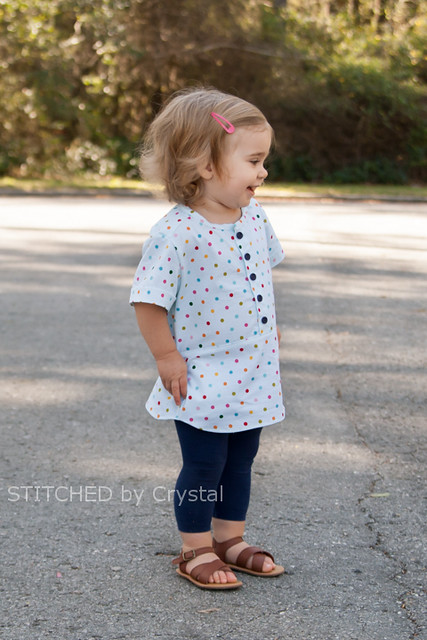
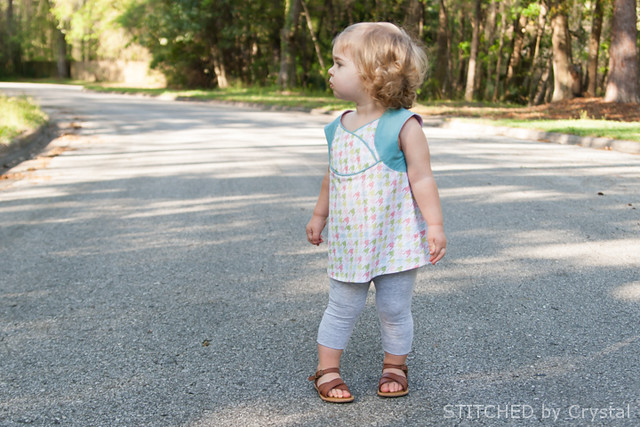
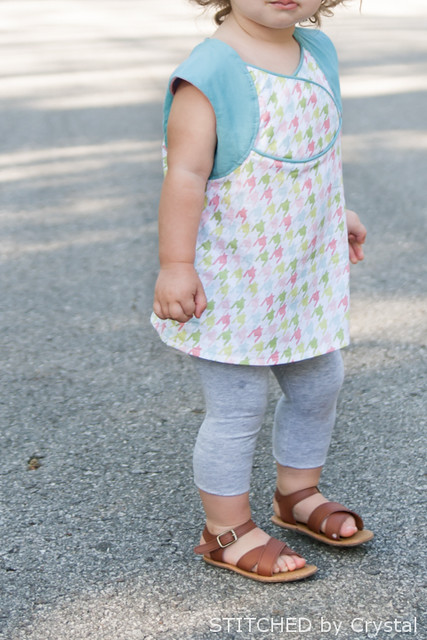
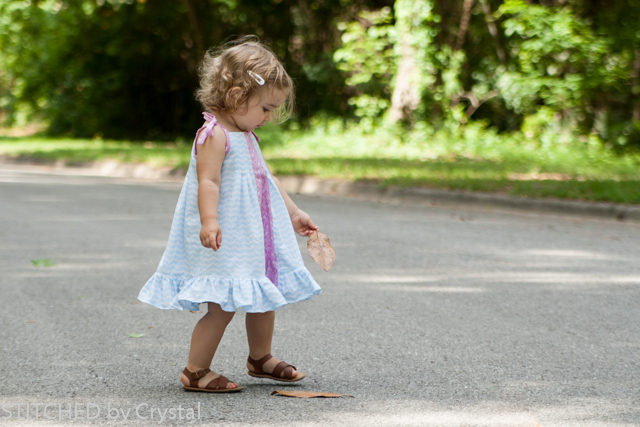
My kids have larger than average heads (I am chalking that up to the giant brains they have in there!) Trying to squeeze a dress over my wiggly toddler's oversized head can be real challenge. Because I don't like wrestling with her every morning, I have started adding continuous bound plackets to a lot of the dresses I make her.  


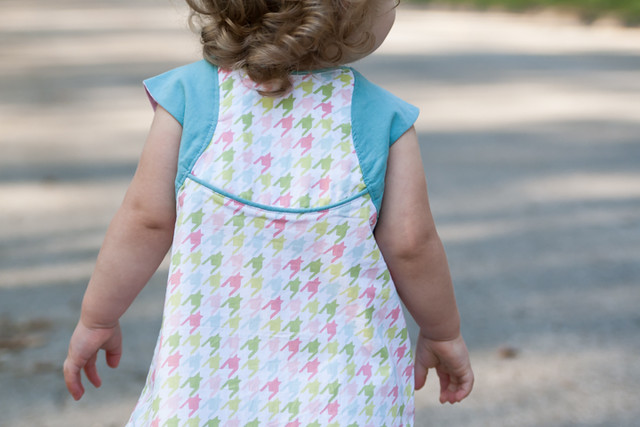
A continuous bound placket is basically just a slit in your fabric that is finished with bias tape, but it is not visible from the outside.  It can be used at the back of dresses to extend the opening of the bodice down into the skirt a little making dressing and undressing those wiggly toddlers about 100x's easier! It is especially helpful on dresses with a short bodice and gathered skirt. 


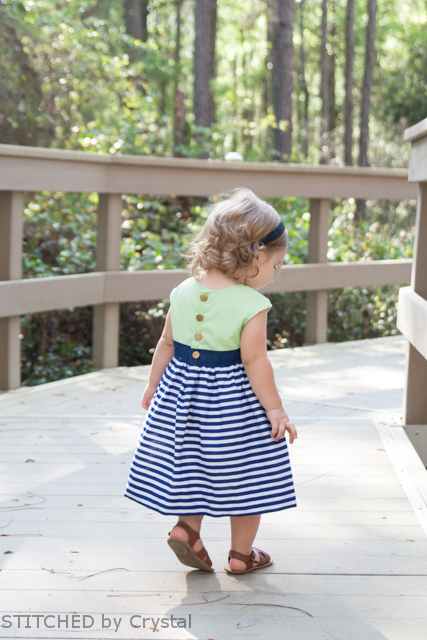
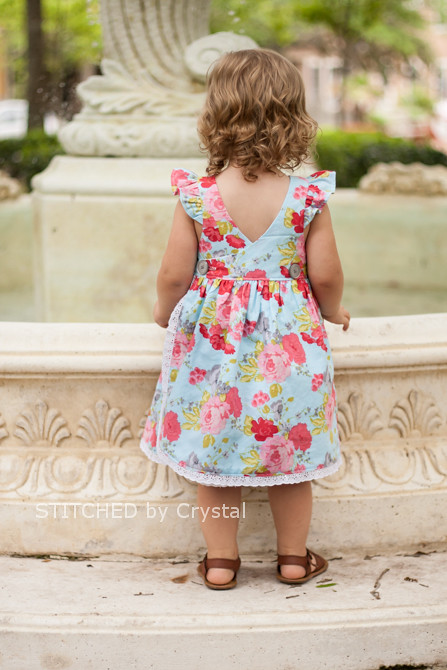
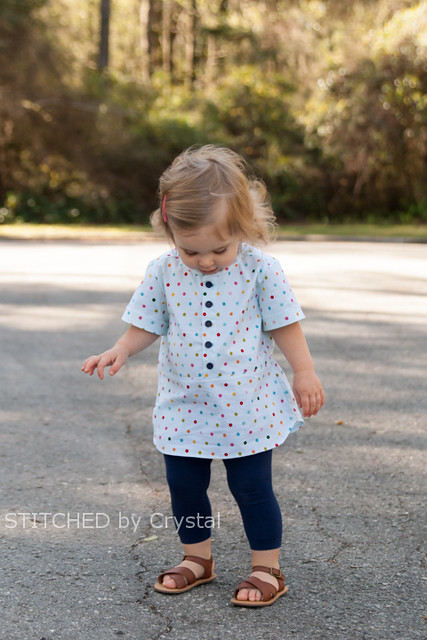
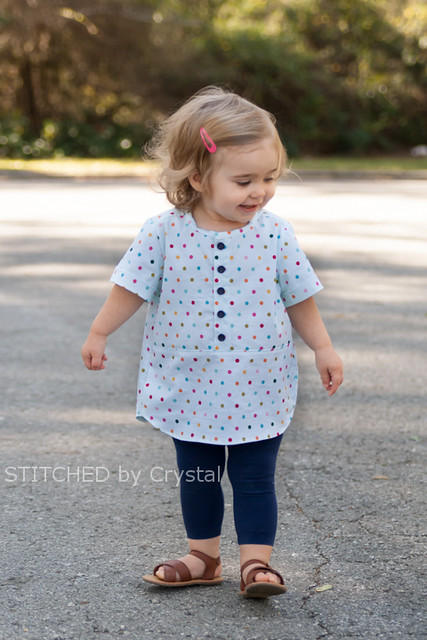
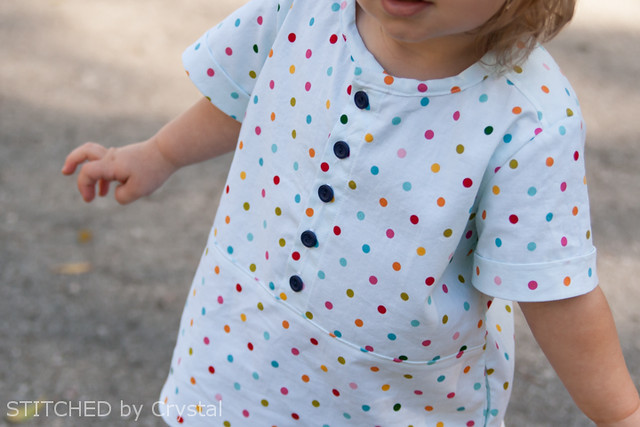
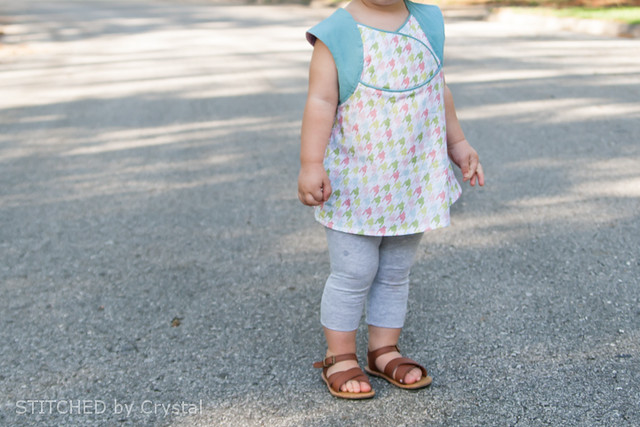
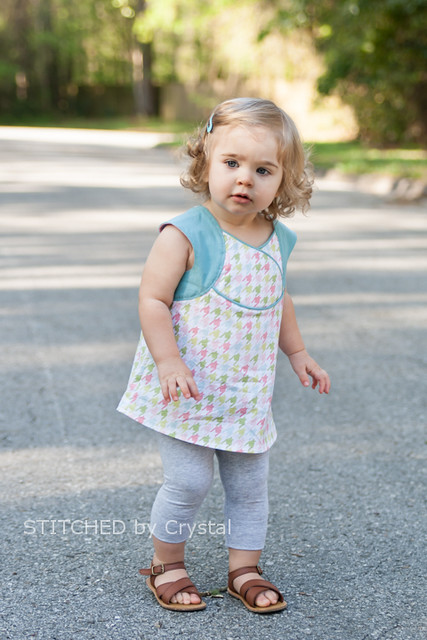
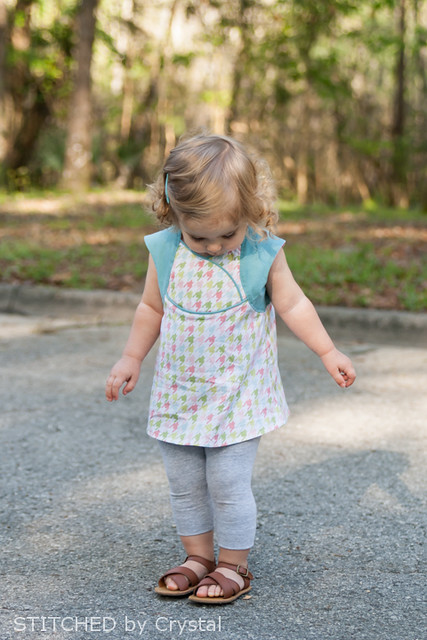
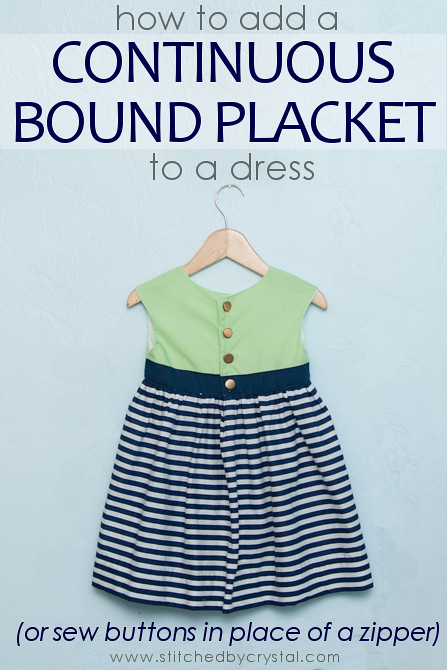
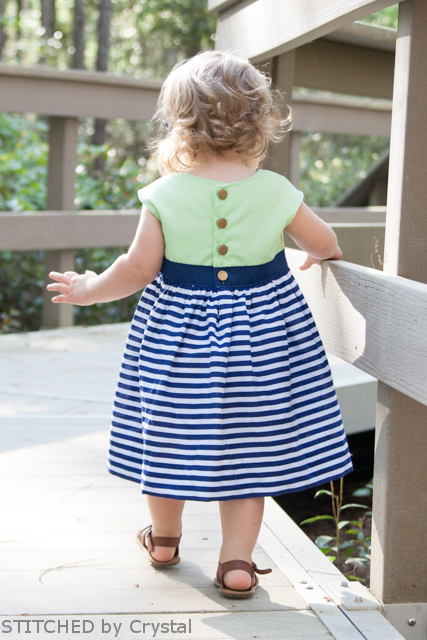
A continuous bound placket can also be used if you want to switch a zipper in a dress pattern out for buttons.  Zippers usually extend down into the skirt a bit so you can’t always slap some buttons on the back instead.  I used a continuous bound placket on the Nautical dress I made Em last month.  I subbed buttons for the zipper on the Caroline Party dress by Mouse House Craetions, worked great!  I am going to use it as an example to show you my method for adding the placket to a dress, but this method can be used to add a continuous bound placket to any dress with a bodice and gathered skirt that closes in the back.


Another great thing about this method is your seam between the bodice and skirt gets enclosed inside the bodice.  So you end up with a nice clean finish without having to use a serger!


How to sew a continuous bound placket:

You will need...only about 10" of double fold bias tape!

If the dress pattern you are using already has buttons to close at the back and you just want to extend your opening a bit, cut your pattern pieces according to the pattern. 

If the dress pattern has a zipper closure and you want to change over to buttons and a bias placket, you will have to make a few changes.  First, you will need to add ½” to the back of the pattern.  With the zipper the back sides meet in the middle with the zipper in-between, we need some overlap for the buttons and button holes.  You can do this but cutting a ½” strip of paper and taping it onto your pattern before cutting your fabric.


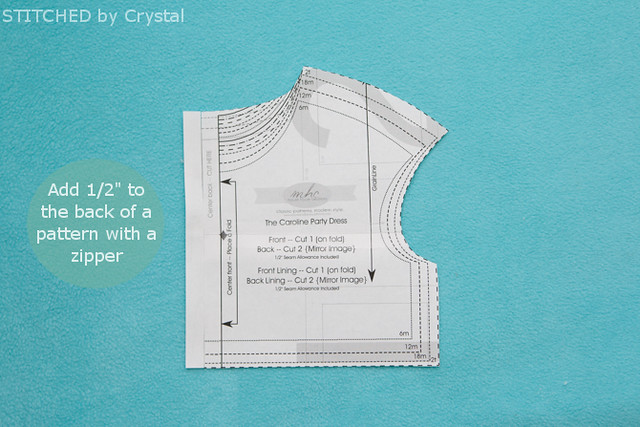
Also, if your pattern calls for a zipper, it probably directs you to cut 2 rectangles for the skirt back.  We only want one.  So instead of cutting according to the back skirt measurements, cut the back of your skirt exactly like the front.  You will now have 2 long rectangles; one will be used for the front of the skirt and one for the back.

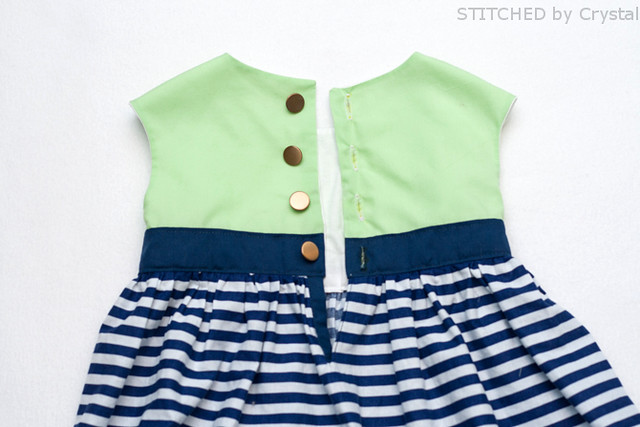
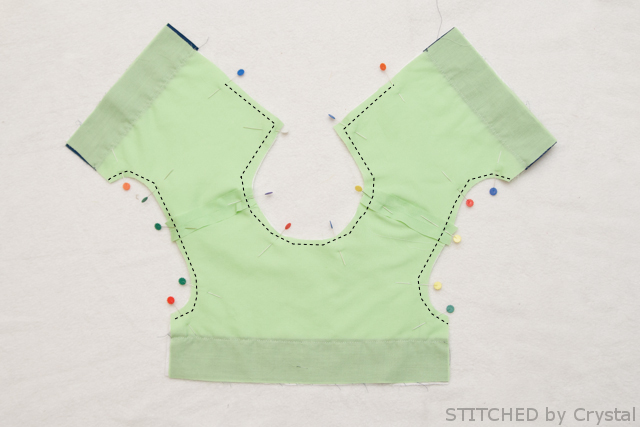
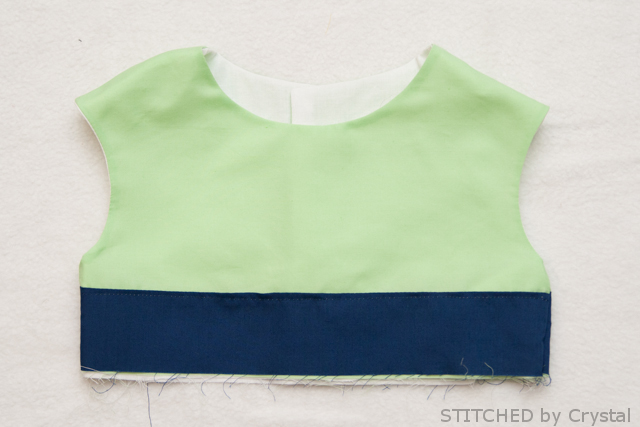
Start by sewing your bodice pieces together at the shoulders like you normally would.  Then put the lining and bodice right sides together and sew around the arm holes.  Sew the back and the arm holes, but don’t sew about 3” at the bottom of the bodice back as shown in the photo below. 


Then line up the underarms and sew to complete your bodice.  Put your bodice aside.


Find the center of your back skirt piece and cut a slit about 3”- 4” (cut 3” for smaller sizes and 4” for larger sizes. 


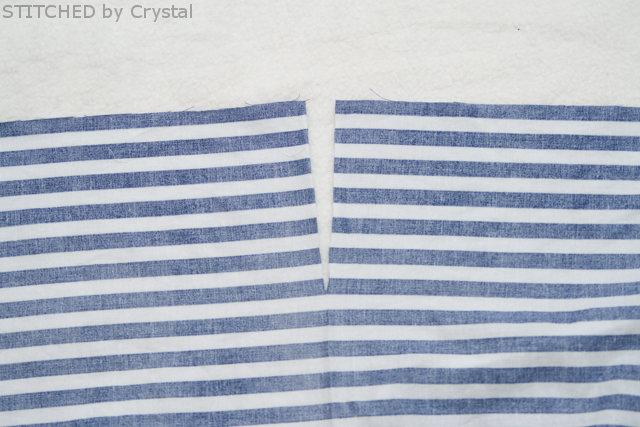
Open the slit so it forms a wide V shape.  Unfold the bias tape and pin the raw edge of the bias tape to the slit of the skirt with right sides together.  At both ends of the slit, the edge of the bias tape will line up with the edge of the slit.  In the middle of the V, the fold will be just below the slit.  Sew along the fold of the bias tape, just catching the skirt fabric at the bottom of the V, it will literally just be a few threads of the fabric holding on at the bottom of the V, that's all you need!  


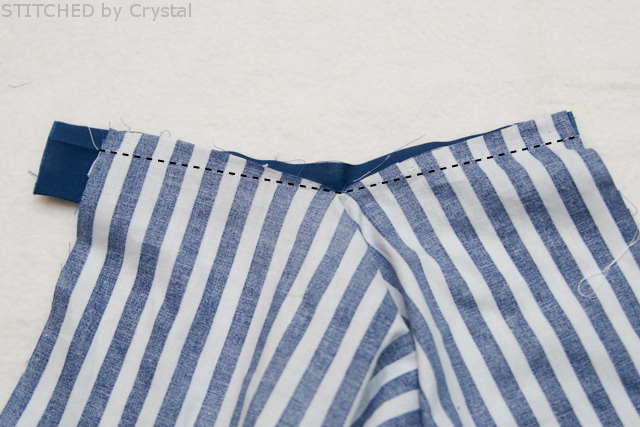
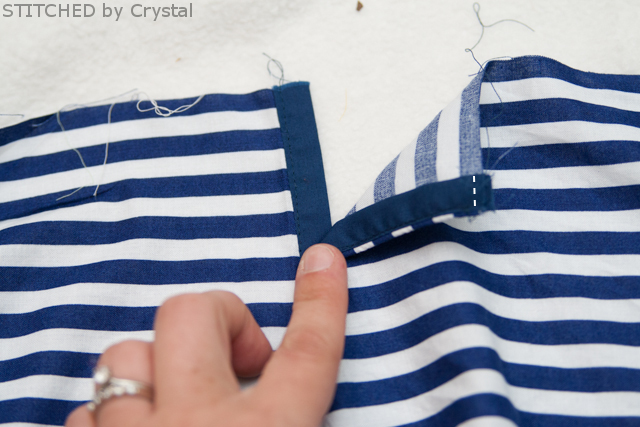
Refold the bias tape, folding it up and over the skirt fabric to encase the raw edges.  Pin and sew in place.  Cut off any extra bias tape.


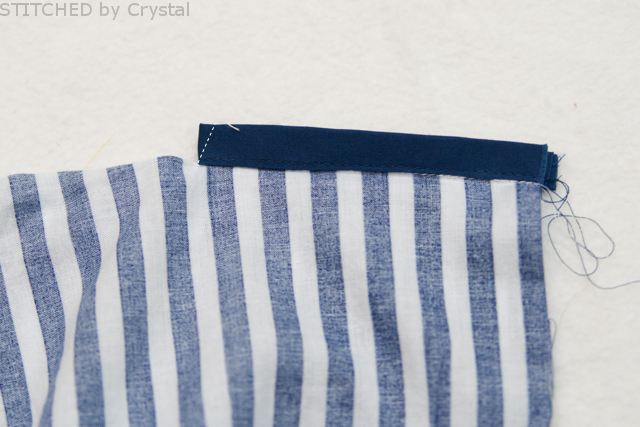
Fold your skirt along the placket, so the skirt is right sides together and the placket is sticking out.  Sew the placket together at the bottom at an angle, this helps it from coming open while your garment is being worn.


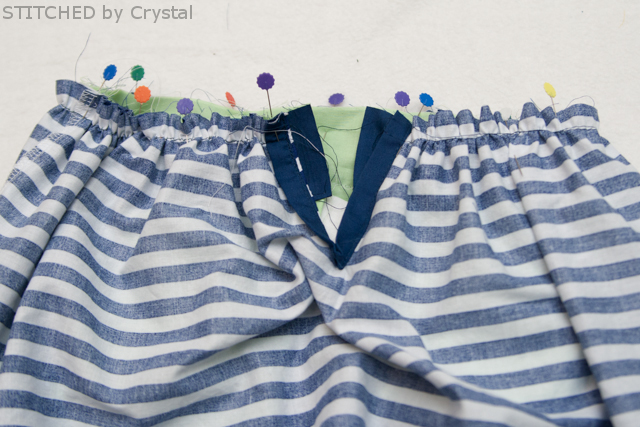
Press the placket to one side and baste the side of the placket to the skirt so it stays folded under when you attach the skirt to the bodice.


If you want, you can also topstitch along the folded edge of the placket, I like to do this to help keep that side folded under, but is not necessary.


Sew your skirt back to the skirt front along the side seams, then gather the top of the skirt.

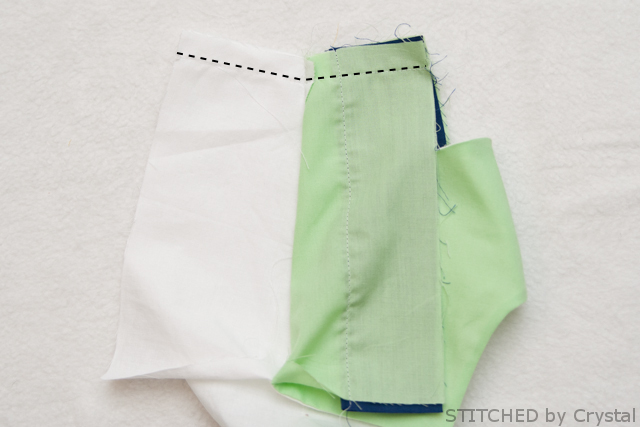
Move your lining out of the way so you can pin the gathered skirt to the outer bodice.  Pin the skirt so the back sides of the bodice stick out ½” past the placket on both sides.  Sew the skirt to the bodice.


Put center back sides of outer bodice and the lining right sides together and finish sewing the back of the dress with a ½” seam allowance, sewing just to the side of the skirt. 


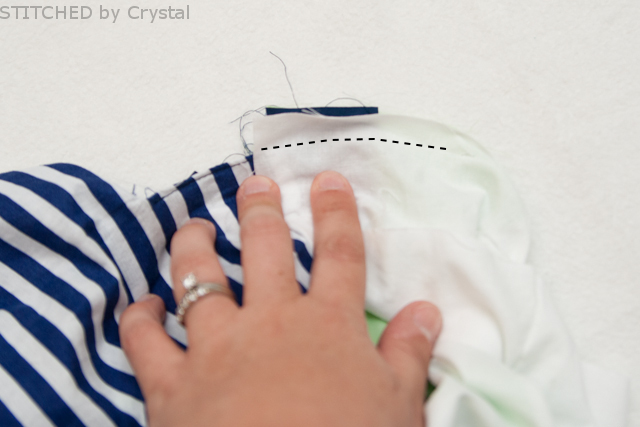
Tuck the raw edge of the lining under and pin in place.  Sew the lining in place either by hand or by topstitching along the bottom of the bodice.


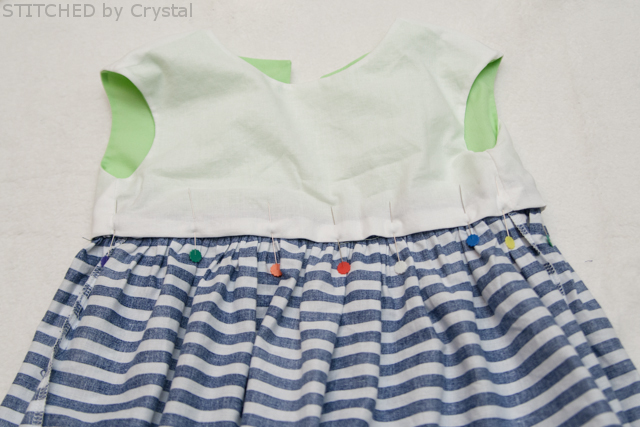
Finally, mark placement for your buttons and button holes at the back.  The button holes will go on the side wher the placket is folded under so they end up on top.


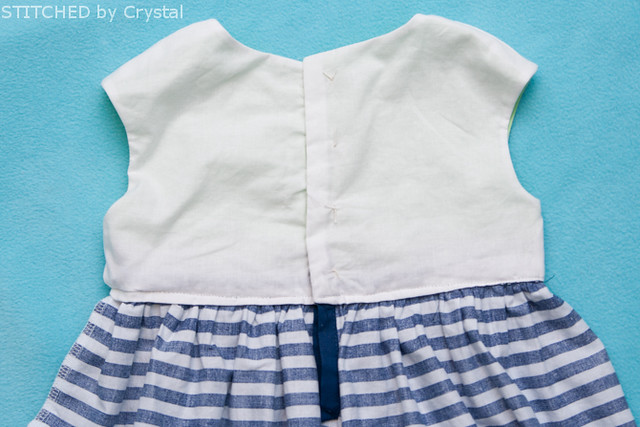
That's it! Now you have a dress with a continuous bound placket, you will be so happy to have it when you go to put that dress on your wiggly toddler!


Follow on Bloglovin

Apr 22, 2014

Brownie Goose Bay Dress - Em's Easter Dress

I made Em a lot of dresses lately that I said were in the running for her Easter dress.  Want to know which one she wore.....none!
I got the chance to sew up this amazing new dress by the week before Easter and it beat out all those other dresses for that special Easter dress spot!


It's stunning right?!


This is the new Bay Dress by Brownie Goose and it s available as part of the Bundle up pattern bundle available April 26th.  If you buy it in the bundle you can get it, along with lots of other great patterns, for as little as $4!   You can find all the info on the bundle up deal HERE (affiliate link) and you can check out my review of the Bay dress on Pattern Revolution today!


You do not want to miss this pattern deal...go check it out!


Fabric Baskets for Make it - Love it

Remember the rainbow skirt I shared over on Make it & Love it a while back?  I am guest posting over there again today with another fun tutorial! 


These fabric bins are easy to make and perfect for containing all the clutter. With two small kids in my house, I need all the clutter containers I can get!  

Make sure you swing by Make it & Love it today to check out my post!


Follow my blog with Bloglovin

Apr 17, 2014

Mulberry Tunic

The Mulberry Tunic, by Olga of Kid Approved, is the fourth pattern that I had the opportunity to test for Willow & Co (you can see the other three here, here, and here) and just love this one!


Eeek!  Isn’t it adorable on her?!


This pattern is unisex too, so I need to get my act together and make one of A as well.  The pattern has an option for a hood, I think he *needs* one with a hood!


I sewed the shirt up in a size 18 months for Em.  Before I sewed the buttons on I thought it was going to be too big, but once I got the buttons all on and put it on her, it was just perfect! I love the looser fit.


I used some polka dot fabric from Riley Blake’s Sunny Happy Skies line (isn’t that an awesome name for a fabric line?)  I don’t think you can ever go wrong with polka dots and they are darling on this shirt.


The shirt has pockets in the side seams which Em was excited to find.  She is always looking of pockets in her clothing and is usually pretty upset if she doesn’t find any…this girl needs somewhere to store her rocks :)


All of Willow & Co’s new pattern line will be released next week, make sure you check it out, they have some really great stuff!  


Apr 16, 2014

Fawn Lily Tunic

Today I am sharing the third of four patterns I tested for Willow & Co (you can catch the first two here and here if you missed them).  This is the Fawn Lily tunic designed by Rebecca from Rock the Stitch and man is it cute!


This tunic has a really unique design; I have never seen anything quite like it before.  It has a really cool crossover yoke that eliminates the need for any type of closures, so no button holes to sew or zippers to install…awesome!
It also has a pretty unique construction and you end up with no exposed seams on the sleeves. 


I used some hounds tooth fabric from Michael Millers Bella Butterfly line that I have been hanging on to for about a year along with the fabric I used in my Persimmon dress.  It felt good to finally use it and I just love how it looks on this top.  I paired it with a solid blue I picked up at Joann’s


This pattern also comes with a dress option, I decided to go with the tunic because I have been making Em so many dresses lately, and it was nice to add a top to her wardrobe.  There are also options for a gathered skirt or pleated skirt and options for a button yole and pleated sleeves.


I have one more Willow & Co pattern I tested to share with you tomorrow so swing by and check it out!

Apr 15, 2014

The Persimmon Dress

Today I am sharing another pattern from Willow &Co.  Yesterday I shared the shorts I sewed from the Clover Shorts pattern, and today I am sharing another one of Hayley's patterns, the Persimmon Dress and Top.


I sewed this dress with some fabrics from Michael Millers Out to Sea line.  I have had these two fabrics in my stash for about a year now and I could never find a pattern where I thought the two looked good together, but I finally found it!


This dress has such a sweet, simple design.  I am not usually a big fan of ruffles but I really like the little ruffle detail on the sides of this one, it is just the right amount of ruffle. 


I think it’s a perfect summer dress, sweet and girly!  This pattern will be released next week with the rest of Willow & Co's new collection

LinkWithin

Related Posts Plugin for WordPress, Blogger...
I love reading all of your comments! Please make sure your blogger profile is linked to your email, so I can respond to your questions via email, otherwise I won't be able to email you back!

Please feel free to email me(stitchedbycrystal@gmail.com).

Thank you so much for reading! I If you like what you have seen here make sure become a follower of my blog so you can catch all my updates!!