Oct 22, 2013

Halloween Costumes 2013: Fireman Coat

This is the other half of A's Halloween costume (you can fin the pants HERE).  This was originally posted over on Pattern Revolution earlier this month.


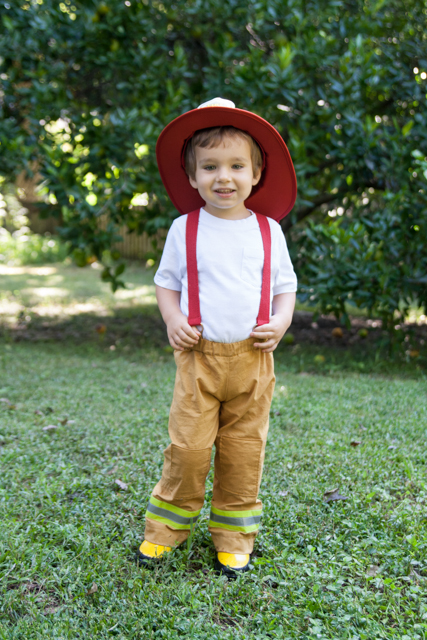
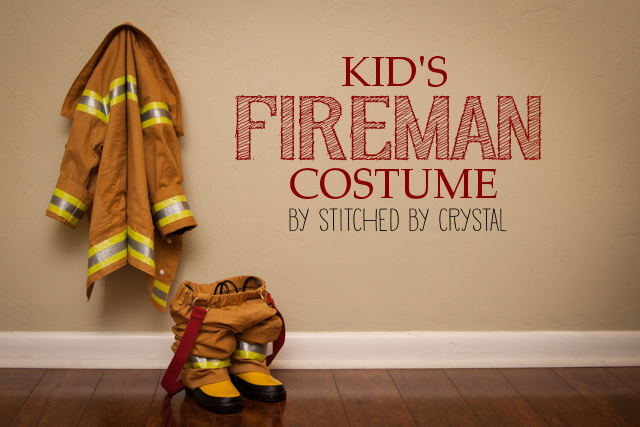
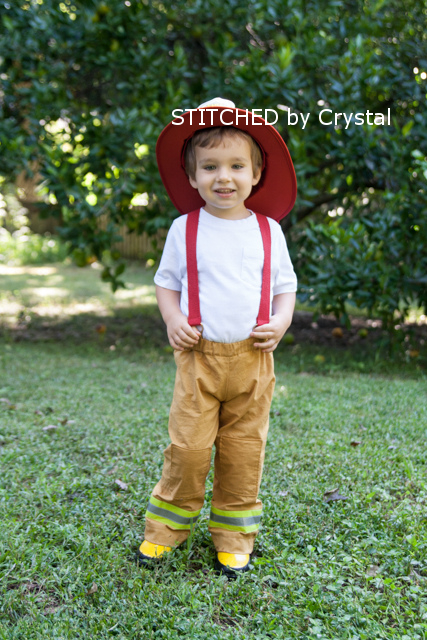
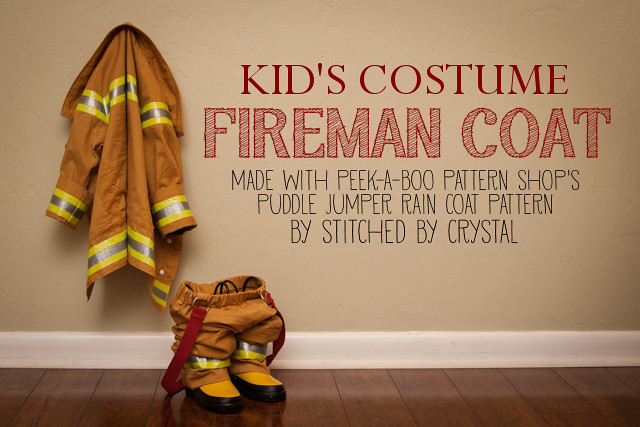
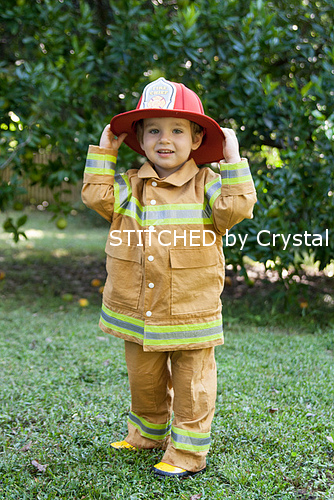
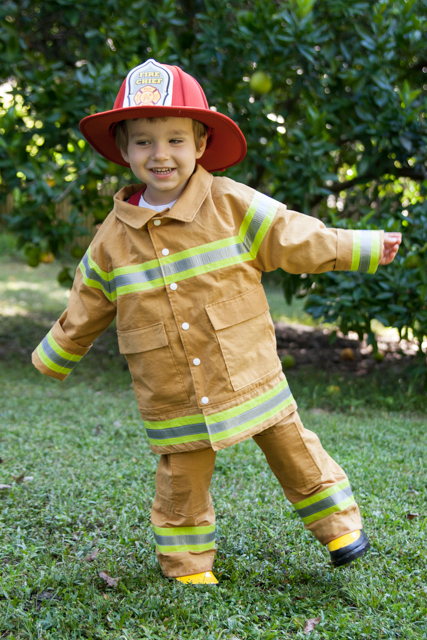
I love making costumes.  Costumes are probably my favorite thing to sew, I love the fantasy of costumes and the chance to go a little over the top. I think this fireman costume is pretty awesome!


I started with the Puddle Jumper Rain Coat pattern from Peek-a-boo Pattern shop because it was the right shape for a fireman coat and I liked the big square pockets.  With just a few simple modifications the rain coat was transformed into a fireman's coat.


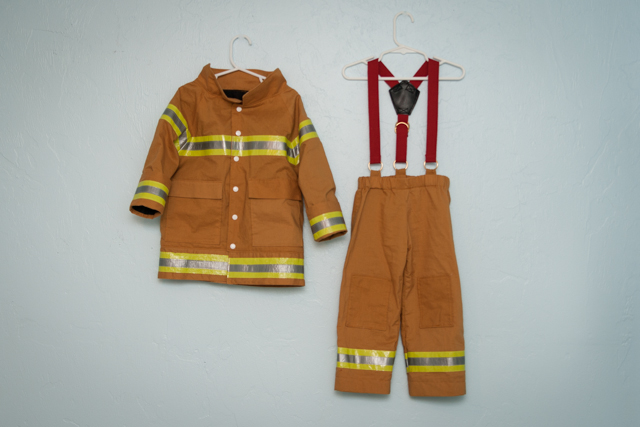
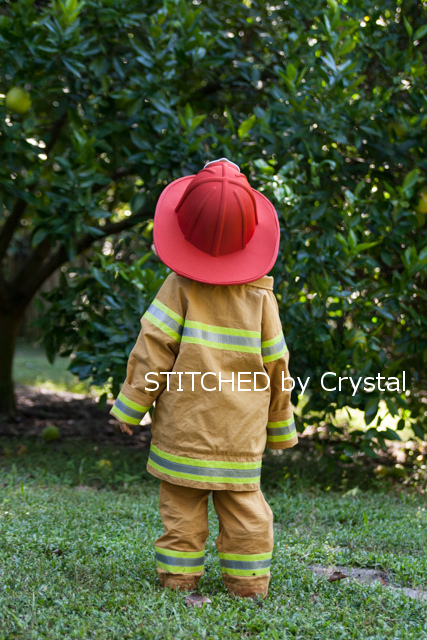
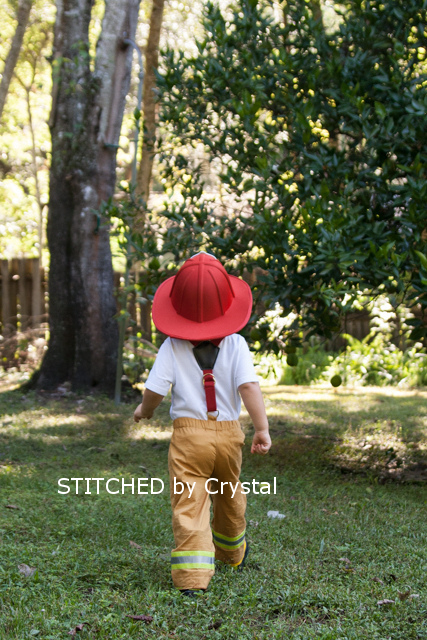
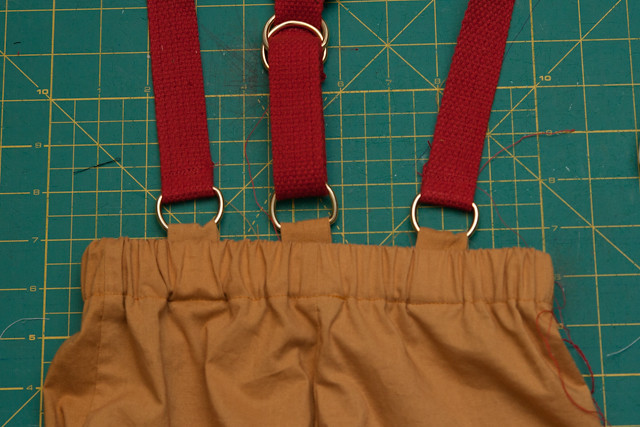
My son is really into firemen these days and I wanted him to be able to use this costume for pretend play for years after this Halloween was over so I made the coat in a size up and rolled up the sleeves.  I also made him some bunker pants (you can get the details on those HERE).  I made the pants with some extra length in the hem I can let out as he grows and adjustable suspenders so they should grow with him for a while.


I used the Puddle Jumper pattern and cut out all the pieces according to the pattern except I skipped the hood and hood binding.

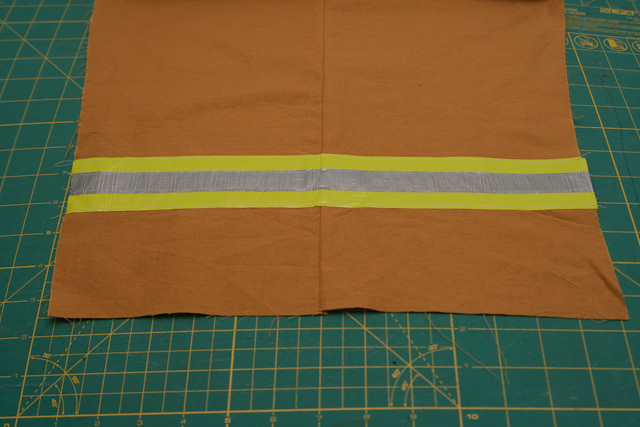
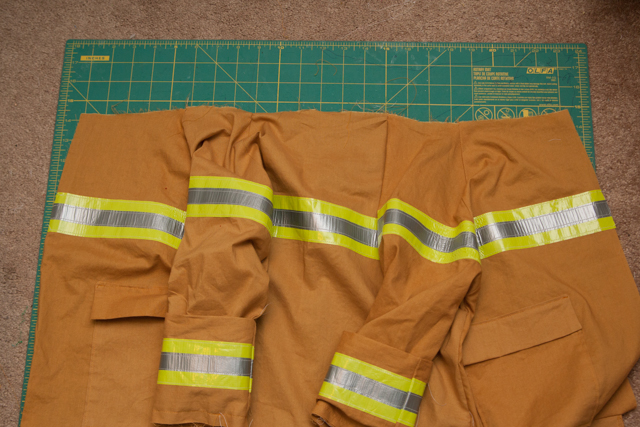
Next I added my reflective tape (AKA duct tape).  You can buy an iron on reflective tape but my local craft store doesn't carry it, duct tape was both cheaper and more accessible so I went with that.  I ended up finding this perfect yellow tape at K-Mart.

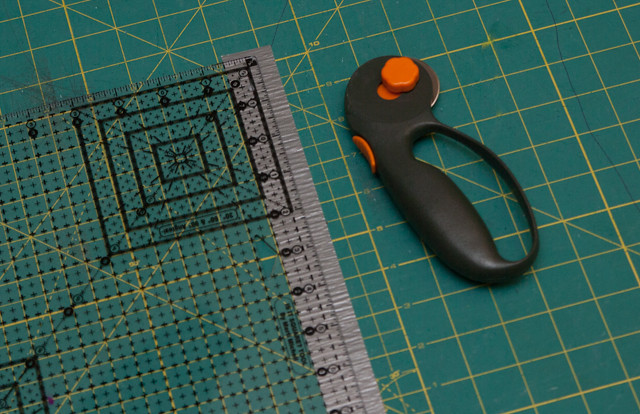
I started with the cuffs.  I folded the cuffs in half and put my yellow tape about 1/2" from the fold.  Then I cut a piece of silver so it was 3/4" wide and put that in the middle.  I found it was easiest to stick the tape on my self healing mat and use my rotary cutter to cut it, it doesn't stick to the mat well so it was easy to get up.

Next I flipped the cuff over and put tape on the other side too.  I knew I would be rolling the sleeves since I was making a size big and wanted the tape to show with the sleeves rolled, but also show when he grows and they aren't rolled.  So I ended up with two rows of tape about 1" apart on both cuff pieces.


Then I repeated the process with the bottom band piece.  I folded it in half and placed my tape about 1/2" from the fold.


To add the tape to the jacket, I started with the sleeves and put the tape about 1" above the corner where the armpit will be.  Then I added it to both front pieces and the back piece, making sure it  was even with the tape on the sleeves.


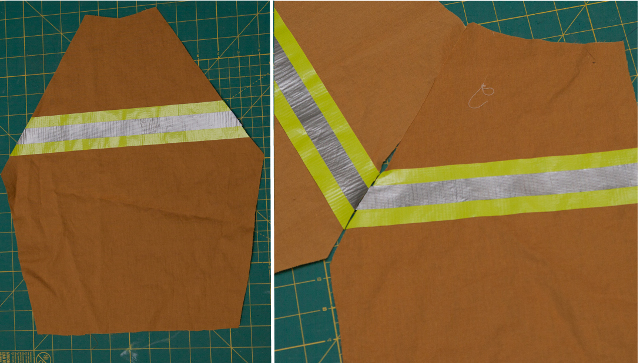
I sewed all the edges of the duct tape down.  Sewing the tape was not as tricky as I thought it might be.  It did gum up my needle a bit, I wiped it down with rubbing alcohol occasionally while I was sewing and then changed my needle when I was done.


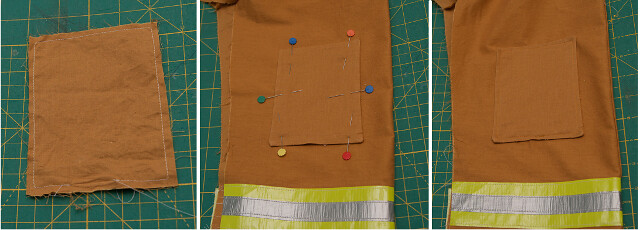
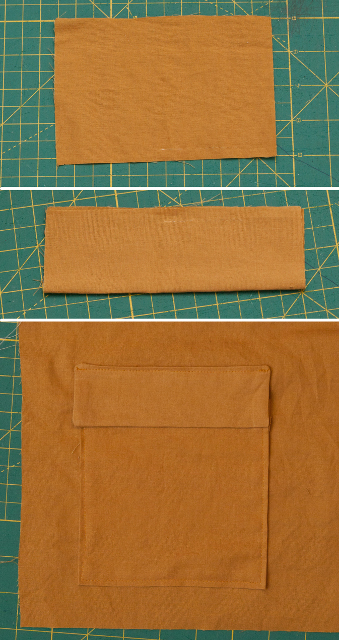
I added the pockets to the front pieces of the coat according to the pattern instructions.  I made the flaps over the pockets by cutting two rectangles that were as wide as my pocket pieces and 4" long (for the 4/5 size coat they were 6" x 4").  I folded the rectangles and sewed around the edges, leaving a small opening on the top for turning.  I turned, pressed and top-stitched the flaps over the pockets with the folded edge at the bottom and the hole at the top so it would get closed up when I top stitched.


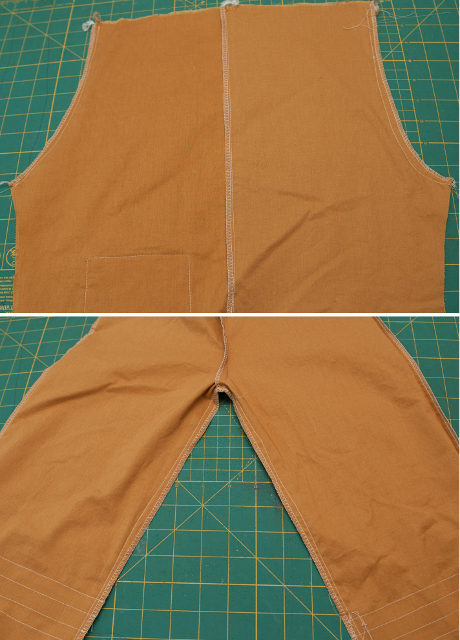
I sewed the jacket pieces and lining pieces according to the pattern. Be careful when you are sewing that you do not iron your duct tape!  If you need to iron anywhere there is duct tape use a pressing cloth, duct tape will melt without it!

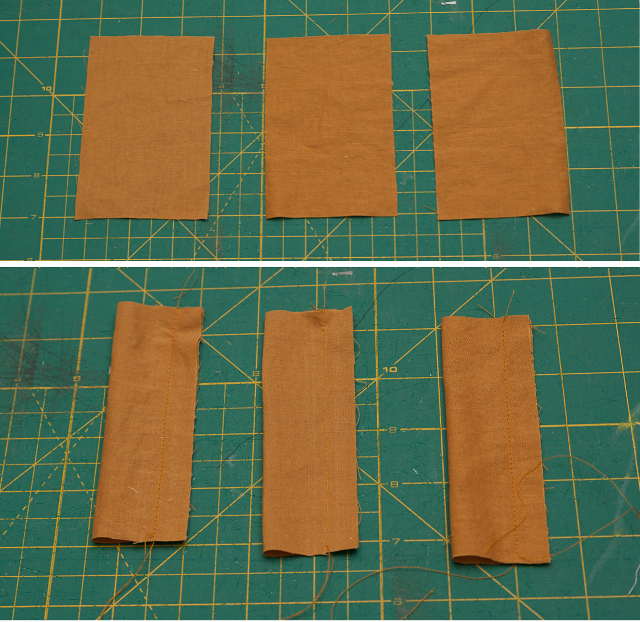
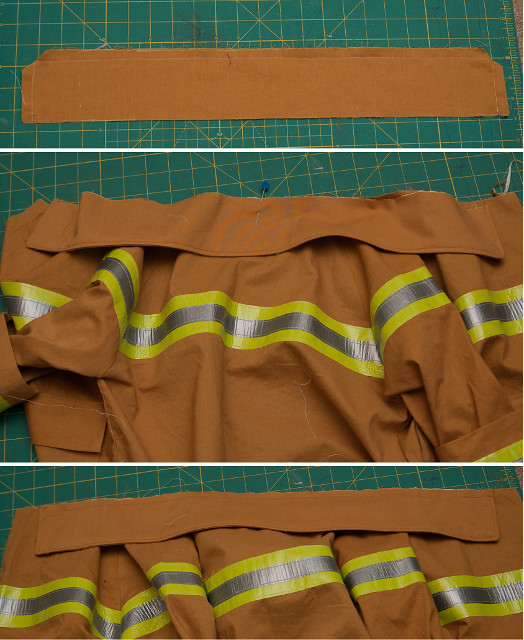
Once I had the outer coat and lining done but not sewn together, I made my collar.  I measured the length of the neck opening of the jacket.


I cut two rectangles for my collar 1" smaller then the opening and 3" wide (22" x 3" for size 4/5).  Iron interfacing to one of the rectangle then sew along three sides, leaving one long side open.  Clip the corners, turn the collar right side out and press.  Top stitch along the 3 finished edges.

Find the middle of the collar and the center back of the coat.  Pin the collar to the right side of the coat, starting in the middle and working out.  Baste the collar to the coat.


Attach the lining, finish the sleeves and add the snaps according to the pattern.


Make sure to check out how I made these adorable bunker pants HERE!

Oct 21, 2013

SYTYC Halloween Challenge

It is Halloween week over at SYTYC!  It is just me, Airean, and Lynda left and they are both fabulous, it is going to be super close!  Last week there was only one vote separating 1st and 2nd place and I wouldn't be surprised if it comes down to one vote this week. So make sure you head over and vote!


Oct 19, 2013

Pattern Testing - The Norah Dress

Did you see the results from the pumpkin challenge over at SYTYC?  Did you guess the pumpkin patch dress was mine?  I just squeezed by with third place, whew!  There is only one week left before the finals, it is Halloween themed and I am guessing it will be another close one. 


I had the awesome opportunity to test the Norah Dress by Mouse House Creations this past week.  This will be Hayley's first PDF pattern for sale and it is a good one!


The pattern should be released on Monday.  Hayley was awesome to work with, she really put a lot of time into getting this pattern perfect.


The dress has tons of options, you can do tunic length or dress length, collar and ties, just the collar, or plain with no collar at all, and it has three options for sleeves, long, short, or sleeveless.  I love the little collar!


The fabric I used for the dress is Pretty Little Things by Dena Designs for Free Spirit and the collar is country cotton from Joanns. 


I love how this little dress turned out, I am sure I will use this pattern again and again!

Oct 7, 2013

SYTYC Week 6

I am excited to say it is past the half way mark in season 17 of So You Think You're Crafty and I am still in the competition!  In fact, I had my third win last week with my rainbow baby quilt!

This week the challenge is fall crafts for kids and the projects all look great again.  There are only five contestants left so it will be close.  Make sure you head over and vote for your favorite 2 projects!

Oct 3, 2013

Halloween Costumes 2013: Fireman

Did you see the cute fireman coat I made and shared over on Pattern Revolution today?  I am sharing the other half of that costume, the bunker pants, here today!


My son begged me to make him a fireman costume this year.  At first I was bummed because I had been thinking about costumes for a while and had come up with some ideas I was so excited about.  But he was pretty persistent and I am glad he was.  I had so much fun with this costume and it was fun to be challenged a bit to design costume he wanted.


And boy does he love it!  He is really into firemen lately and his face just lit up when he saw his new fireman suit.


The coat was made using Peek-a-boo Pattern Shop's Puddle Jumper Rain Coat pattern, you can find instructions for modifying it over on pattern revolution today.


I drafted a pattern for the pants using a pair of pants my son already owns.  You could use any basic elastic waist pants pattern or get tips on drafting your own HERE (that link is for shorts, but same concept, you would just make them longer).


To make these pants, you need around 1 yard of fabric, 5 D rings, 1" elastic, 1 1/2 yards of red strapping and a small piece of faux leather.


Cut out your pattern pieces and sew the pant legs together at the side seams.  Add some yellow reflective tape (yellow duct tape) about 3"-4" from the bottom.  Then cut a piece of silver tape so it is 3/4" wide and add the on top of the yellow.


I found it was easiest to cut the tape on my self healing mat using my rotary cutter, the tape doesn't stick to the mat well so it is easy to get off. After placing your tape, sew along the edges of the tape.


Add knee patched to the front of the pants by cutting 4 rectangles, sew two right sides together leaving a small hole for turning.  Turn, press, and top stitch them to the knees of the pants.


Next sew the crotch and inseam of the pants.


Cut 3 rectangles, fold them in half and sew along the edge.  Turn them right side out.


Loop them around a D ring.  Sew 2 of the loops to the front and one to the center back.  You want the raw edges lined up with the raw edges at the top of the pants.  Stitch them down 1/2" from the edge and also 1 3/4" from the edge.


Fold the top of the pants down 1/2" then again where the loops are sewn.  Sew along the folded edge to create a casing for your elastic, leaving a small opening towards the back.  The raw edges of the loops should all be encased in the elastic casing.


Add your elastic and sew the hole closed and hem the pants.

Cut about 10" of your red strap.  Add fray check to one end to keep it from unraveling.  Loop the end around your last 2 D rings and sew in place.


Feed the other end of the strap down through the D ring at the back of the pants and back up, through both D rings at the top then back through one D ring.


Cut the leather into 2 pentagon shapes.


Place one pentagon behind the red strap and sew the end of the strap down with a box stitch.  Cut the rest of your red strap in half and attach both pieces to the top with a box stitch.  Place the other pentagon on top sandwiching the raw ends in between and top stitch around the edge.


Try the pants on your child to determine how long the suspenders need to be.  Make sure the back is adjusted to the smallest setting so they can be made larger as your fireman grows.  Mark how long they need to be and sew them to the front D rings.


You can find all the details on the coat HERE!


Oct 1, 2013

Reversible Fall Leaves Pillow tutorial on SYTYC

Did you see I won last weeks fall decor challenge over at SYTYC?  The tutorial for my reversible pillow is up today, you can find it HERE.

I had a really hard time with the fall decor challenge, I had no idea what I was going to make until just before the project was due!  But I was really excited about what I came up with and I am glad all the voters liked it too!

LinkWithin

Related Posts Plugin for WordPress, Blogger...
I love reading all of your comments! Please make sure your blogger profile is linked to your email, so I can respond to your questions via email, otherwise I won't be able to email you back!

Please feel free to email me(stitchedbycrystal@gmail.com).

Thank you so much for reading! I If you like what you have seen here make sure become a follower of my blog so you can catch all my updates!!