It is so rewarding to see the things your dream up come together while you are sewing. It is 1000 times more rewarding when your kids really love the things you sew. This is one of the things.
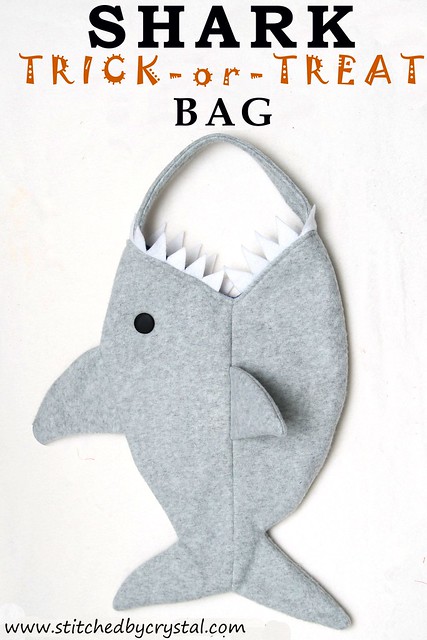
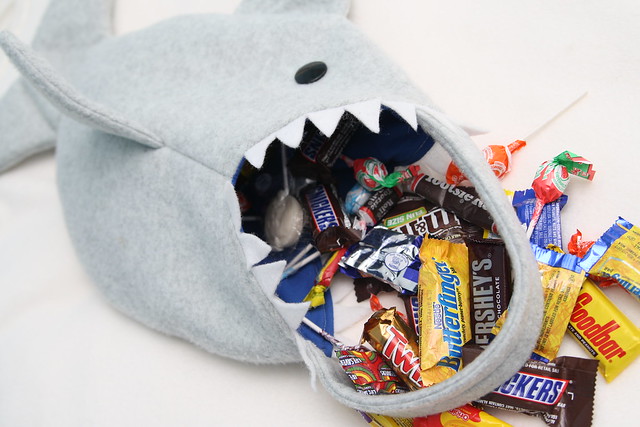
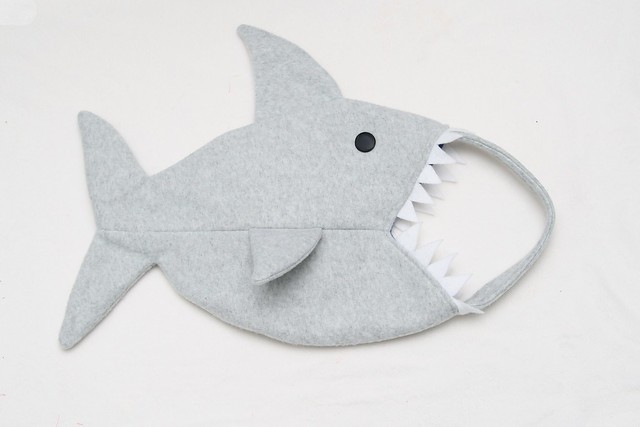
I wanted to make my son a trick-or-treat bag for his first year trick-or-treating. I decided on a shark to go with his pirate costume. I sewed this bag one morning last week before he got up. When I showed it to him after breakfast, his eyes got huge and he yelled "woah!" He is totally in love with this shark bag! And he filled it to the brim on Halloween night.
This bag hasn't just been a hit with my son, while we were out trick-or-treating I heard a lot of "I love that shark bag" and "what a cool trick-or-treat bag". So I decided I needed to come up with a tutorial to share it.
This bag was great for trick-or-treating, but it would be awesome for anytime of year really, A is still having a blast with his. It is such a fun little bag!
If you want to make your own you will need:
1/2 yard of gray fleece
1/2 yard of iron on interfacing
1/4 yard of fabric for lining
1 sheet of felt for the teeth
2 black buttons for eyes
sewing machine
Shark bag pattern you can find HERE
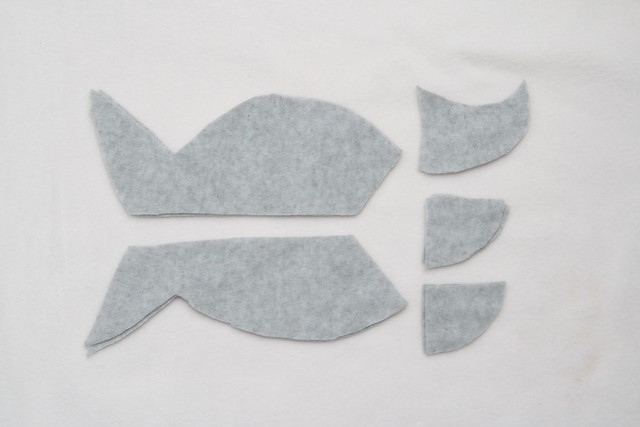
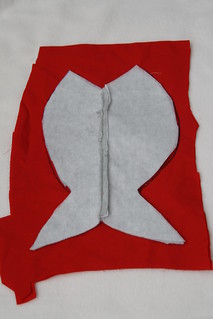
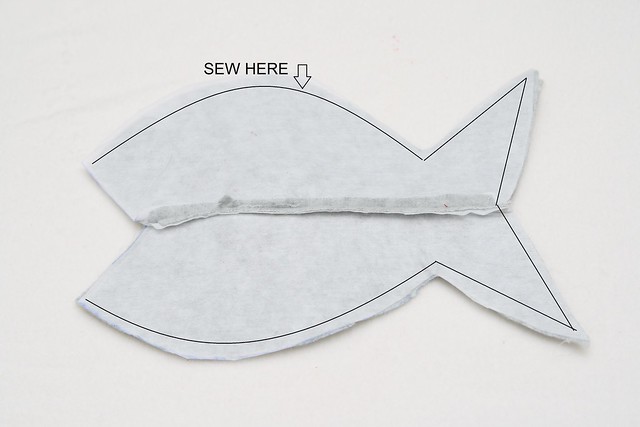
First print out the pattern. Tape the body and tail pieces together where they are labeled on the pattern. Then cut out your fabric pieces and interfacing pieces.
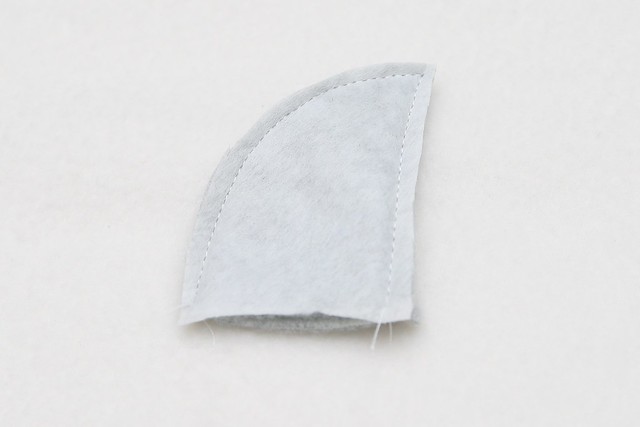
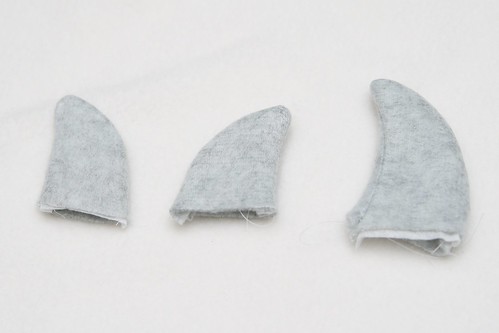
Iron your interfacing to the back of your shark pieces. Put your fin pieces right sides together and sew them together along the sides.
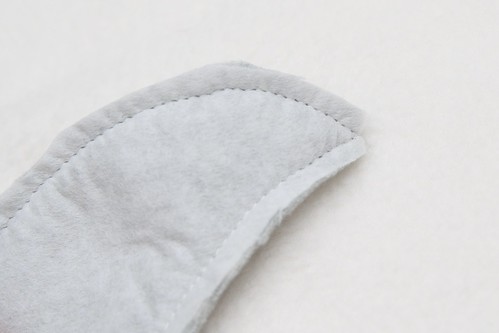
Clip the corner close to the seam. Turn the fins right side out and press them.
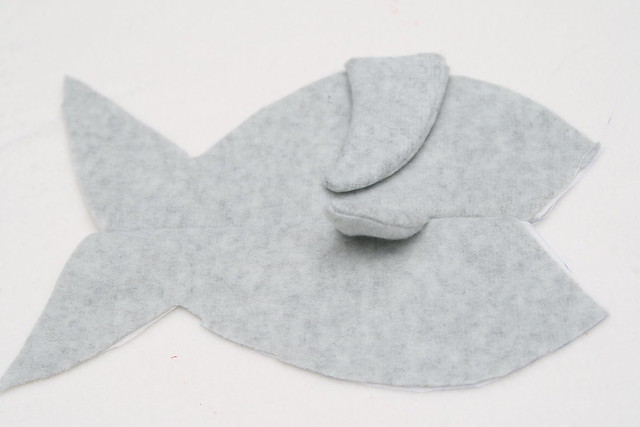
Line one of the side fins up where you want it along the right side of one of your shark part 1 pieces.
Place the shark part 2 on top (right sides together) so the fin is sandwiched in between. Pin along the flat side and sew them together. Repeat with your other side (make sure your fin is in the same spot on this side). Press the seams open.
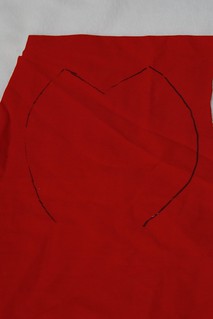
Trace around the the shark on your lining fabric. Don't trace around his tail. Cut out two lining pieces cutting straight across where the shark tail is.
Line up your top fin where you want it on your shark (shark part 2 is the top of the shark).
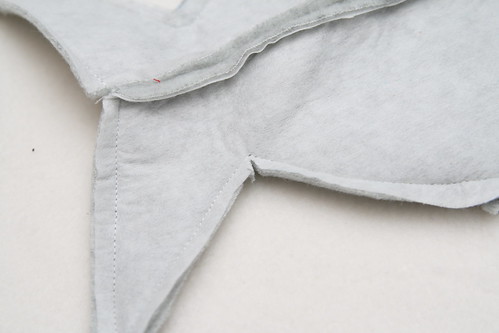
Sandwich the top fin between the 2 shark sides, pin the sides together, sew around the shark leaving his mouth open.
Clip the points on the tail close to the seam and clip the angle where the tail meets the body.
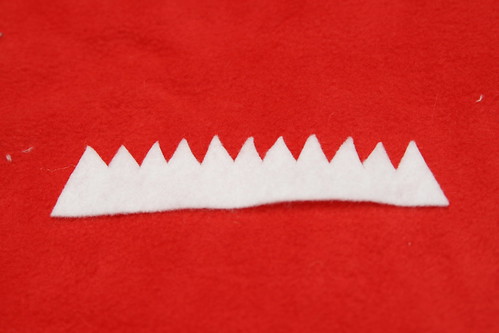
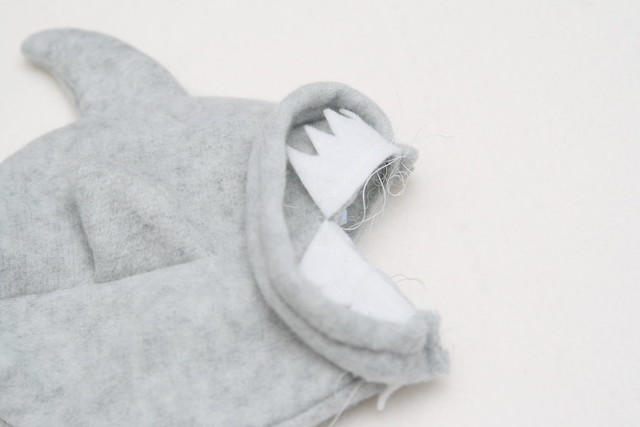
Cut 2 pieces of felt that are 11" x 2". Cut 1" teeth along one side of the strip.
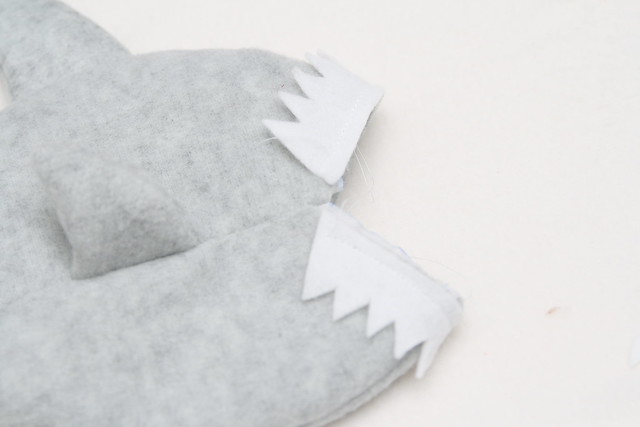
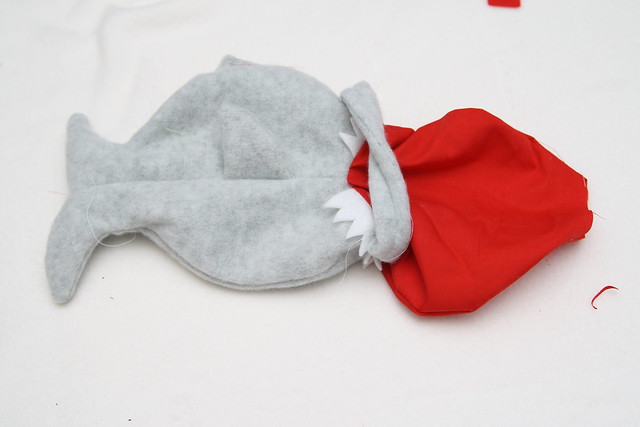
Sew the teeth to the right side of the sharks mouth with the teeth pointing down.
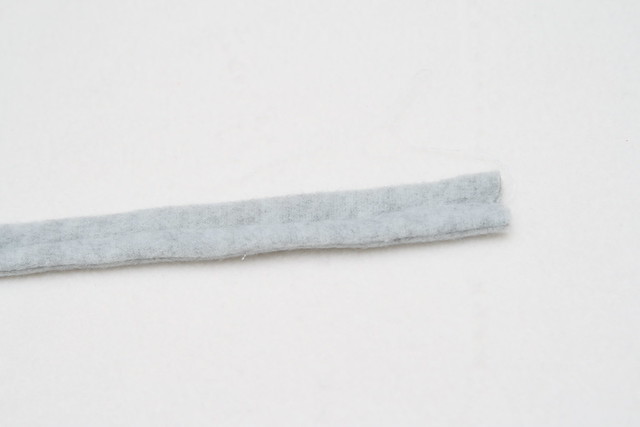
Cut a strip of fleece for the handle that is 3" x 14". Fold it in half and sew along the edge. Turn it right side out and sew down the middle.
Line the edge of the handle up with the edge of the sharks mouth on both sides and baste it in place.
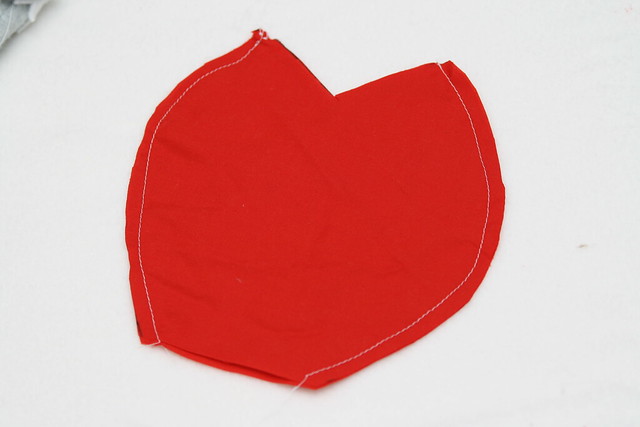
Sew along the sides of your lining pieces, leave the top and bottom open.
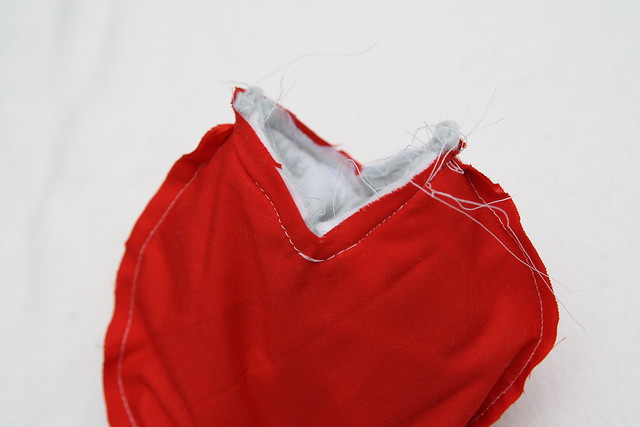
Place your shark right side out inside of your inside out lining. Pin the lining to the sharks mouth then sew it in place.
Turn the bag right side out through the hole in the bottom of the lining.
Sew the lining closed.
Tuck the lining inside the bag and top stitch around the sharks mouth.
Add the button eyes. I use hot glue for mine, way faster and easier than sewing!
That's it! I hope your little one likes this bag as much as mine!