Showing posts with label Christmas. Show all posts

Dec 8, 2015

Pixie Hat Tutorial


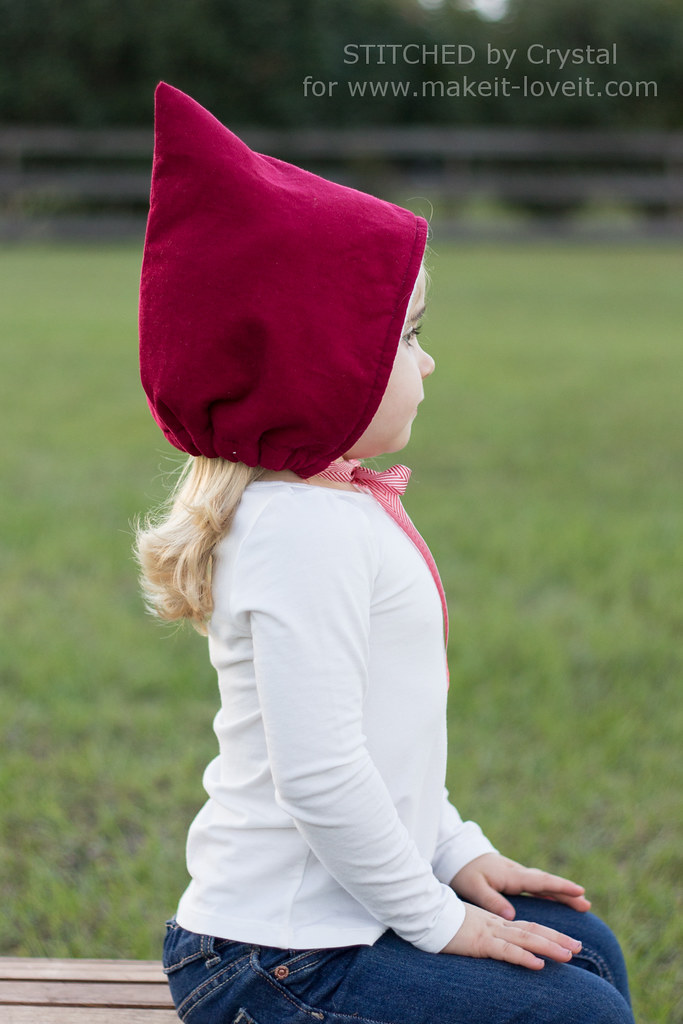
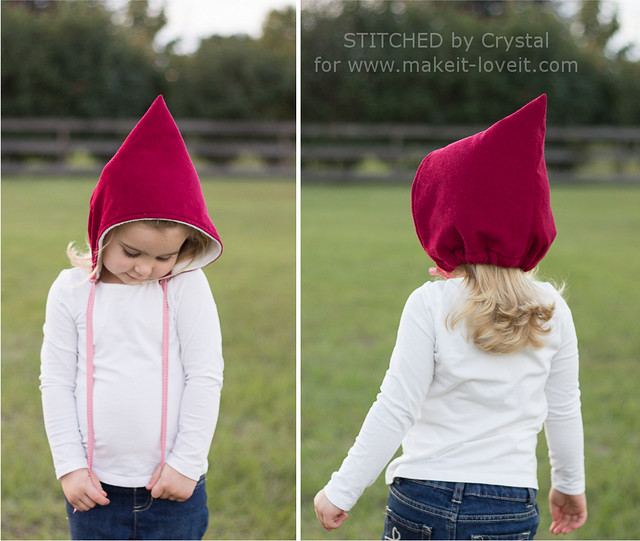
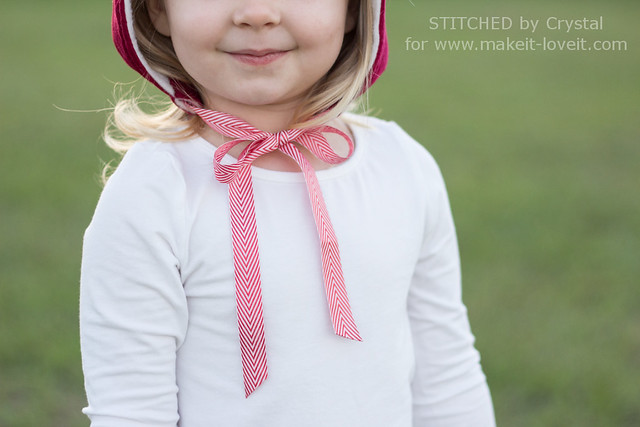
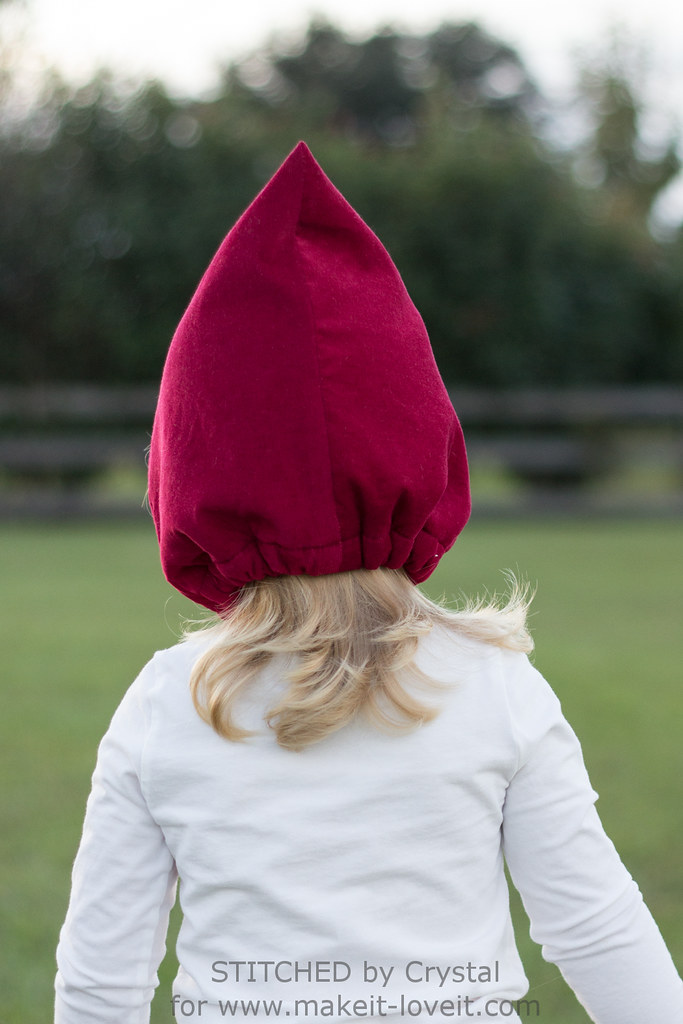
Looking for a quick, easy and adorable hat to sew for your little one this winter?  I am over at Make it & Love it today with a super simple pixie hat tutorial to share!


This hat such an easy sew, you can can finish one in under 30 minutes!  It only takes a couple of straight seams and a hem, so it is perfect for beginners too!


In my tutorial, I show you how to measure your little one and make a hat to fit any size head.  This little whimsical hat is perfect for the holidays...and all winter too!  It can be made with an extra warm lining to keep little heads warm.


Dec 15, 2014

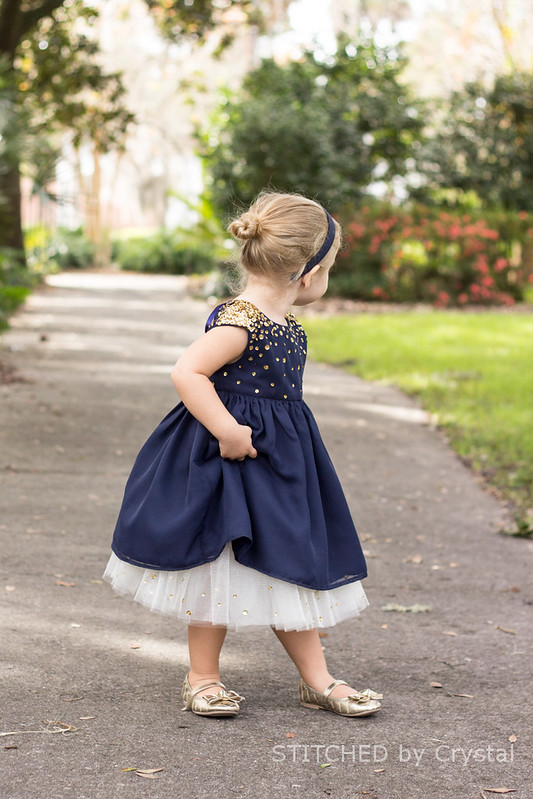
An Over the Top Holiday Dress

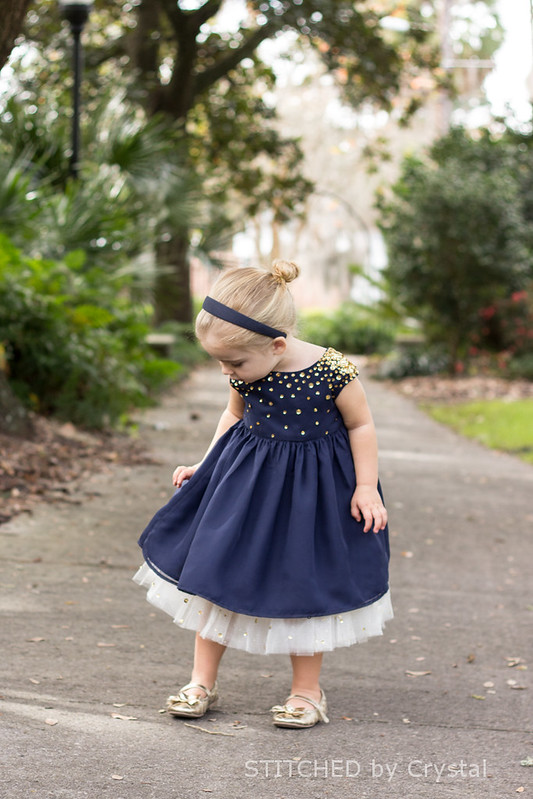
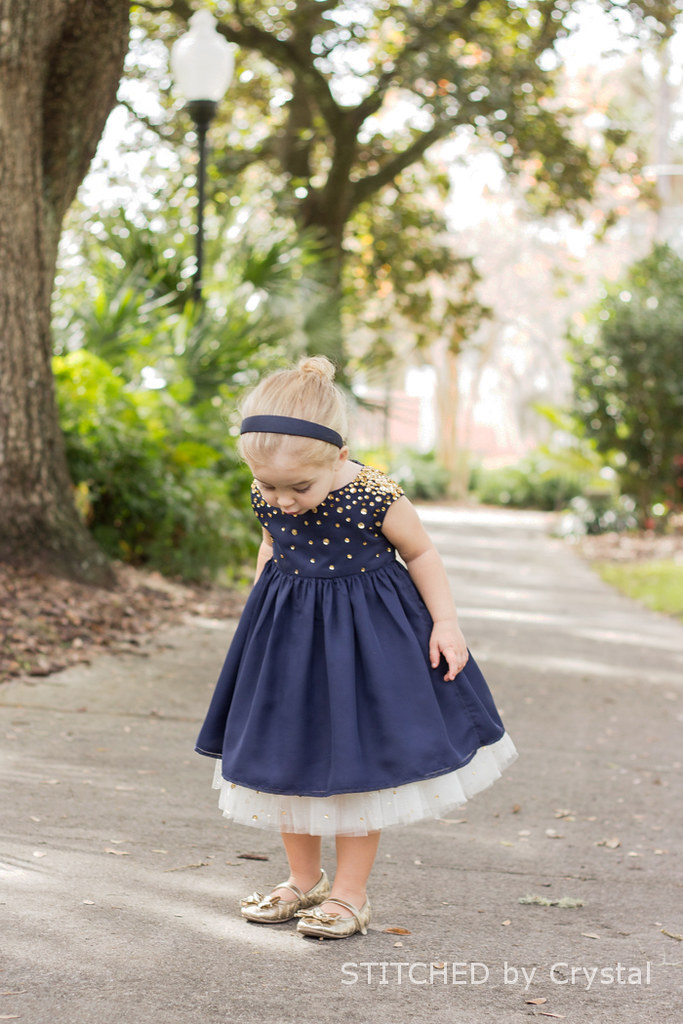
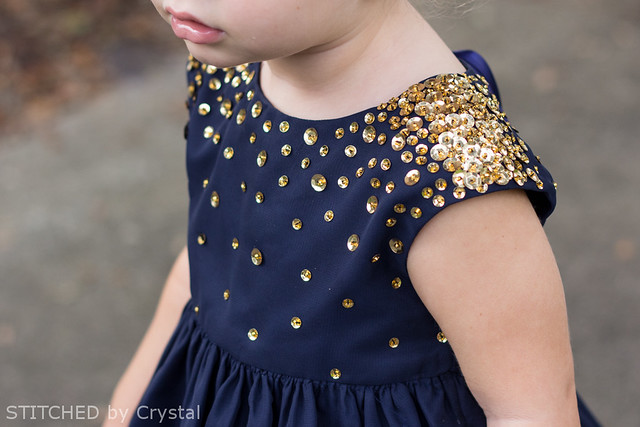
I finished Em's holiday dress!  They had a little competition over at Pattern Revolution, an Over the Top dress competition.  If you follow my blog, you have probably noticed my style is far from over the top!  At first I had decided not to join the OTT challenge, but then I got an itch to sew some sequins.


For this dress, I started with the Caroline Party Dress pattern by Mouse House Creations. I have sewn it before (here and here), it is one of my very favorites. 


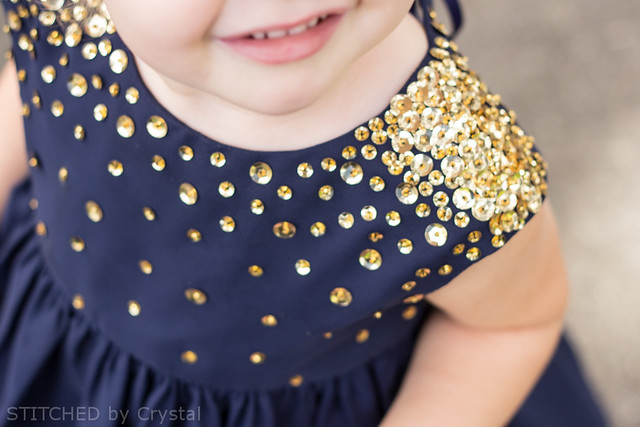
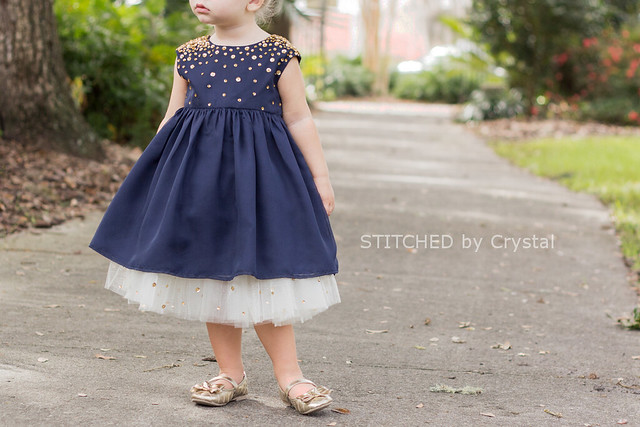
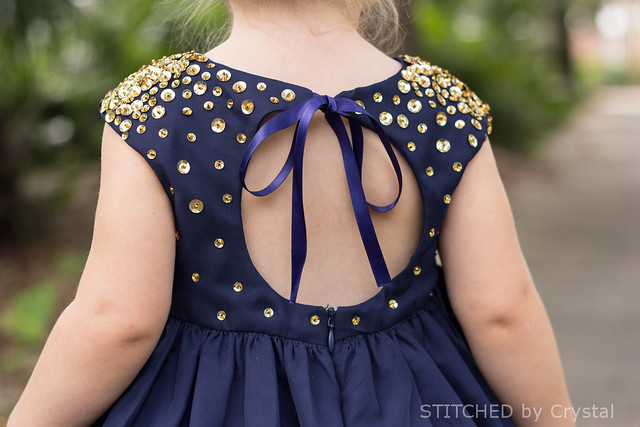
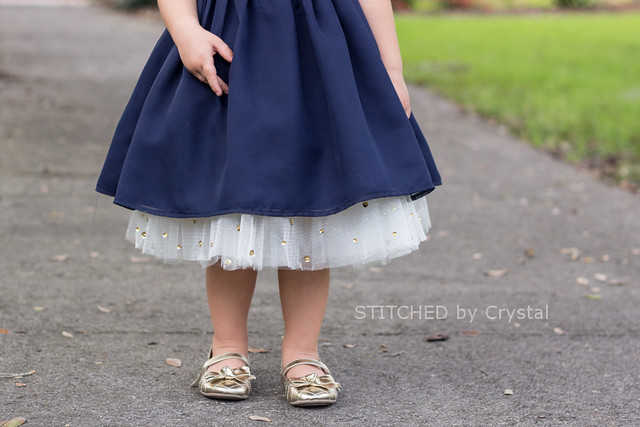
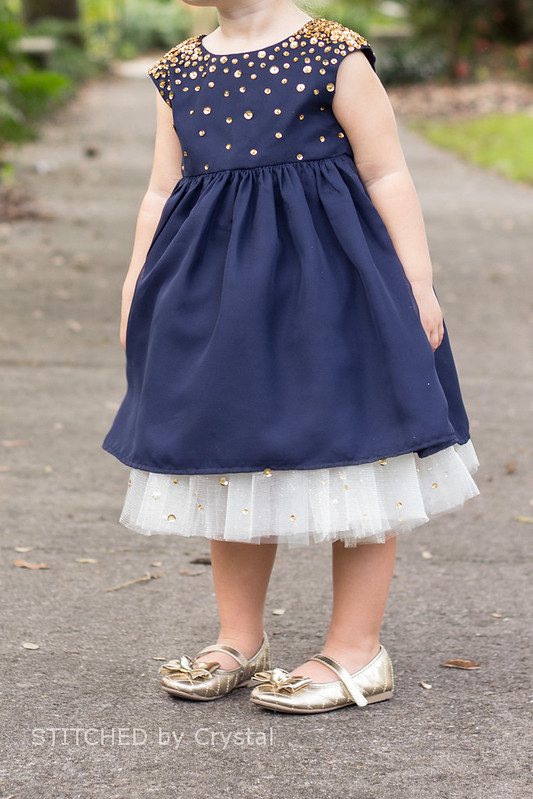
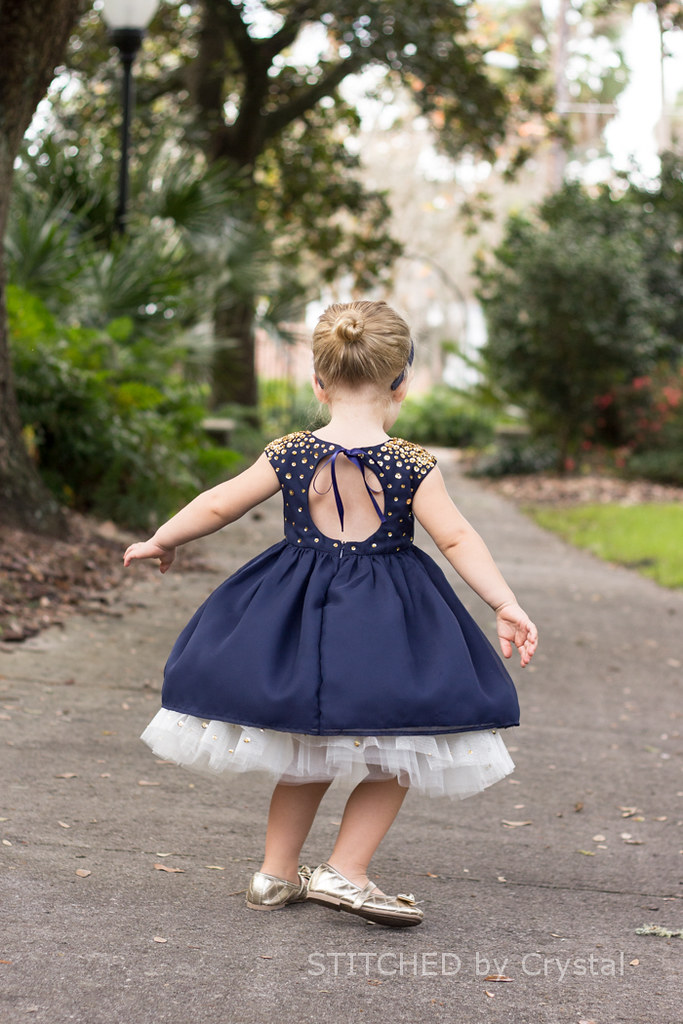
I up the dress with some navy blue chiffon fabric from Joann’s and some navy lining fabric to go under it. I added a big keyhole to the back that ties with a satin ribbon.  Then I hand stitched on some sparkly gold sequins in a cascading design, with the sequins covering the shoulders, and then gradually spreading out towards the bottom of the bodice.


I love the dress without the pettiskirt (and she will probably wear it that way for Christmas).  But I decided it was not quite over the top enough for a competition, so I made a puffy tulle underskirt to go with it.  I used some off white tulle with gold glitter to make the skirt, and then added some of the same sequins I used on the dress to the bottom of the skirt. 


You can see all of the Over the Top contest entries over at Pattern Revolution and you can vote for your favorite.  I am not sure when voting closes but it is still up this morning.  There are some really fabulous dresses, go check them out!


Dec 12, 2014

Baby Sock Snowmen

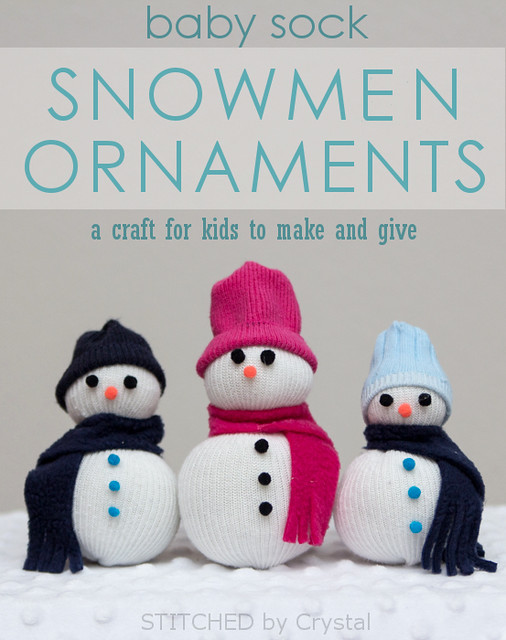
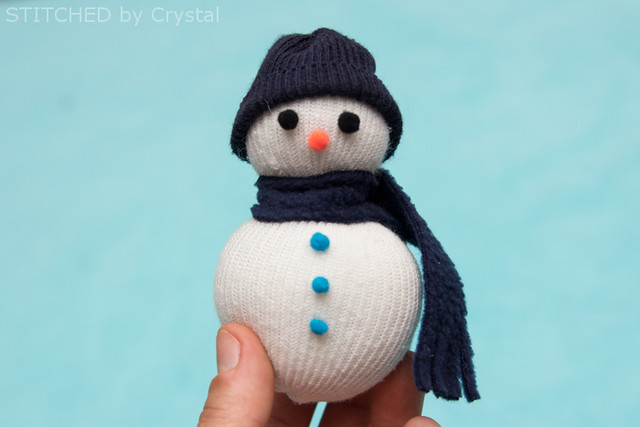
Today I am guest posting over at Paisley Roots.  Karly has a really fun series going called A Giving Christmas.  It is all about teaching kids about giving and getting them in the giving spirit for the holidays.  I was so excited when I got the chance to join in the fun.  My little ones and I made some cute little snowmen out of their baby socks to share. 


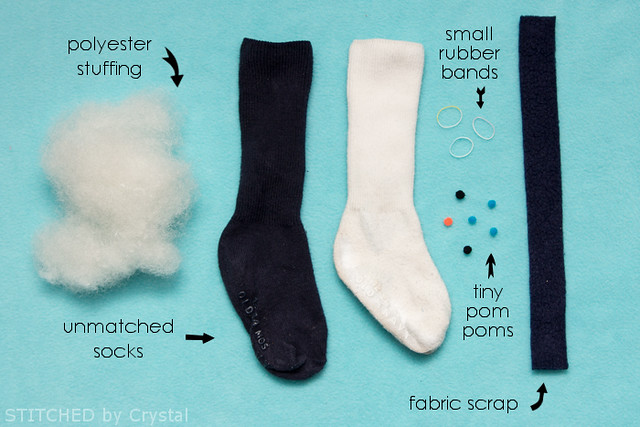
All you need to make these ornaments are some old mismatched or outgrown socks and some craft supplies you may already have lying around!
 

Make sure you head over to Paisley Roots to read all about our snowmen and get the details on how to make them.  And then poke around a bit, there are some really fun ideas in the series and Karly's blog is full of great stuff!


Dec 1, 2014

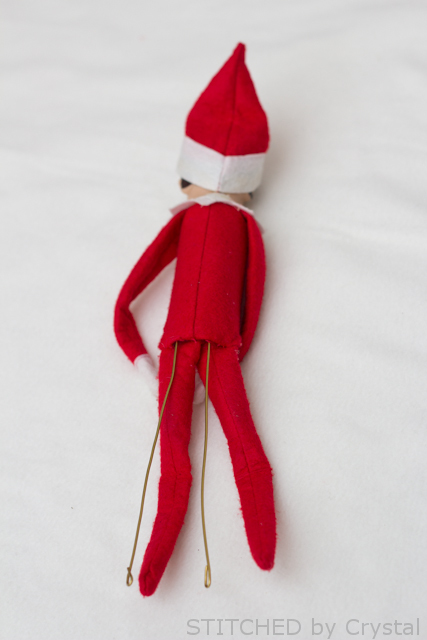
Tutorial: Add Wire to an Elf on the Shelf

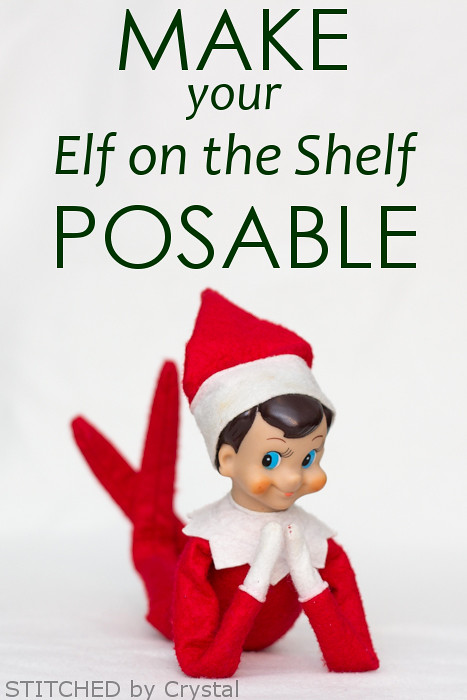
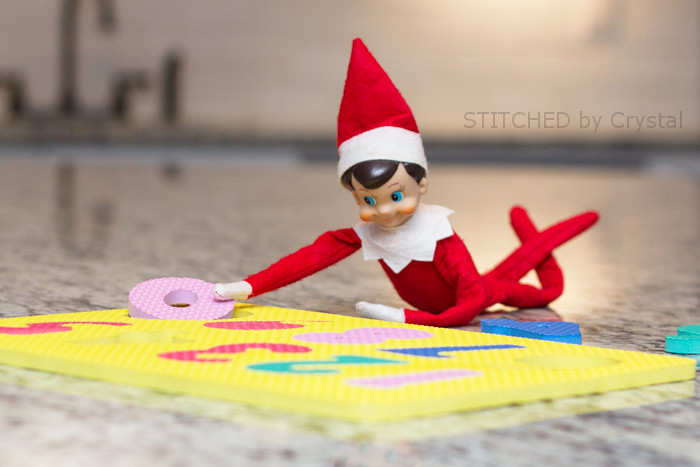
Do you have an Elf on the Shelf in your house?  We have had Larry visiting us for a few years now, the kids get a kick out of him and I have a lot of fun with him too!  When I first pulled him out of the box a few years ago, I was a bit disappointed to find he was a floppy elf that you couldn't bend and pose into all those cute ideas you see on Pinterest.  So this year, I did a little elf surgery to make Larry posable!


This elf upgrade is really easy, only costs a few bucks, and takes maybe 20 minutes.  It will have your floppy, unposable elf doing yoga in no time!


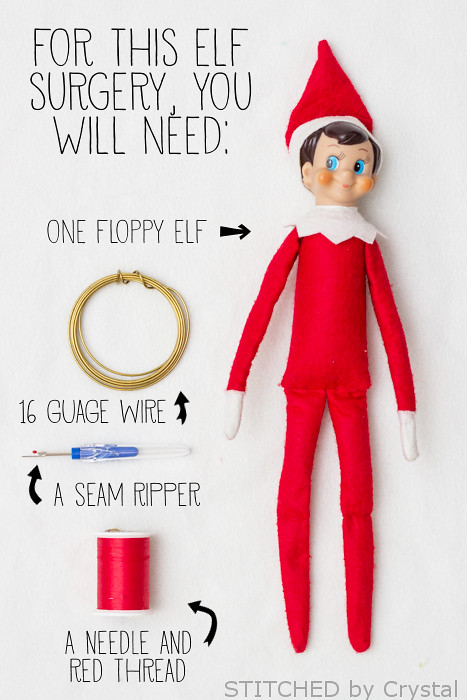
To upgrade your elf, all you need is some wire (I picked mine up in the craft section of Walmart), needle and thread, and a seam ripper...


Start by lifting one of the elf's arms and carefully removing the stitches in his armpit.


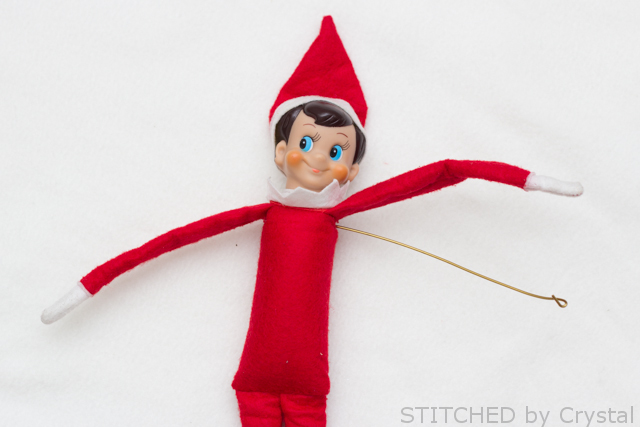
Cut 12" of wire and fold back the very ends of the wire on both sides as shown below.


Push one end of the wire into the elf's armpit.  You will feel the bottom of his head inside, push the wire behind his head and into the other arm.  Feed the wire all the way in so the wire ends at his opposite hand.


Bend the wire so you can feed the other end into his arm.  Feed the wire all the way to the end of his hand.  


With your red thread, stitch the hole in his armpit closed.  This will be covered by his collar, so don't worry if your stitches aren't perfect, but you want it to be secure.

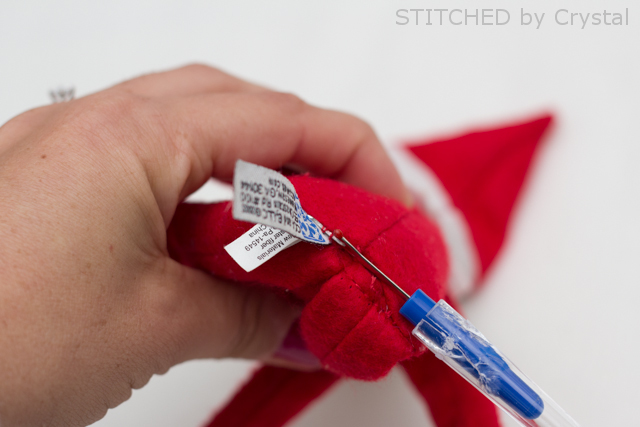
Next carefully remove the seams at the elf's bottom.  I went ahead and took the tag out too, I figured at some point my kids would wonder why he had tags and think maybe he didn't really fly in from the North Pole.  


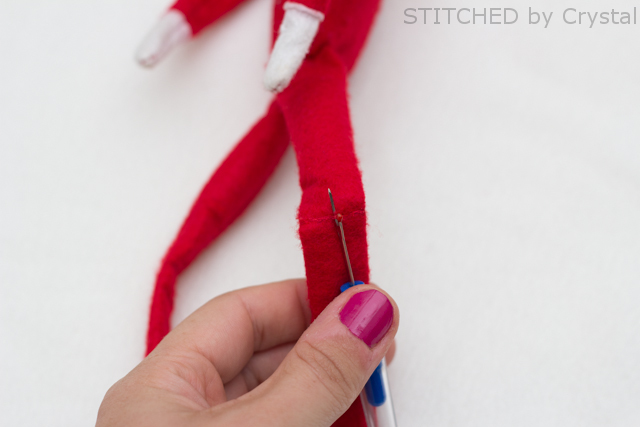
You will also have to rip a few stitches at the top of his legs where they are attached so you can get the wire down inside his legs.


And remove the stitches at his knees.


Cut 20" of wire.  Fold back the very ends of the wire, and then fold the wire in half as shown below.


Insert the fold of the wire into the elf's back.


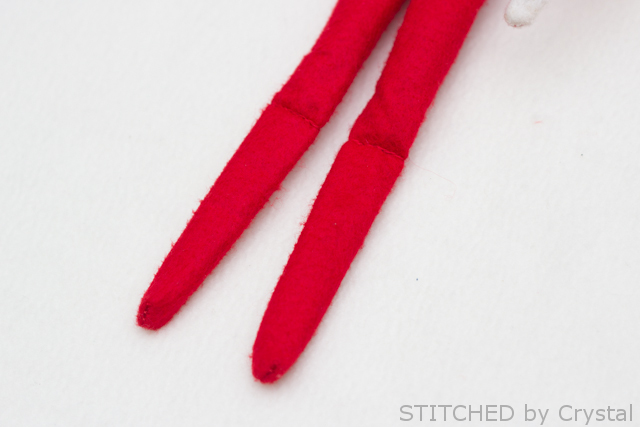
Then bend the wire so you can push the ends into his legs.  Push the ends of the wire all the way to his feet.

With your red thread, stitch the elf's bottom back up.


Re-stitch the elf's knees (you could leave these unsewn if you want)


And your elf surgery is done!  No more floppy Elf!


Dec 18, 2013

Tutorial - Fat Quarter Doll Quilt

Are you still Christmas shopping? I am!  And I am working like crazy to get a few handmade gifts done in the next week too.
Today I have a quick easy project that would make a great gift for a little girl!


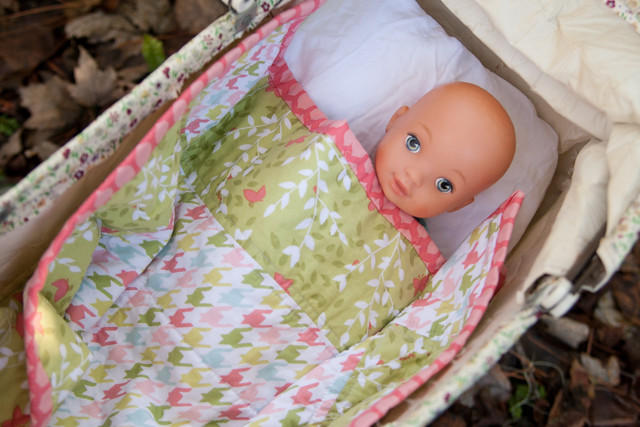
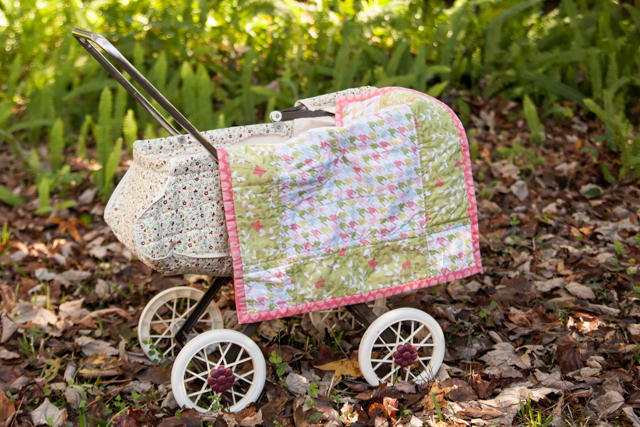
My little E loves baby dolls, she is also very hard to shop for this year since she already has so many age appropriate toys handed down from her big brother.  So I made her this sweet doll quilt that she can use in her baby stroller.


The quilt is all machine sewn and only takes about an hour to make.  The finished quilt measures 17" x 23" so it works for he tiny babies and stuffed animals now but will work well for those bigger 18" dolls too.


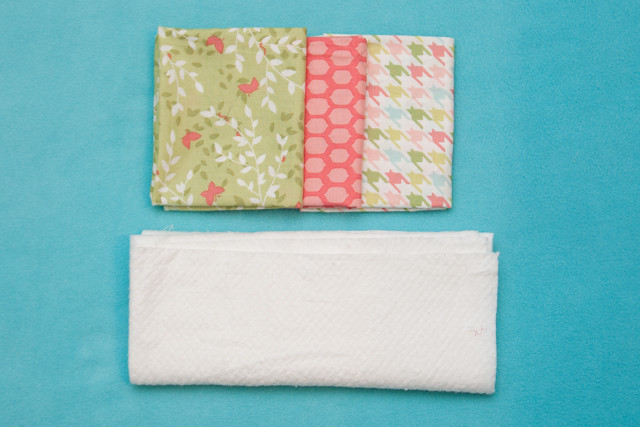
This little quilt is made with only 3 fat quarters and a small piece of quilt batting! (well really 2 and a half fat quarters, so if you have 2 little girls in your life, grab 5 fat quarters and make them each one!)


It is perfect for tucking her babies in at night.


To make this quilt you need:
  • 3 fat quarters OR 2 rectangles of fabric 18" x 24" and one 9" x 24" for the binding
  • 23" x 17" of quilt batting
  • A sewing machine and an hour of time.
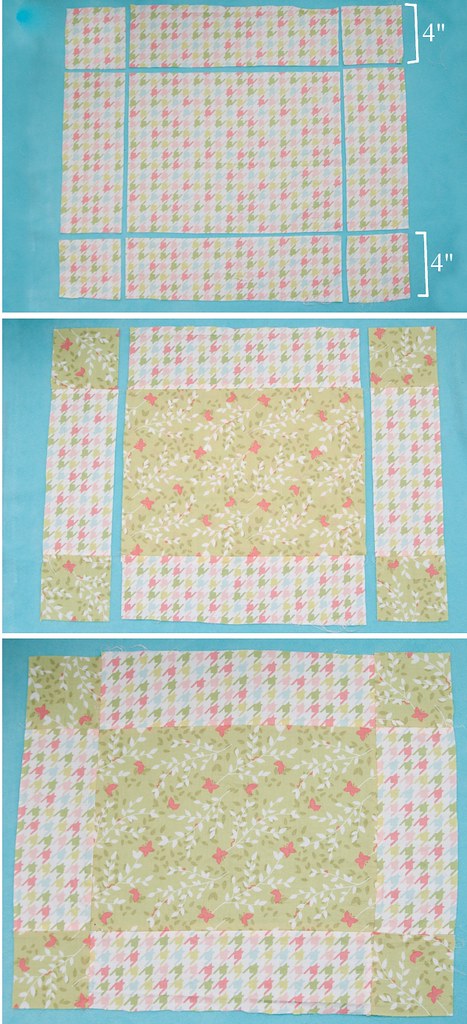
Start by cutting 4" strips off all 4 sides of one of your fat quarters.  Repeat with a second fat quarter.
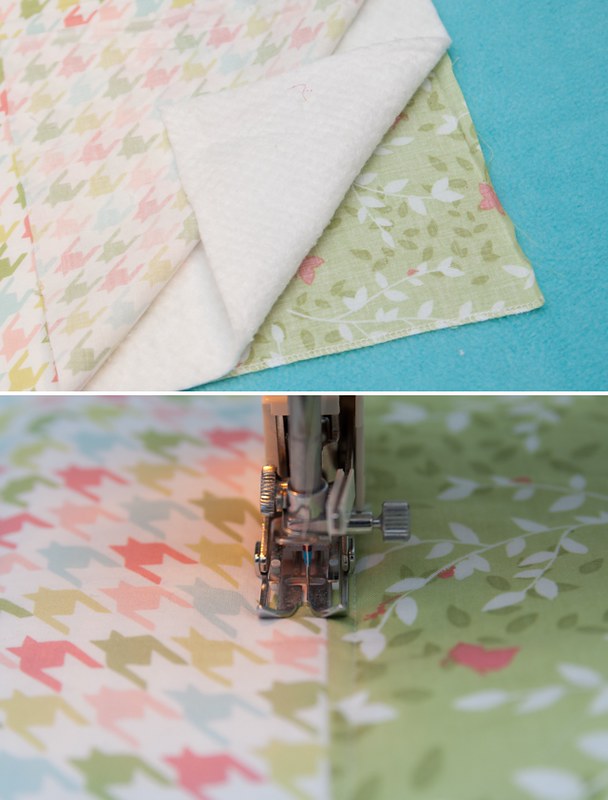
Swap the side pieces from one fat quarter with the other to create an alternating pattern.  Sew the pieces first into strips using a 1/4" seam allowance, then sew the strips together to form the quilt front as shown below.
Repeat with the other pieces to make the quilt back.  (If you are making 2 quilts, you can use both for quilt fronts and use a solid fat quarter for the quilt back, you will just need to trim the extra from the edge before adding the binding)


Sandwich the quilt batting between the quilt front and back, I like to use a basting spray to keep everything in place while I quilt.
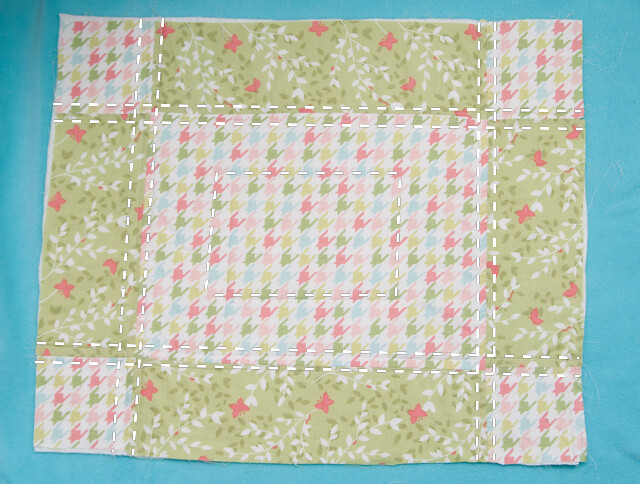
Quilt the blanket by sewing through all three layers. I quilted along all the seams and then made a small rectangle in the middle but you can quit whatever you want.  You can find more information on quilting HERE.


Next we have to bind the quilt.  Because the quilt is so small I chose to do a single binding instead of the double binding I use on bigger quilts.  It is less bulky and lays nicer on the small quilt.
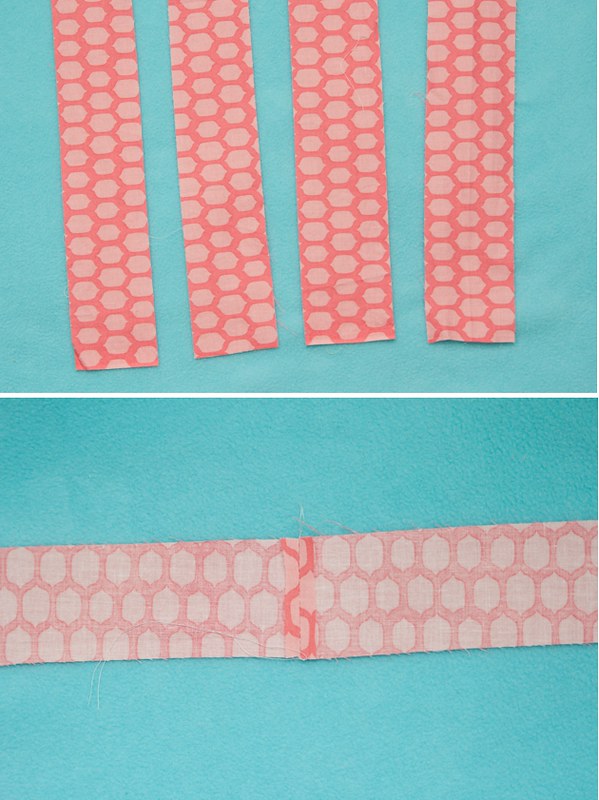
To make the binding, cut 4 strips that are 24" x 2¼" from the third fat quarter.  Sew the ends of the strips together to form one long strip and press the seams open.


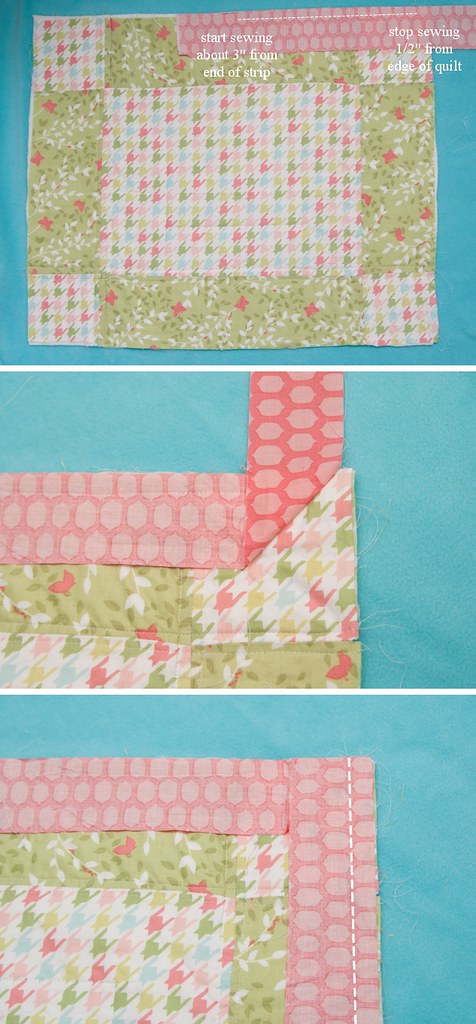
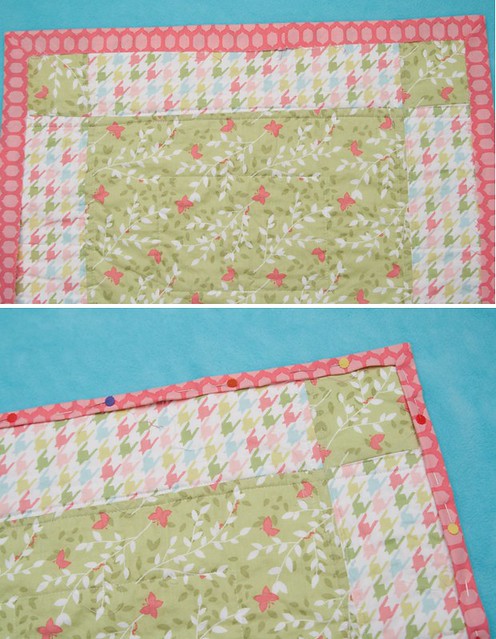
Starting somewhere in the middle of one of sides, line the edge of the binding up with the raw edge of the quilt.  Begin sewing about 3" from the edge of the quilt and sew the binding with 1/2" seam allowance.  When you get to a corner, stop sewing about 1/2" from the edge of the quilt and backstitch.
Flip the binding strip straight up and then bring it straight back down, lining the edge up with the next side of the quilt (see the pictures below).  Begin sewing again at the very top edge.


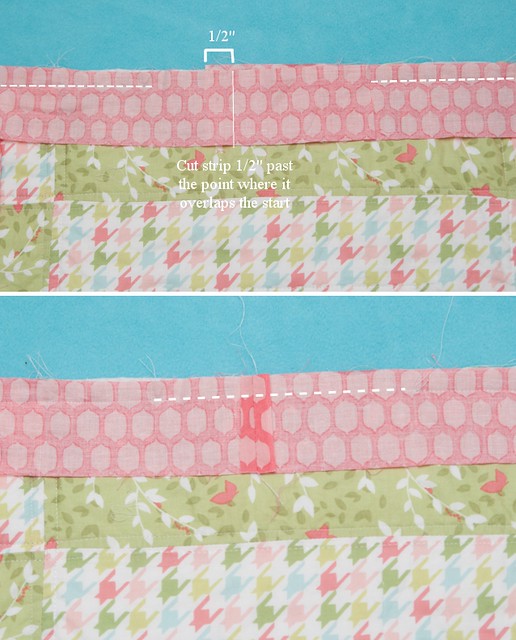
When you get back to the side where you started sewing the binding, stop sewing a couple inches from the end of your starting strip.  Lay the binding strips flat so one is on top of the other.  Cut off the extra binding by trimming the top strip 1/2" past where it overlaps your starting strip.
Sew the 2 ends together with a 1/4" seam allowance and press the seam open, the strip should now lay flat along the edge.  Finish sewing the binding to the edge of the quilt.


Press the binding up and over the edge of the quilt.  Tuck the raw edge under 1/2" and pin in place.  Sew the fold edge down either by machine or by hand.


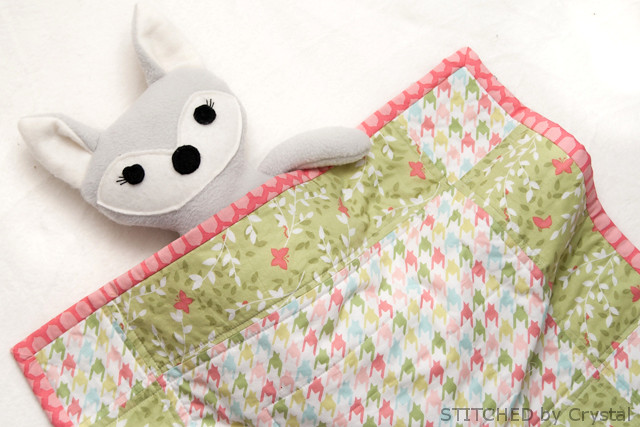
Hooray! It's done and ready for snuggling baby dolls!
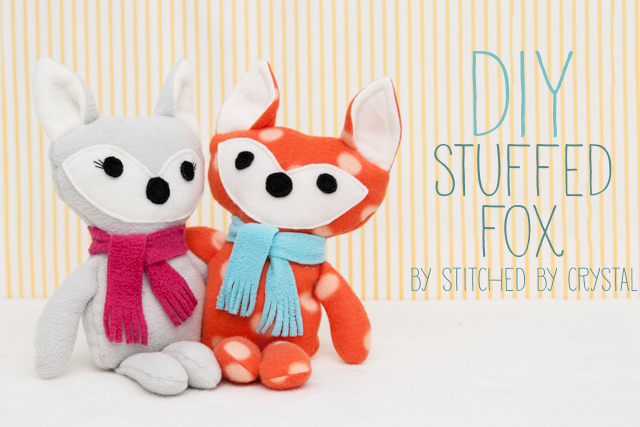
Need a doll to give with the blanket?  Download the pattern for this adorable stuffed fox HERE


Dec 9, 2013

A Christmas Matilda

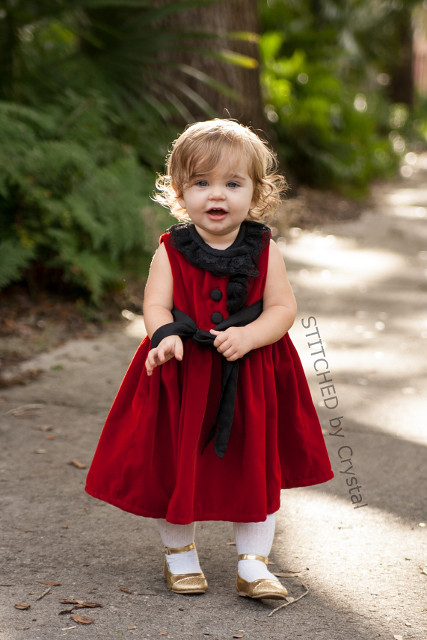
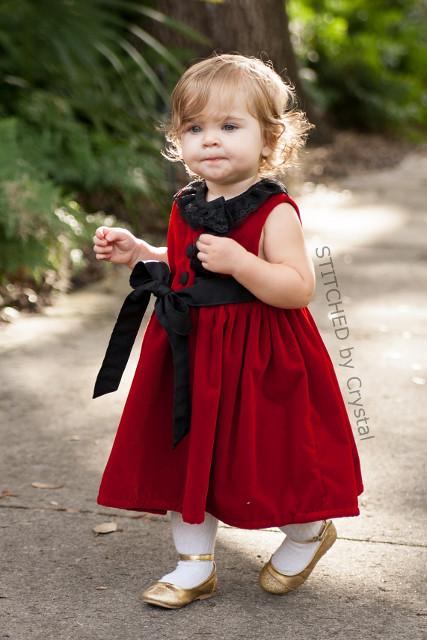
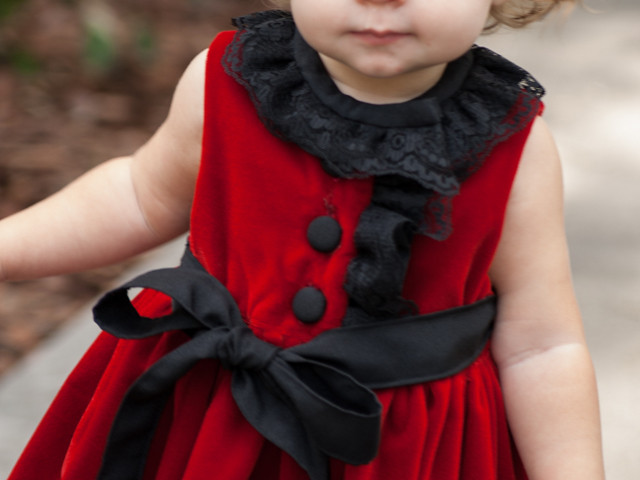
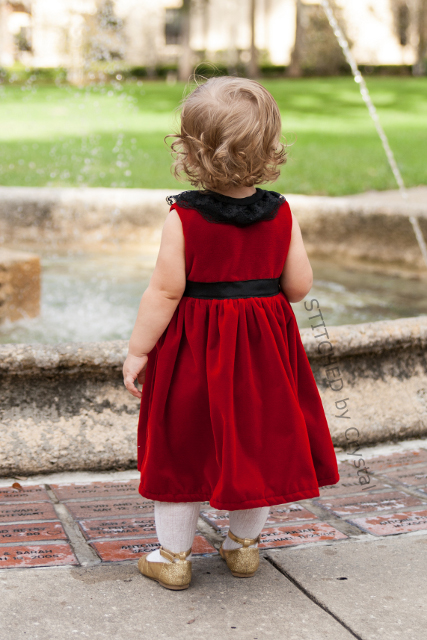
Remember the Miss Matilda Dress by The Cottage Mama I tested a while back? (woah, how cute and tiny was E then?!)  I made another, this time a Christmas version!


This dress is for a friend's granddaughter, who happens to be the same size as E, so I couldn't resist putting it on her for a few quick photos before I sent it off!


One of the thing I really enjoy about sewing for other people is stepping out of my box a bit and making something I never would have made otherwise.  
My friend wanted red velvet and black lace which is a combination I never would have picked.  But, oh man, I love how it turned out!  It is really quite striking. 


Are you making any Christmas dresses this year?  If you are looking for the pattern to make one like this, you can find it HERE!
LinkWithin

Related Posts Plugin for WordPress, Blogger...
I love reading all of your comments! Please make sure your blogger profile is linked to your email, so I can respond to your questions via email, otherwise I won't be able to email you back!
Please feel free to email me(stitchedbycrystal@gmail.com).

Thank you so much for reading! I If you like what you have seen here make sure become a follower of my blog so you can catch all my updates!!